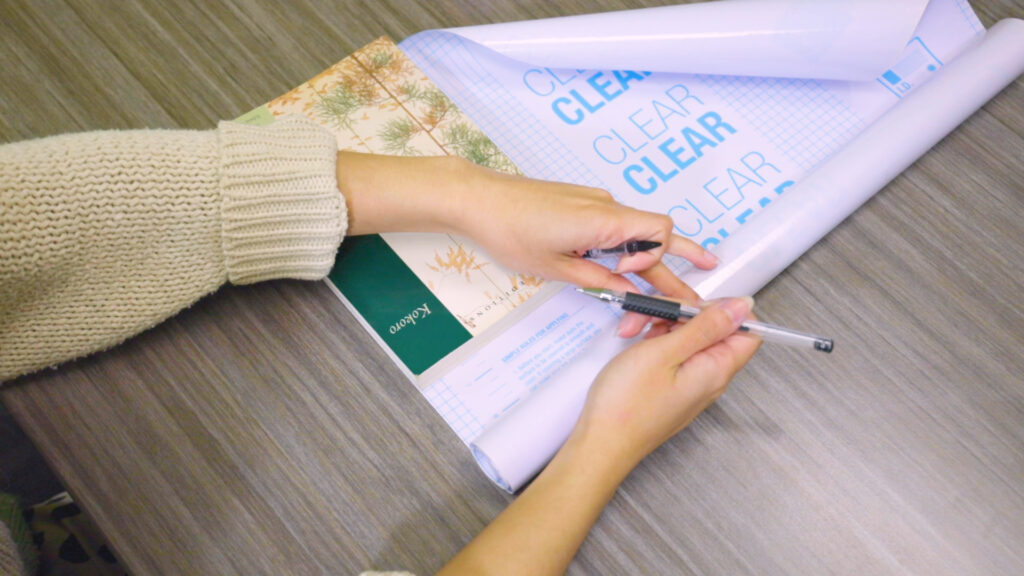
How To Apply Clear Self-Adhesive Book Cover
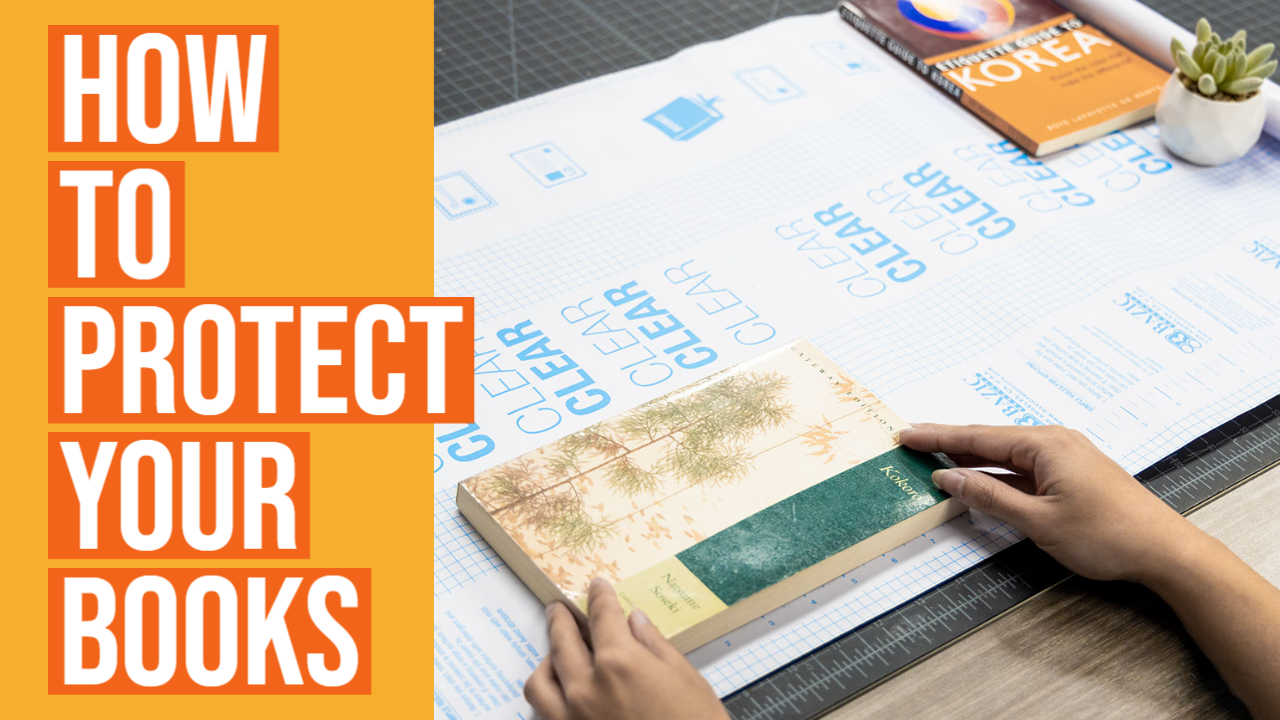
Have you ever purchased a new book, only to find that it gets dirty, torn, or damaged after a few uses?
If you’re looking for a simple solution to keep your books in pristine condition, consider using our Clear Self-Adhesive Book Cover! This cover is easy to apply, durable, and transparent, meaning you can still enjoy the beautiful cover art of your favorite books while protecting them from wear and tear.
In this blog post, we’ll provide you with a step-by-step guide on how to use clear self-adhesive book covers. Let’s get started!
Materials you will need:
- Clear Self-Adhesive Book Cover
- Scissors
- Ruler or straight edge
Watch our step-by-step tutorial on how to apply our Clear Self-Adhesive Book Cover:
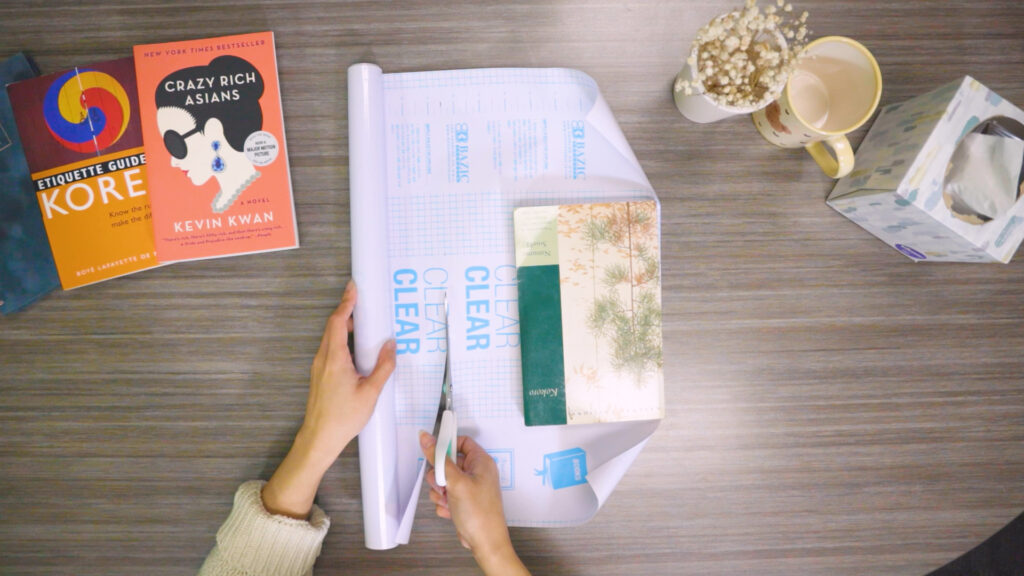
Step 1: Gather materials
Also make sure your book cover is clean from any dust before you start covering your book

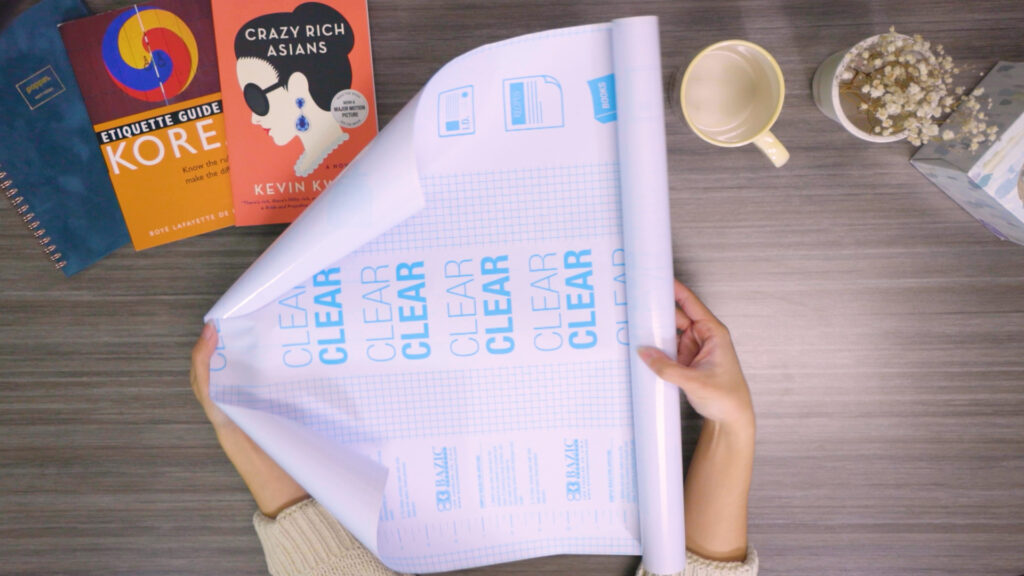
Step 2: Measure out your book
Note: In this tutorial we covered it from edge to edge, but you’re more than welcomed to add an extra 1″ around to wrap on the inside of the book

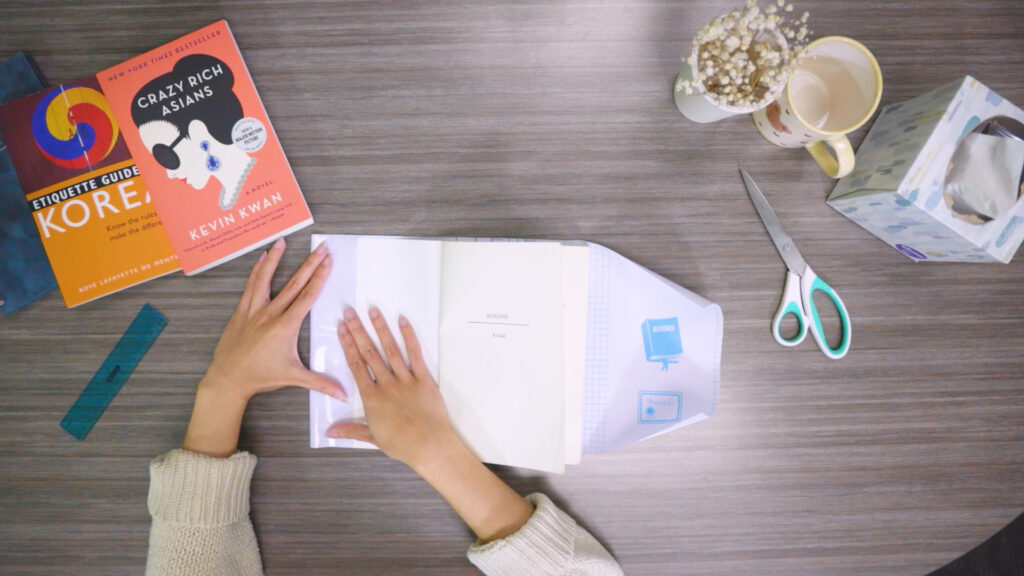
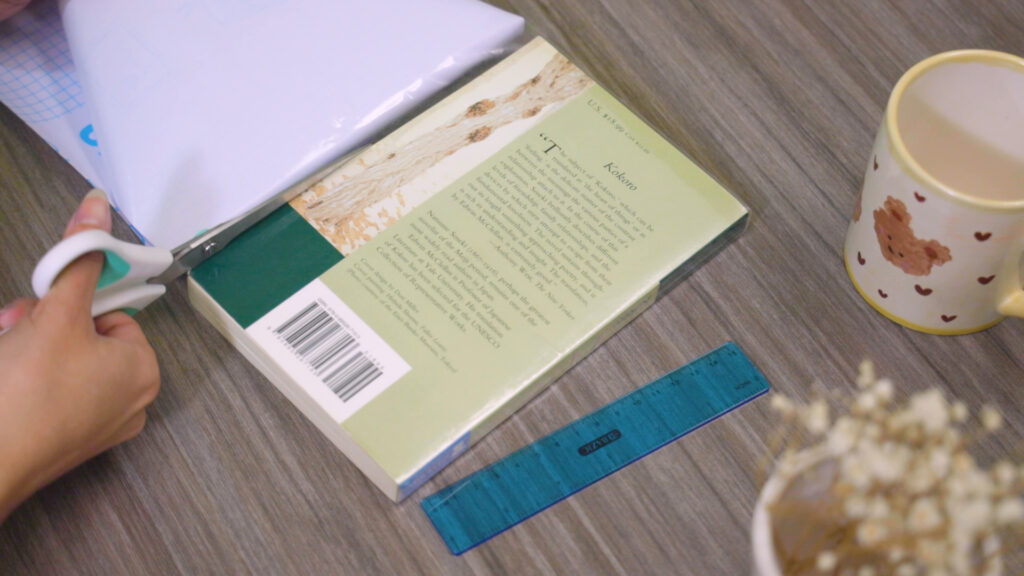
Step 3: Cut out
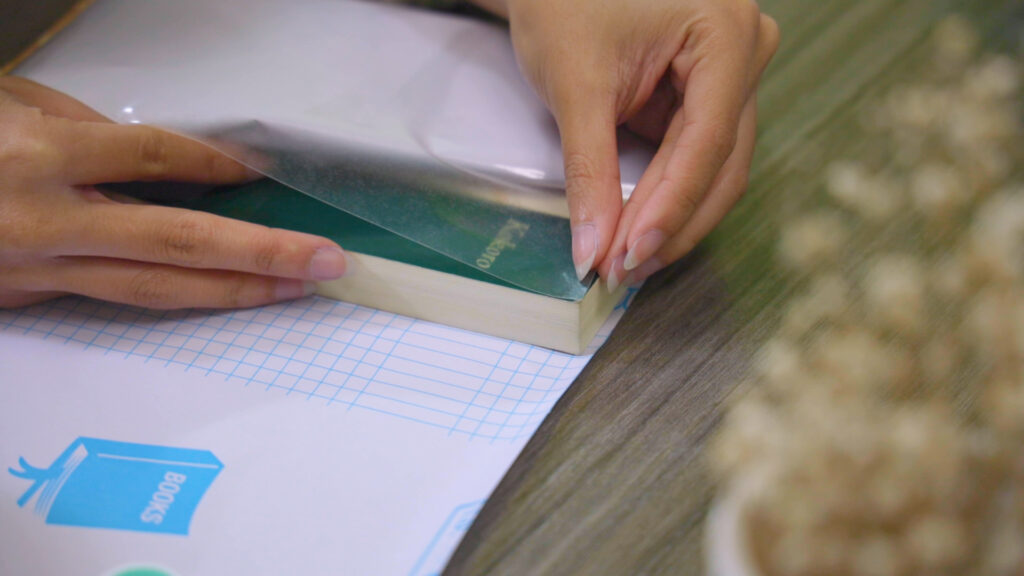
Step 4: Carefully apply the clear self-adhesive book cover; using a straight-edge to remove any bubbles or wrinkles

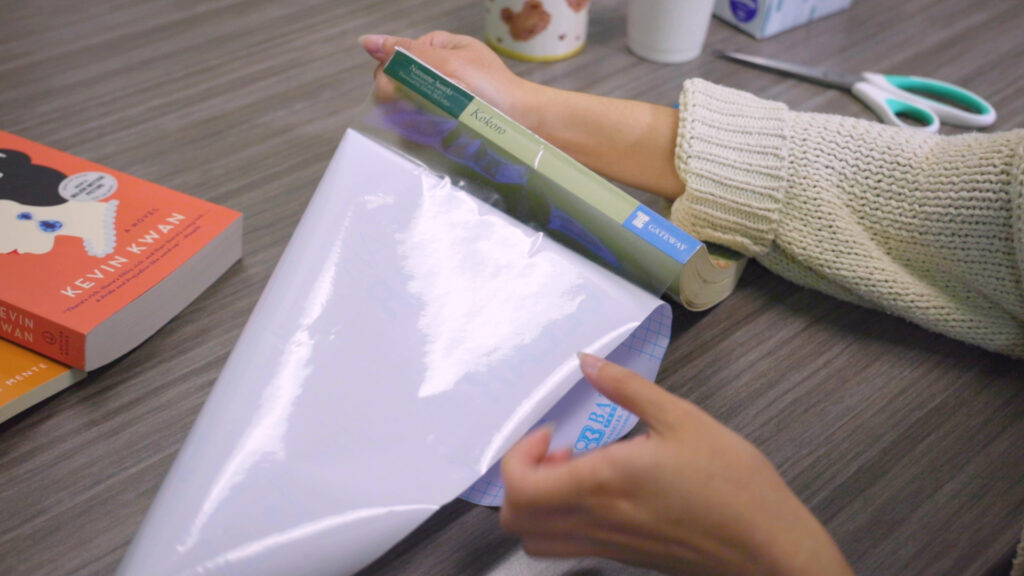
Step 5: Repeat process on the spine and back cover
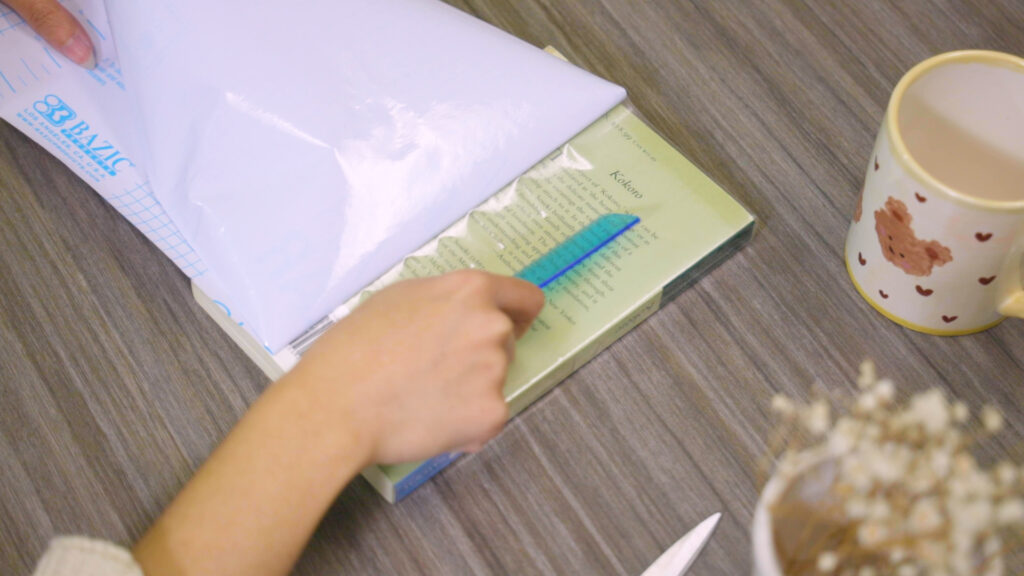
Step 6: Cut excess book cover
Step 7: Enjoy!


