DIY Fall Scarecrow Craft

Like leaves in the wind, the fall season is quickly flying by, but we still have plenty of simple and entertaining crafts for you and your entire family to enjoy. Make a new autumn friend with our DIY Scarecrow craft!
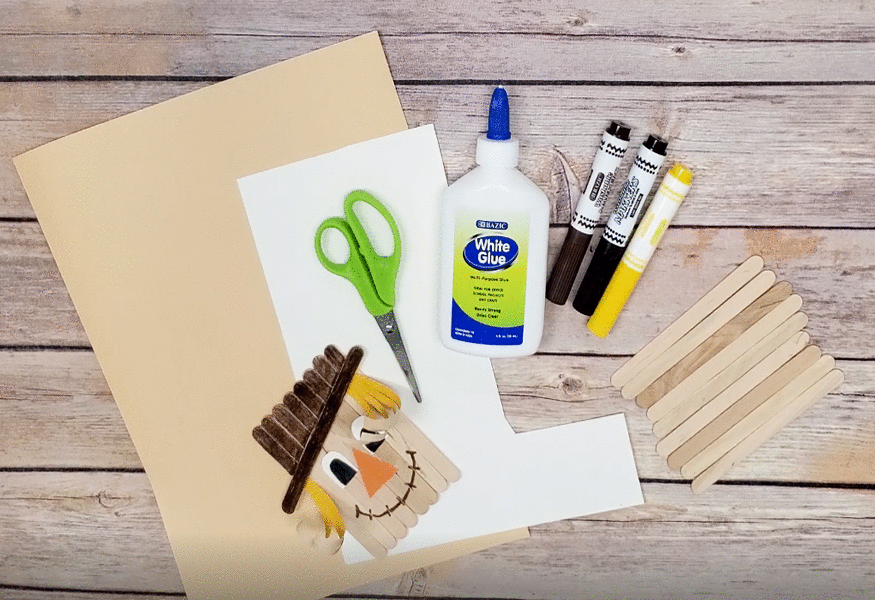
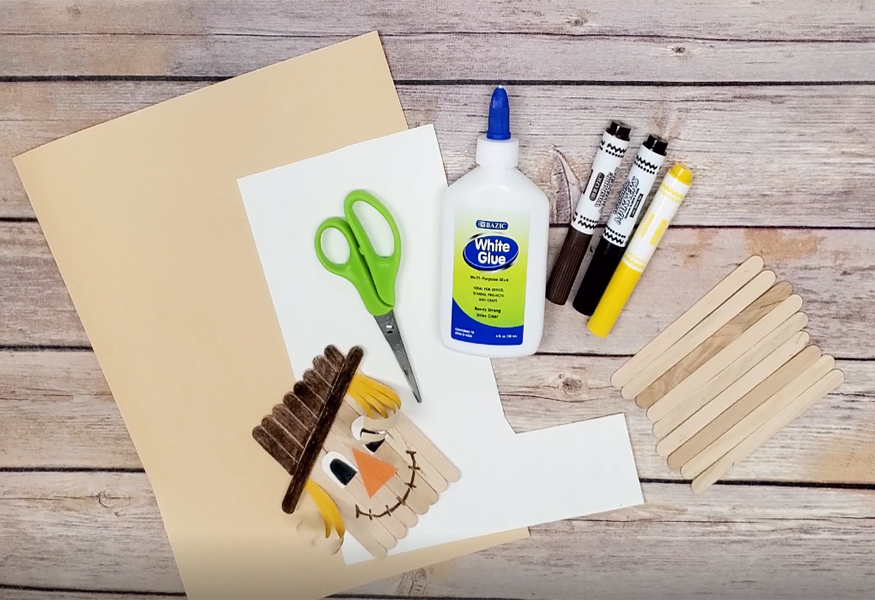
For this craft you will need:
#4432 – 5″ Point Tip School Scissors
#1220 – 10 Color Broad Line Mini Markers
Step 1: Gather your materials.
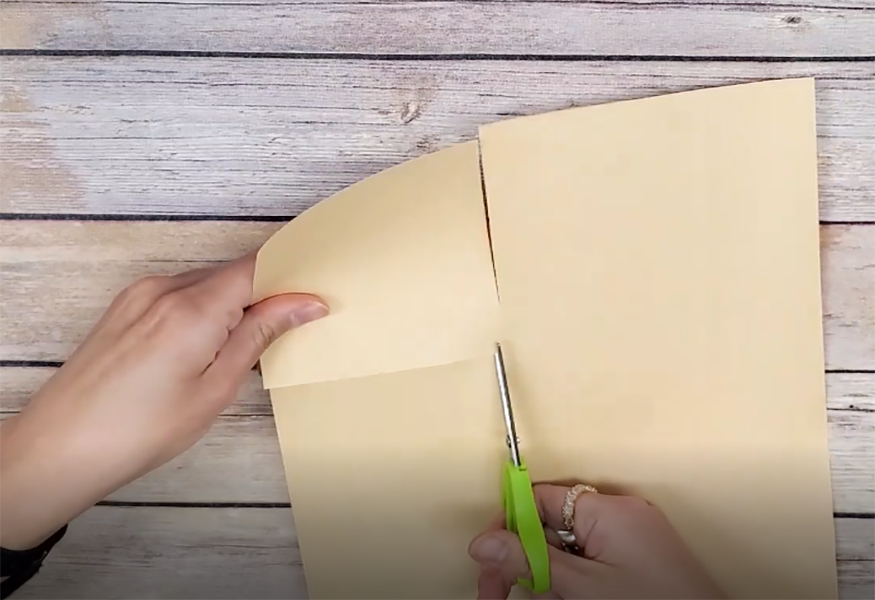
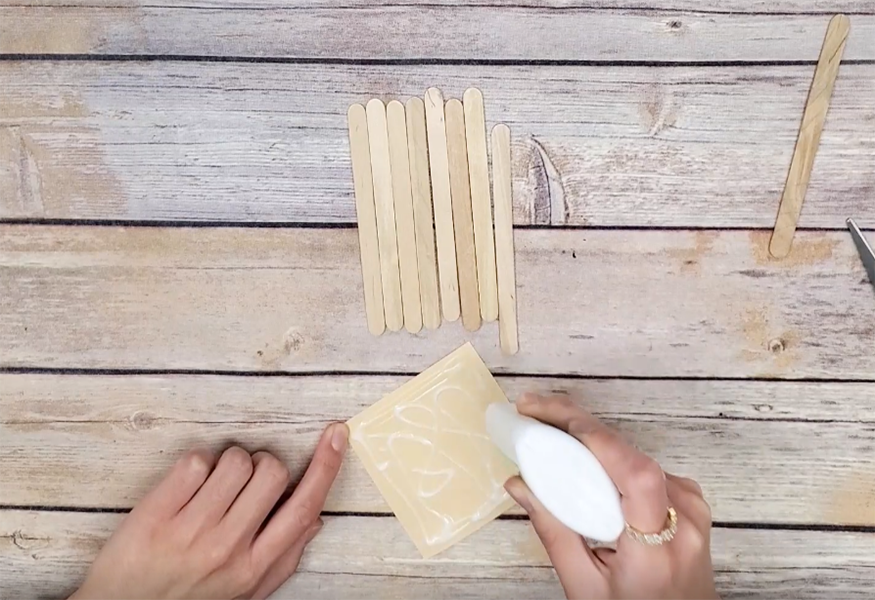
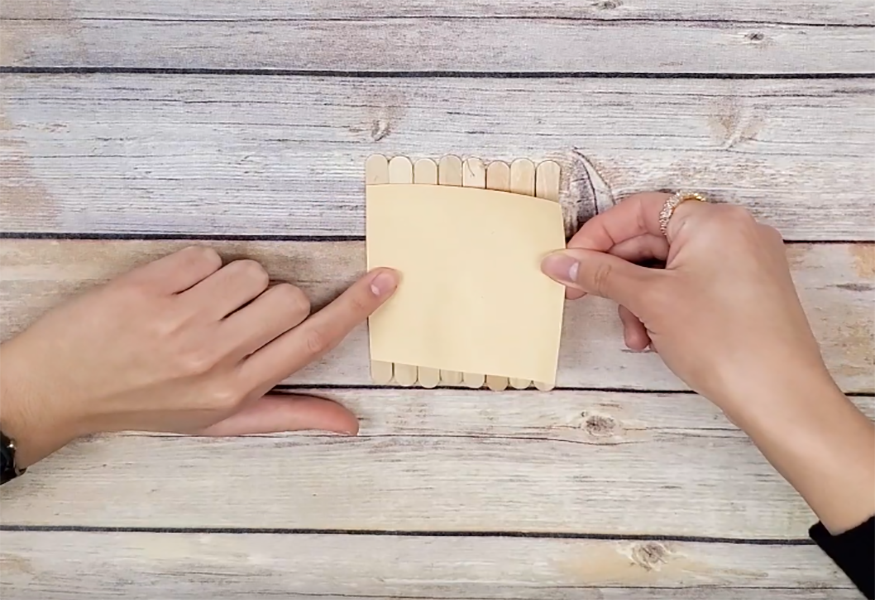
Step 2: Gather 9 craft sticks and cut a small piece of construction paper to glue behind 8 of them as a base. Set aside 1 craft stick. Wait for the glue to dry.
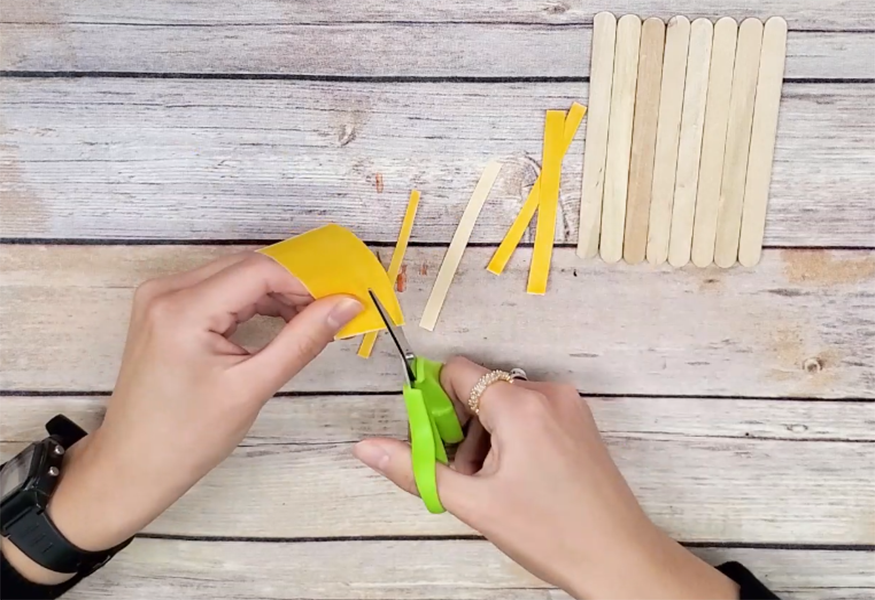
Step 3: Color a small section of light-colored construction paper with a yellow marker. Cut out the section. Cut the section into small strips.

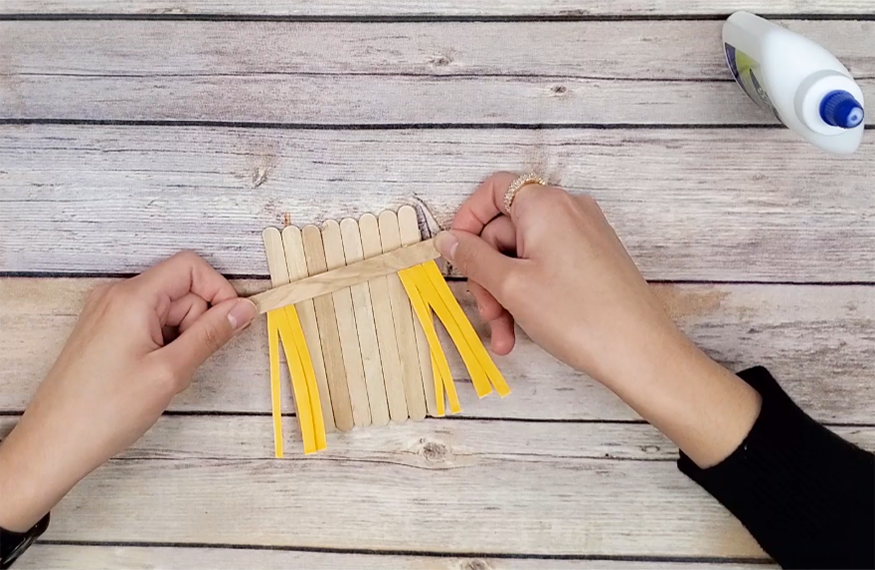
Step 4: Using the single craft stick you’ve set aside, glue the small strips of paper on each side of the stick. Wait for the glue to dry.

Step 5: Glue the stick diagonally onto the other 8 craft sticks to make a “hat”. Wait for the glue to dry.
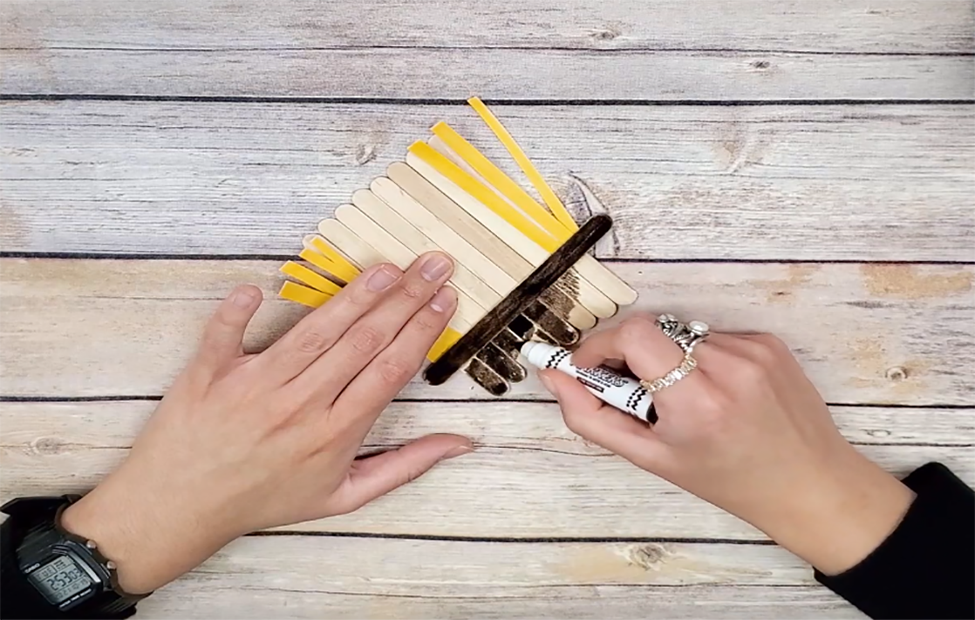
Step 6: Color the “hat” with a marker of your choice.
Step 7: Using construction paper and markers, cut out and draw “eye” and “nose” shapes for your scarecrow. Glue them onto the craft.

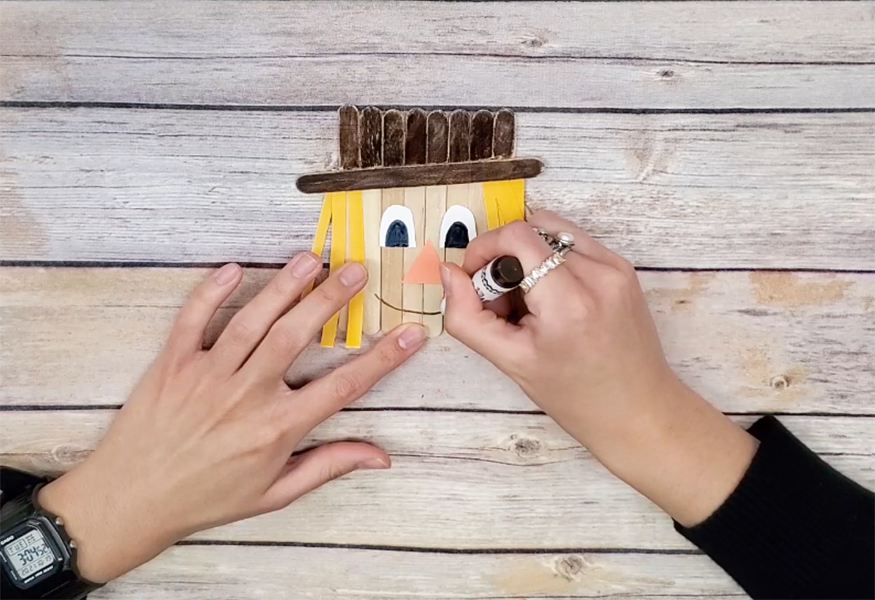
Step 8: Using a marker, draw the scarecrow’s “mouth”.
Step 9: Enjoy!

Watch our step-by-step tutorial to create your Scarecrow craft:
And if you’re local to Los Angeles County, don’t forget to gather the kids and stop by The Shops at Montebello for November’s Kids Club! Here, your children will get to make this fun fall craft in-person with all our materials listed above. Join us Friday, November 12th at 4PM!
Check out last week’s DIY fall craft here.