Fun Paper Spinner DIY

Sometimes the simplest things can be the most entertaining.
This Paper Spinner DIY is just that and a fun way to keep you twirling for days! 😁
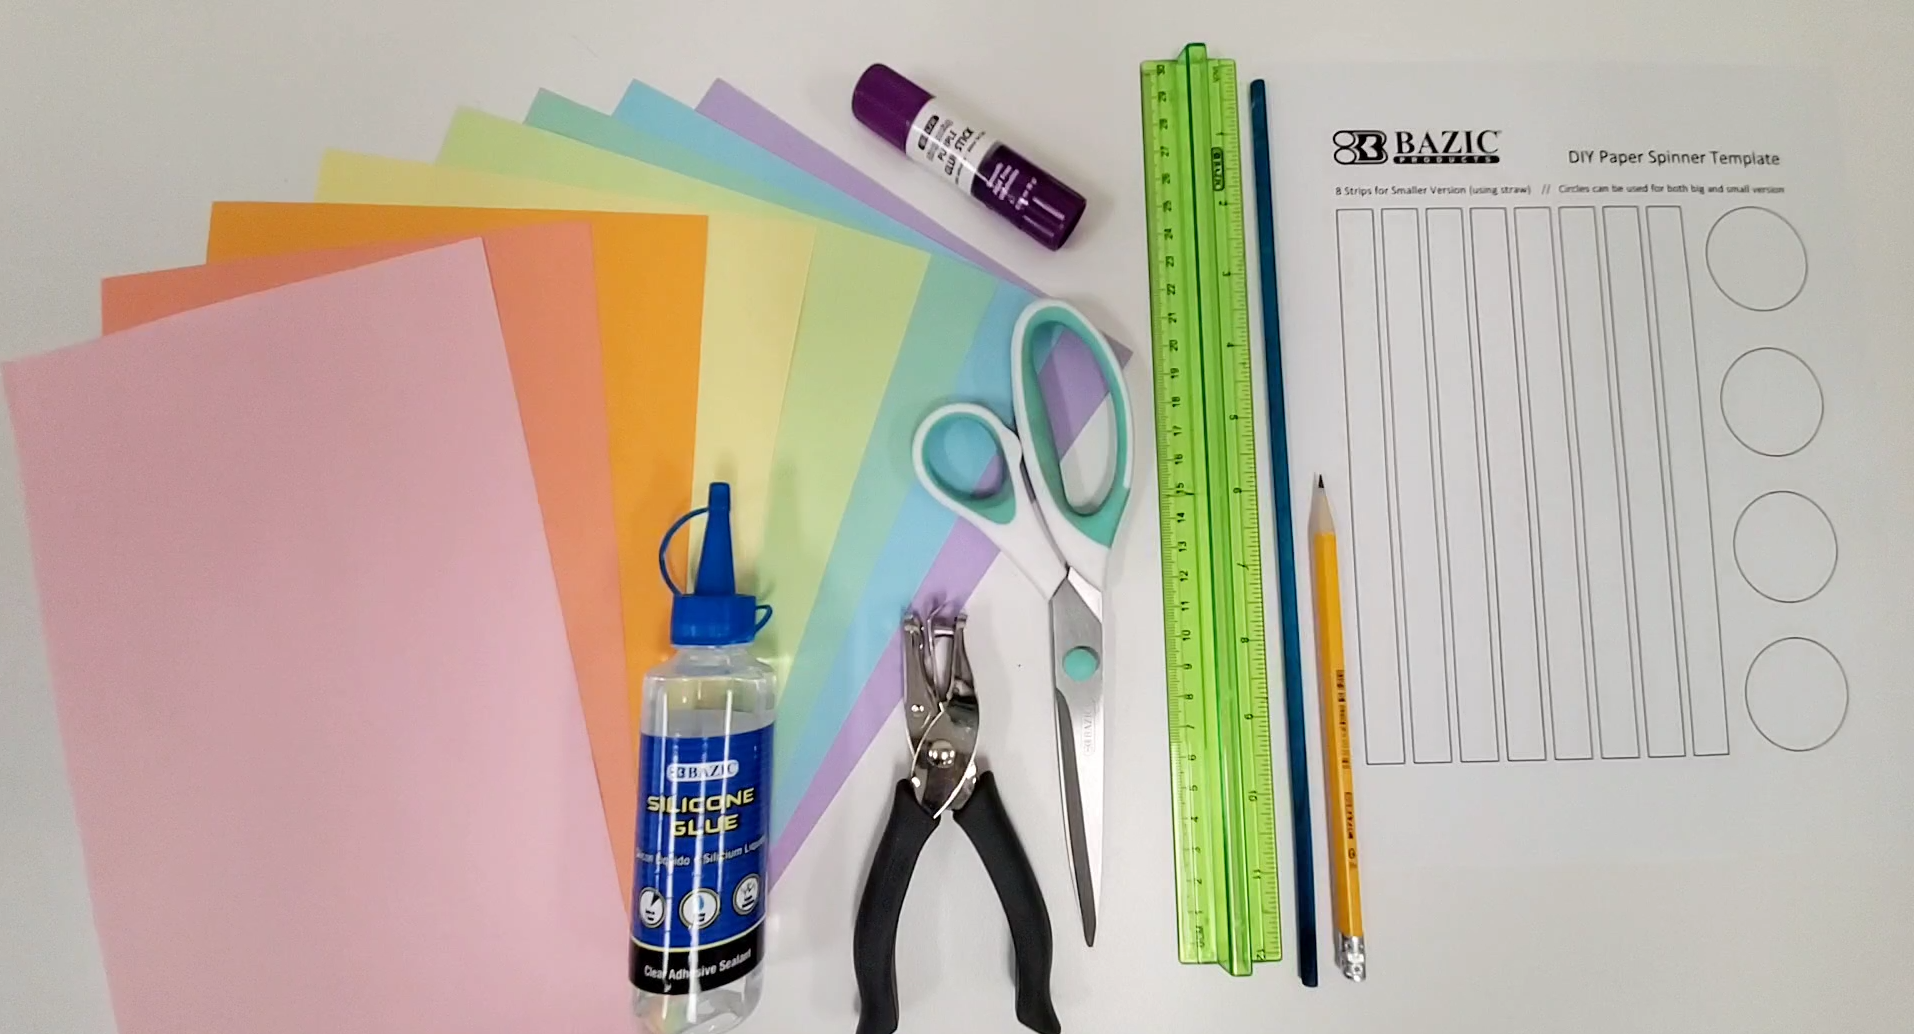
Materials you will need:
- Construction / Color Paper
- Adhesive
- Scissors
- Pencil
- Ruler
- Hole Puncher
- Dowel 3/16″ x 12″ (or straw / sturdy stick)
- Markers (to color / decorate)
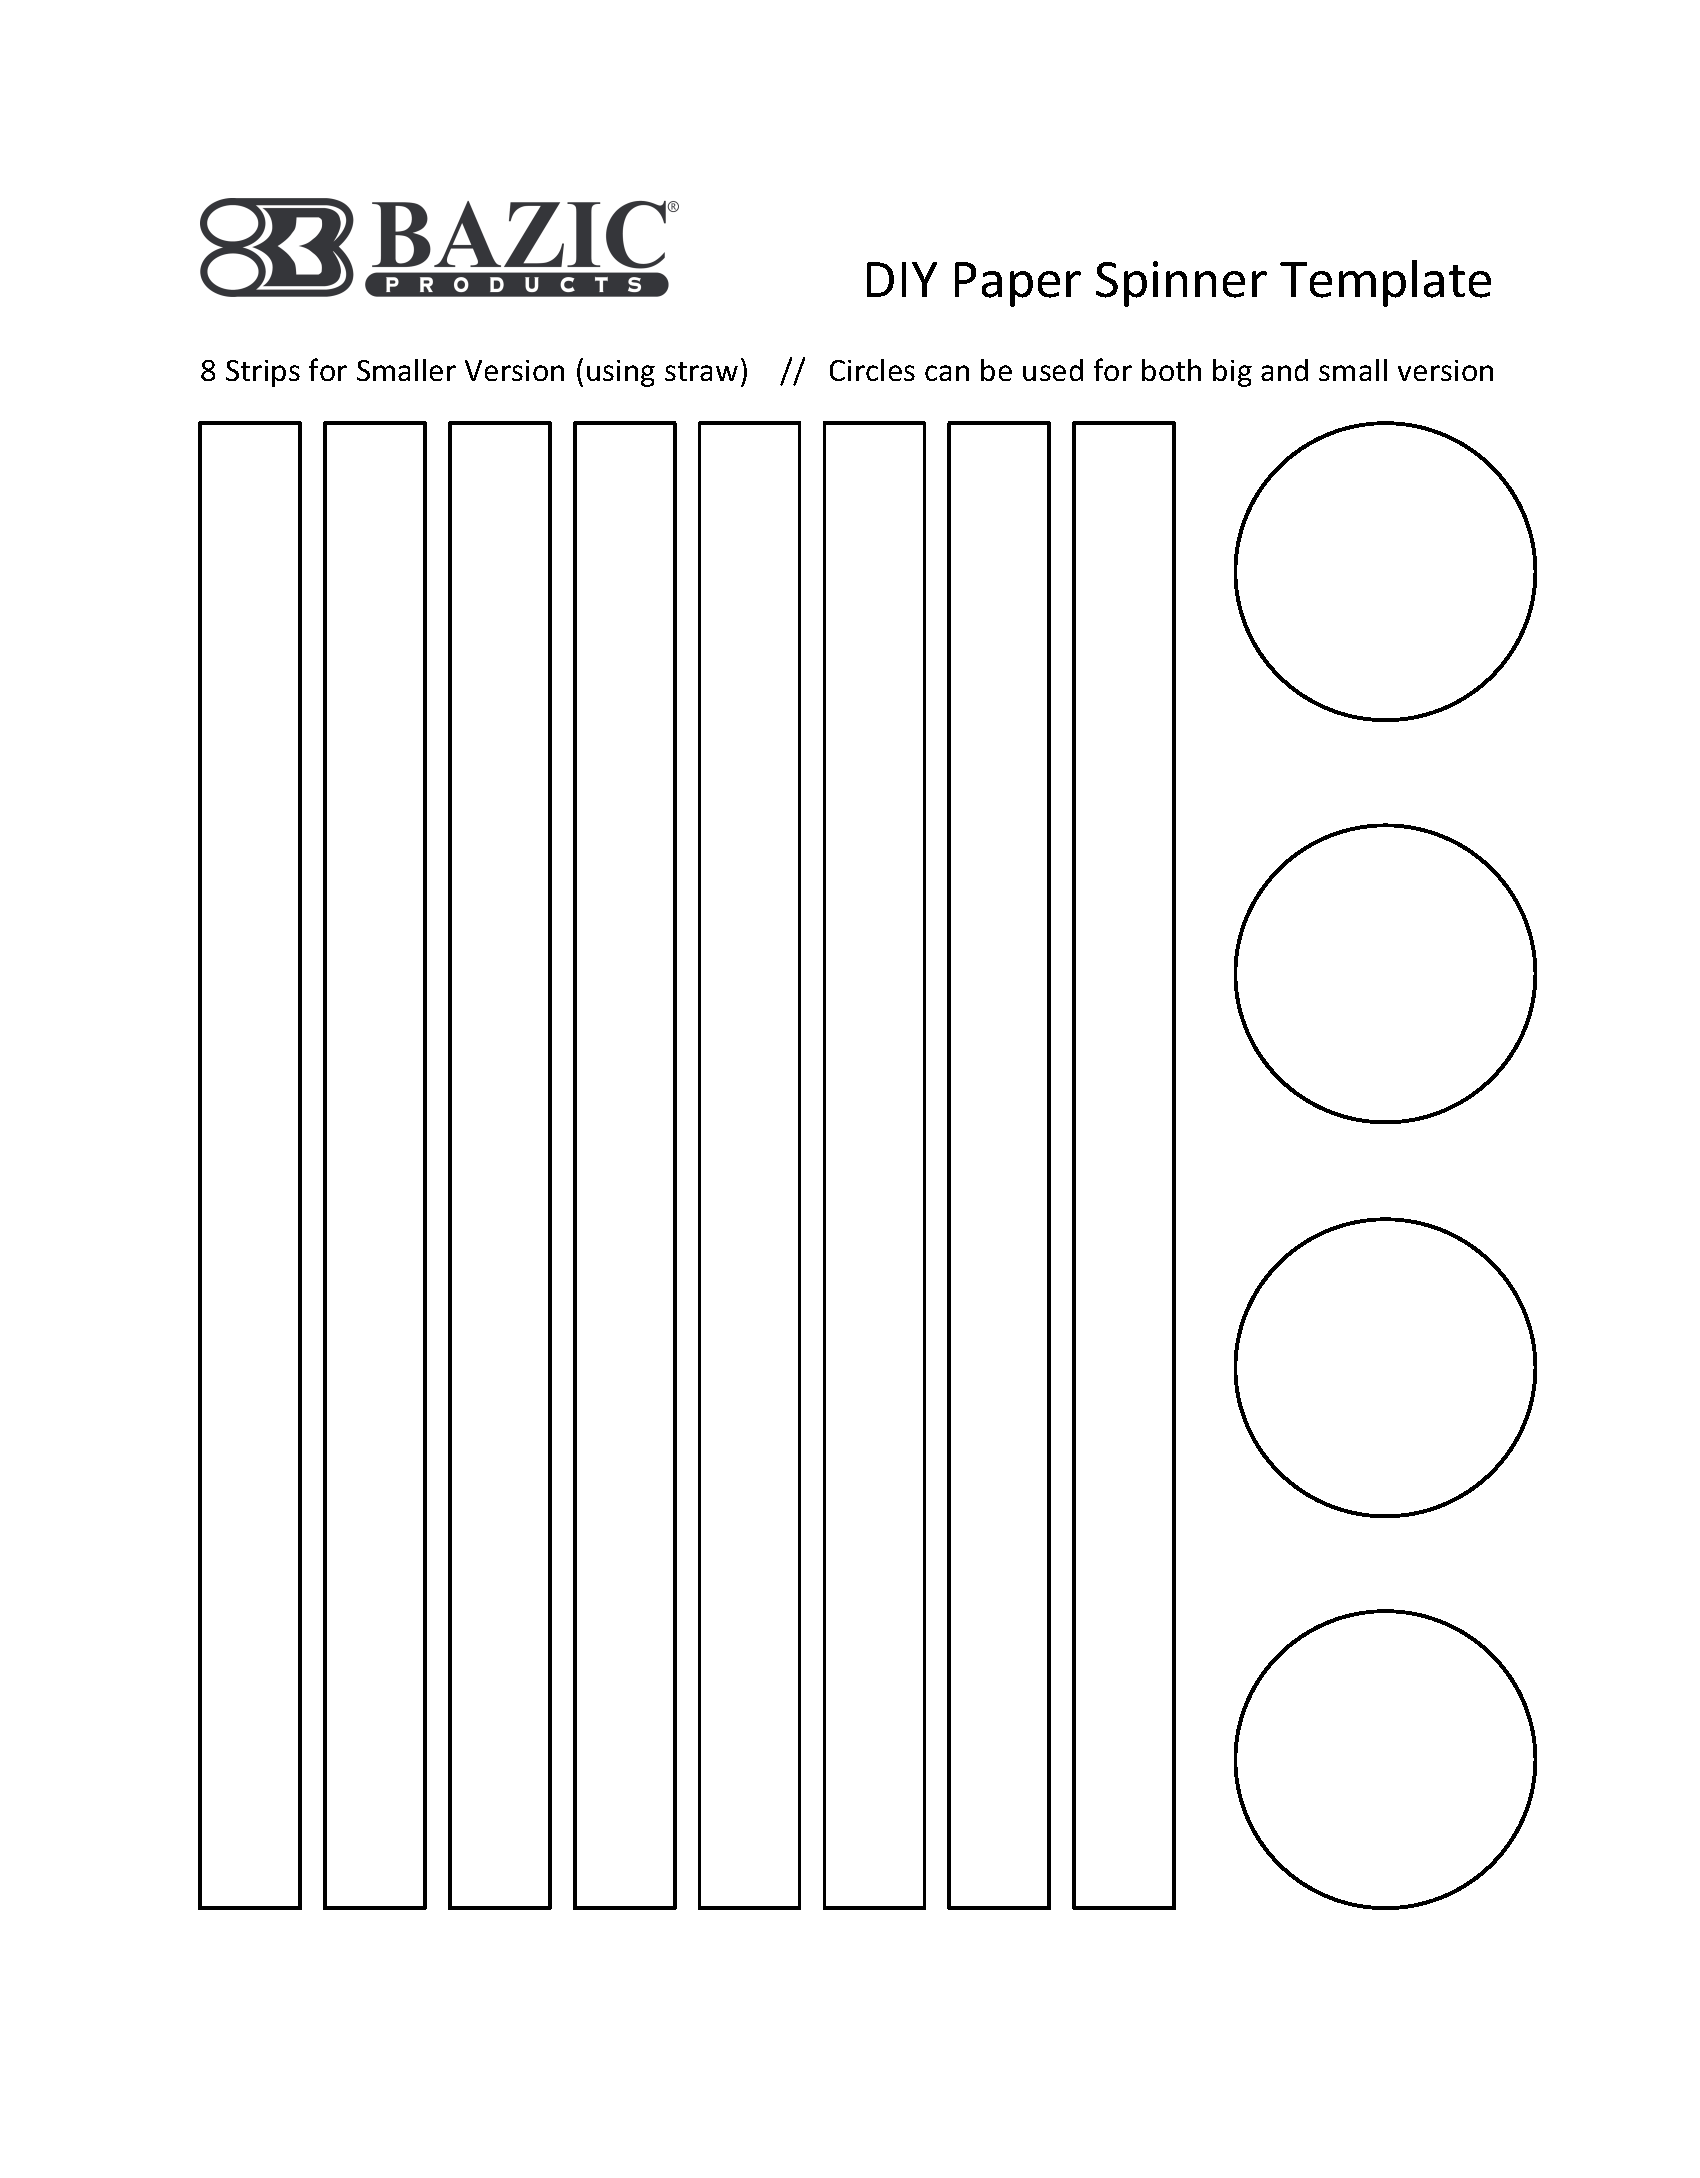
Note: these steps are for making a bigger version of the paper spinner by using longer pieces of paper strips and a dowel. The smaller version (see template) can be created by following the same steps but coloring the template first and using a straw instead of a dowel.
Step 1: Gather materials
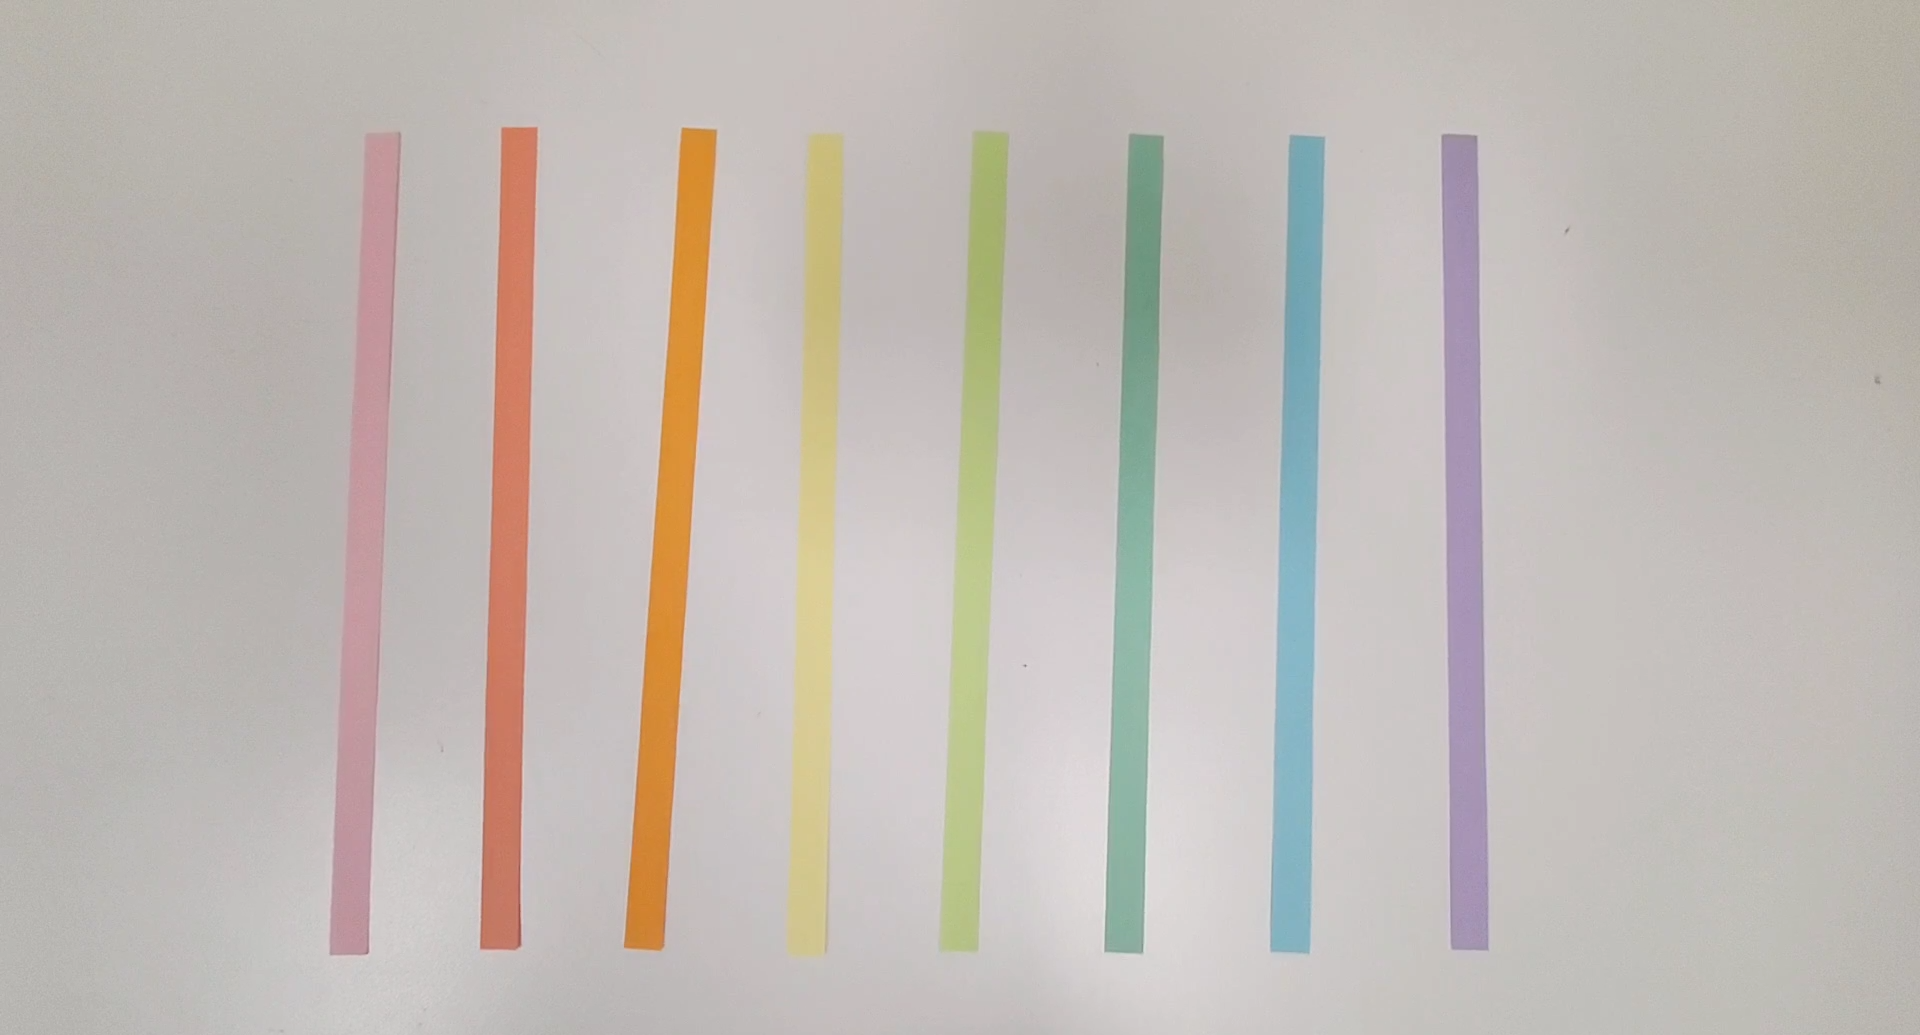
Step 2: Cut out (8) 11″ x 0.5″ strips
Can also color / decorate at this step
Step 3: Cut circles from template
(Option) – color/decorate template or trace onto color paper and cut out
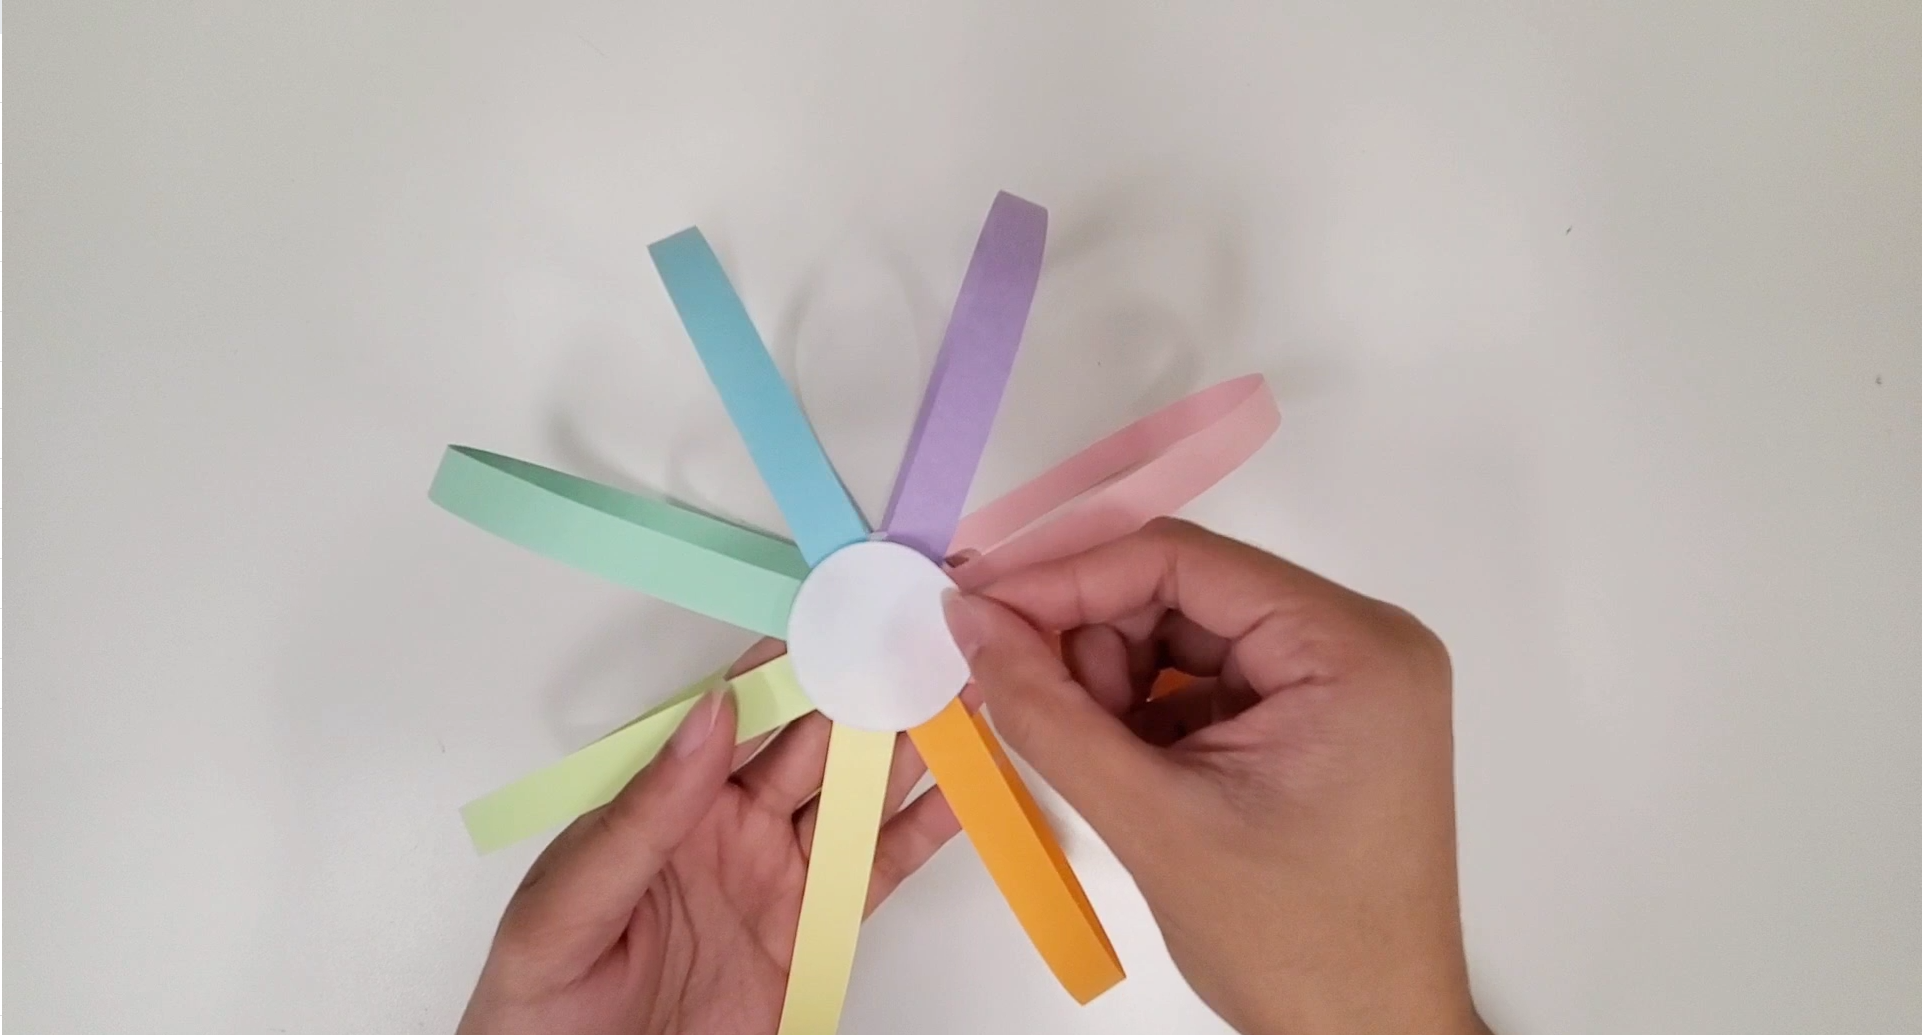
Step 4: Glue strip ends to one circle and then glue another circle on top.

Step 5: Repeat on other side
Step 6: On one end, hole punch the center of the circle
Step 7: On the other end, use scissors to create a hole in the middle
Slightly fold the circle in half and cut; fold in opposite direction and cut to make an “X”
Make sure this hole fits around the dowel – it cannot be loose like the other end where it’s hole punched
Step 8: Insert dowel through the holes and leave a little bit showing at the top
Top – where the “X” opening was created

Step 9: Glue the top end to keep in place; let glue dry
Step 9: Enjoy! Twirl the paper spinner around and have fun!
Watch our step-by-step tutorial to create your Fun Paper Spinner:
Check out our last DIY craft here.