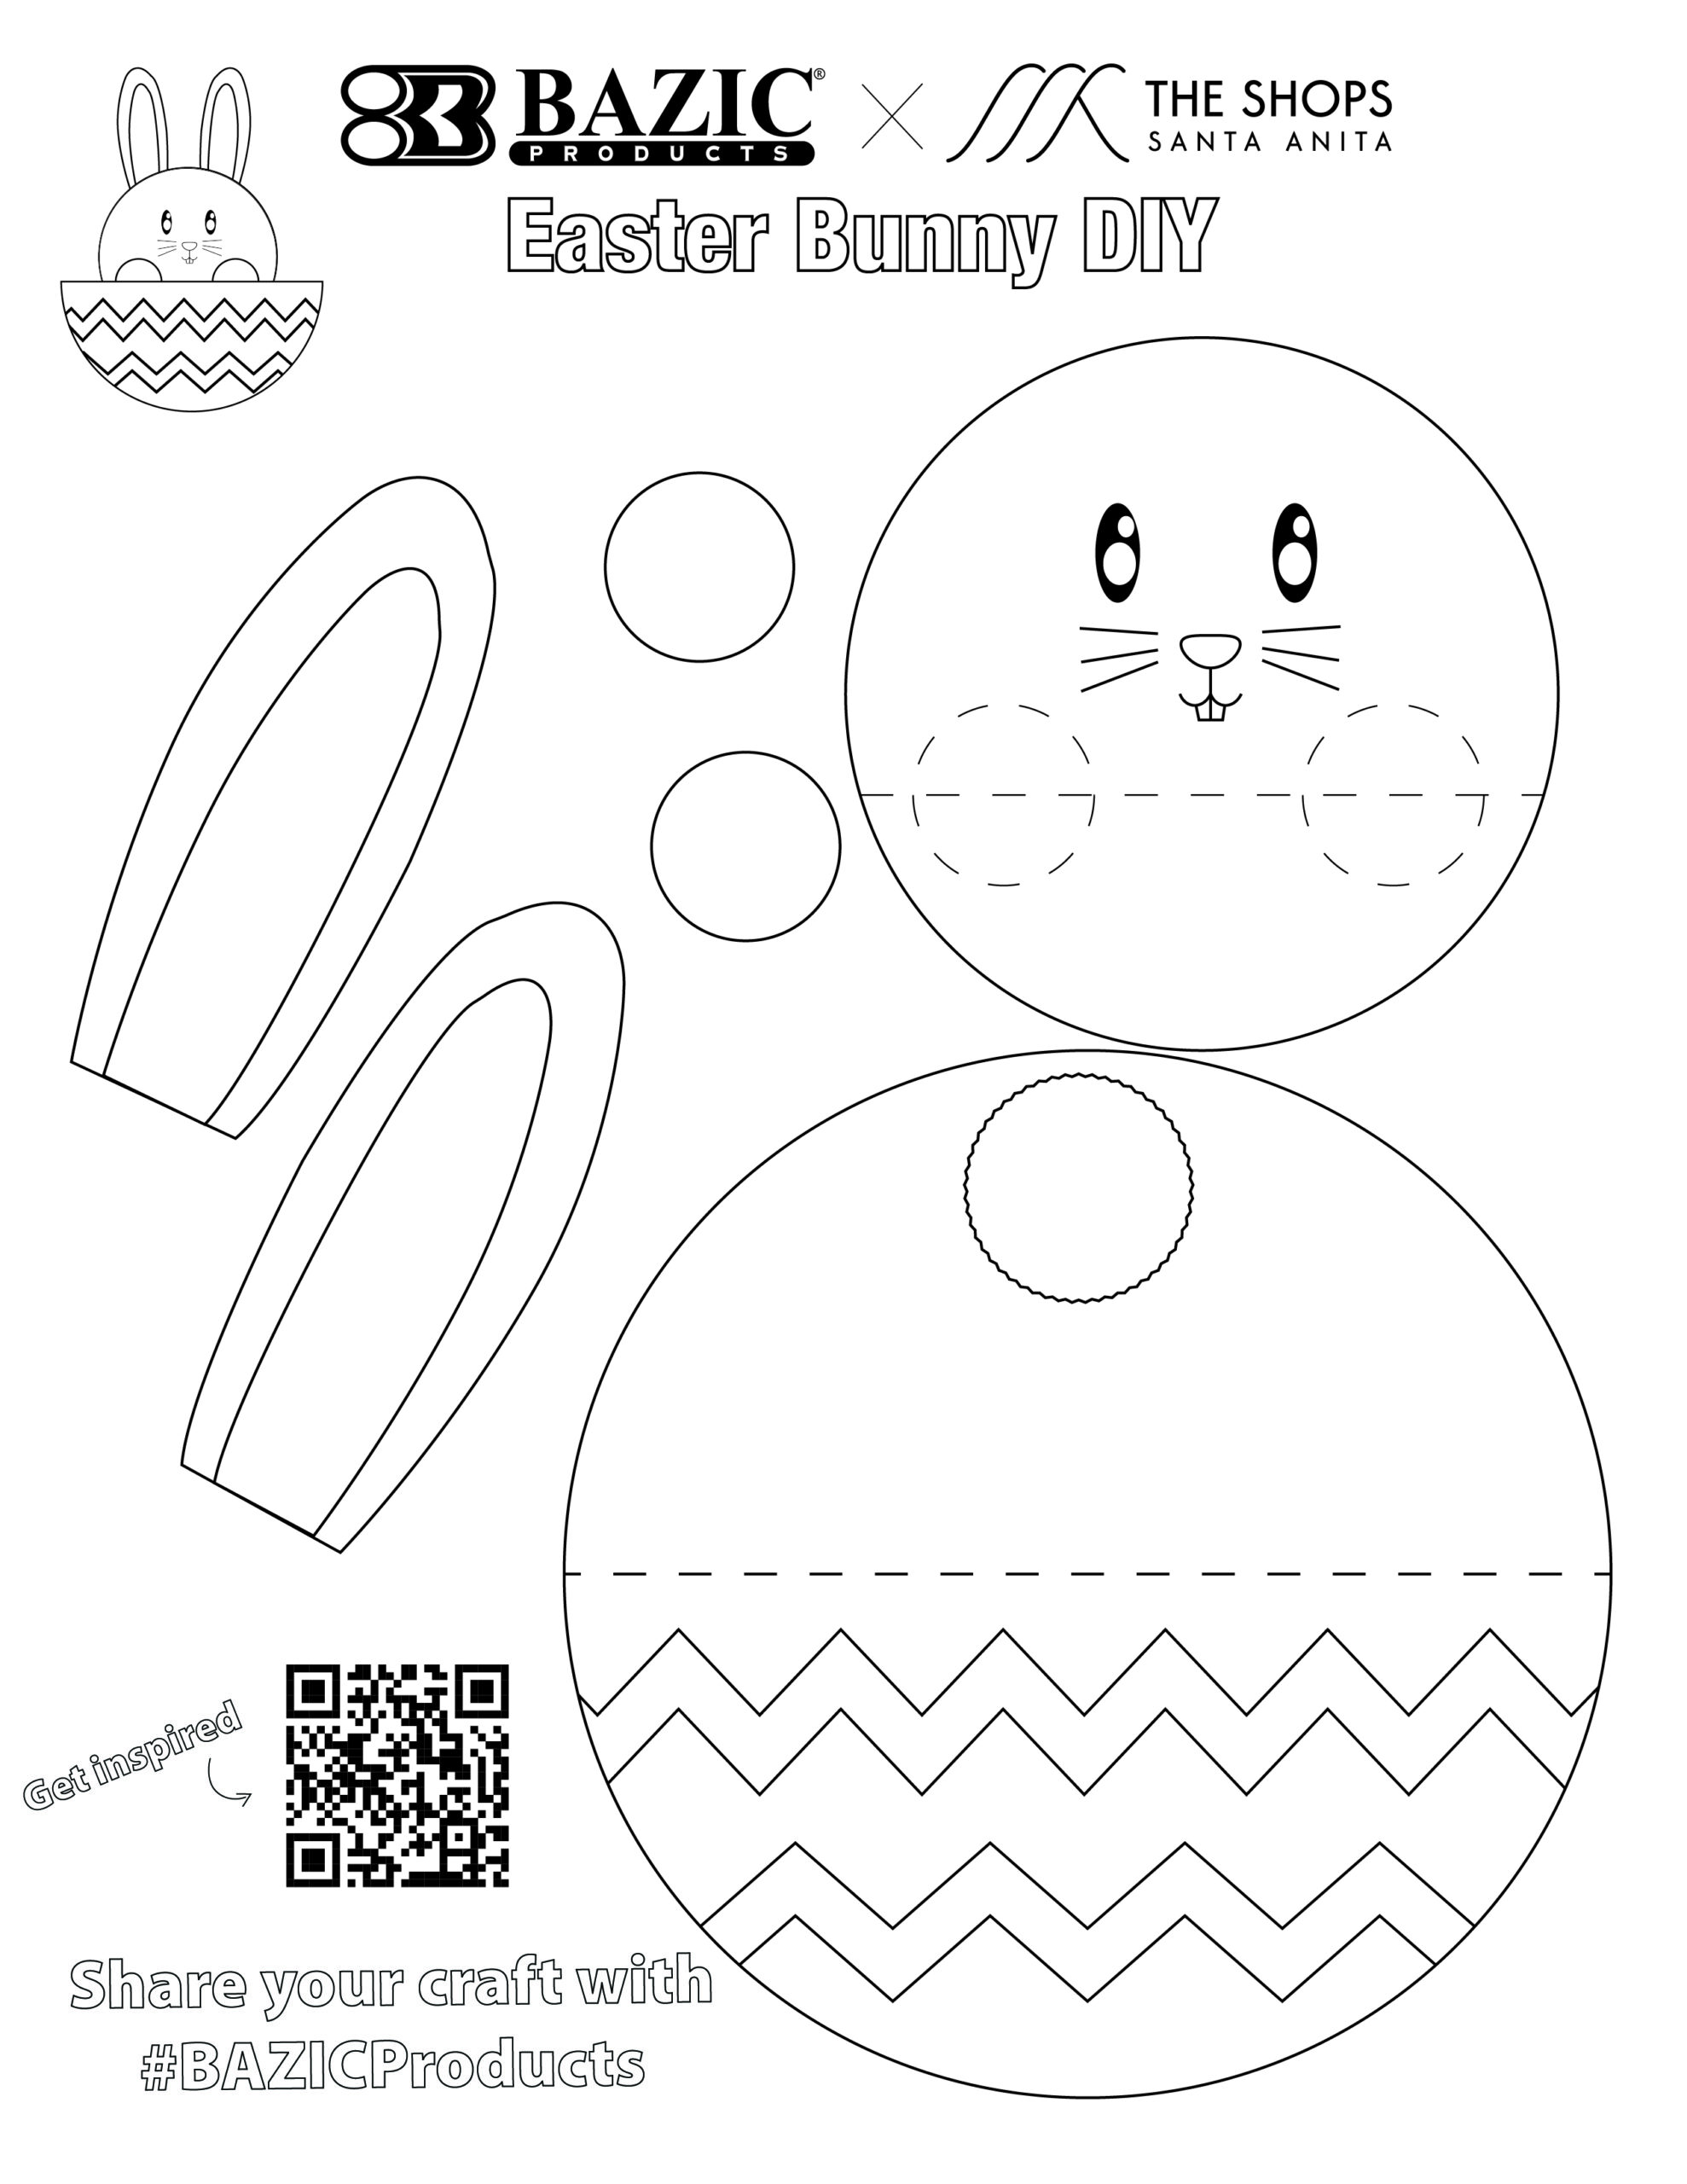
Easter Bunny DIY

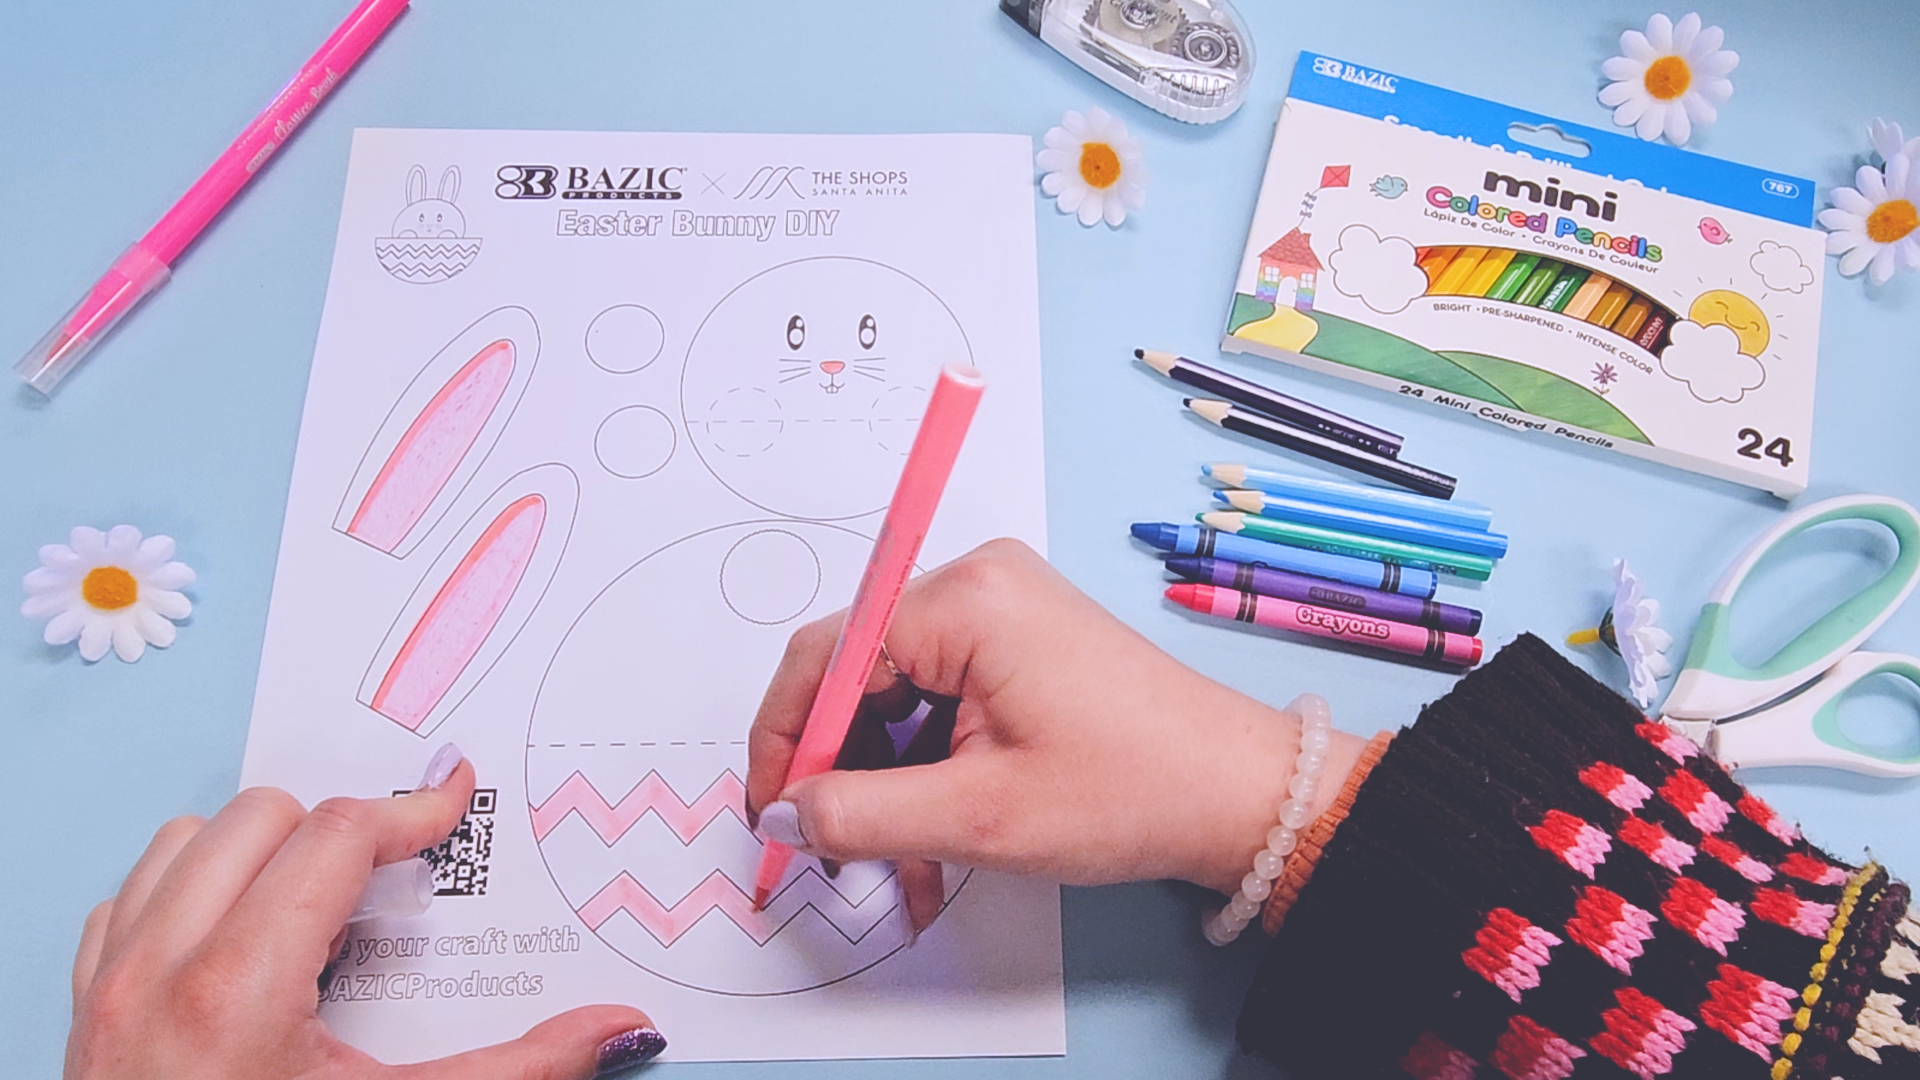
Materials you will need:
Watch our step-by-step tutorial to create your Easter Bunny DIY:
Step 1: Color the Template!
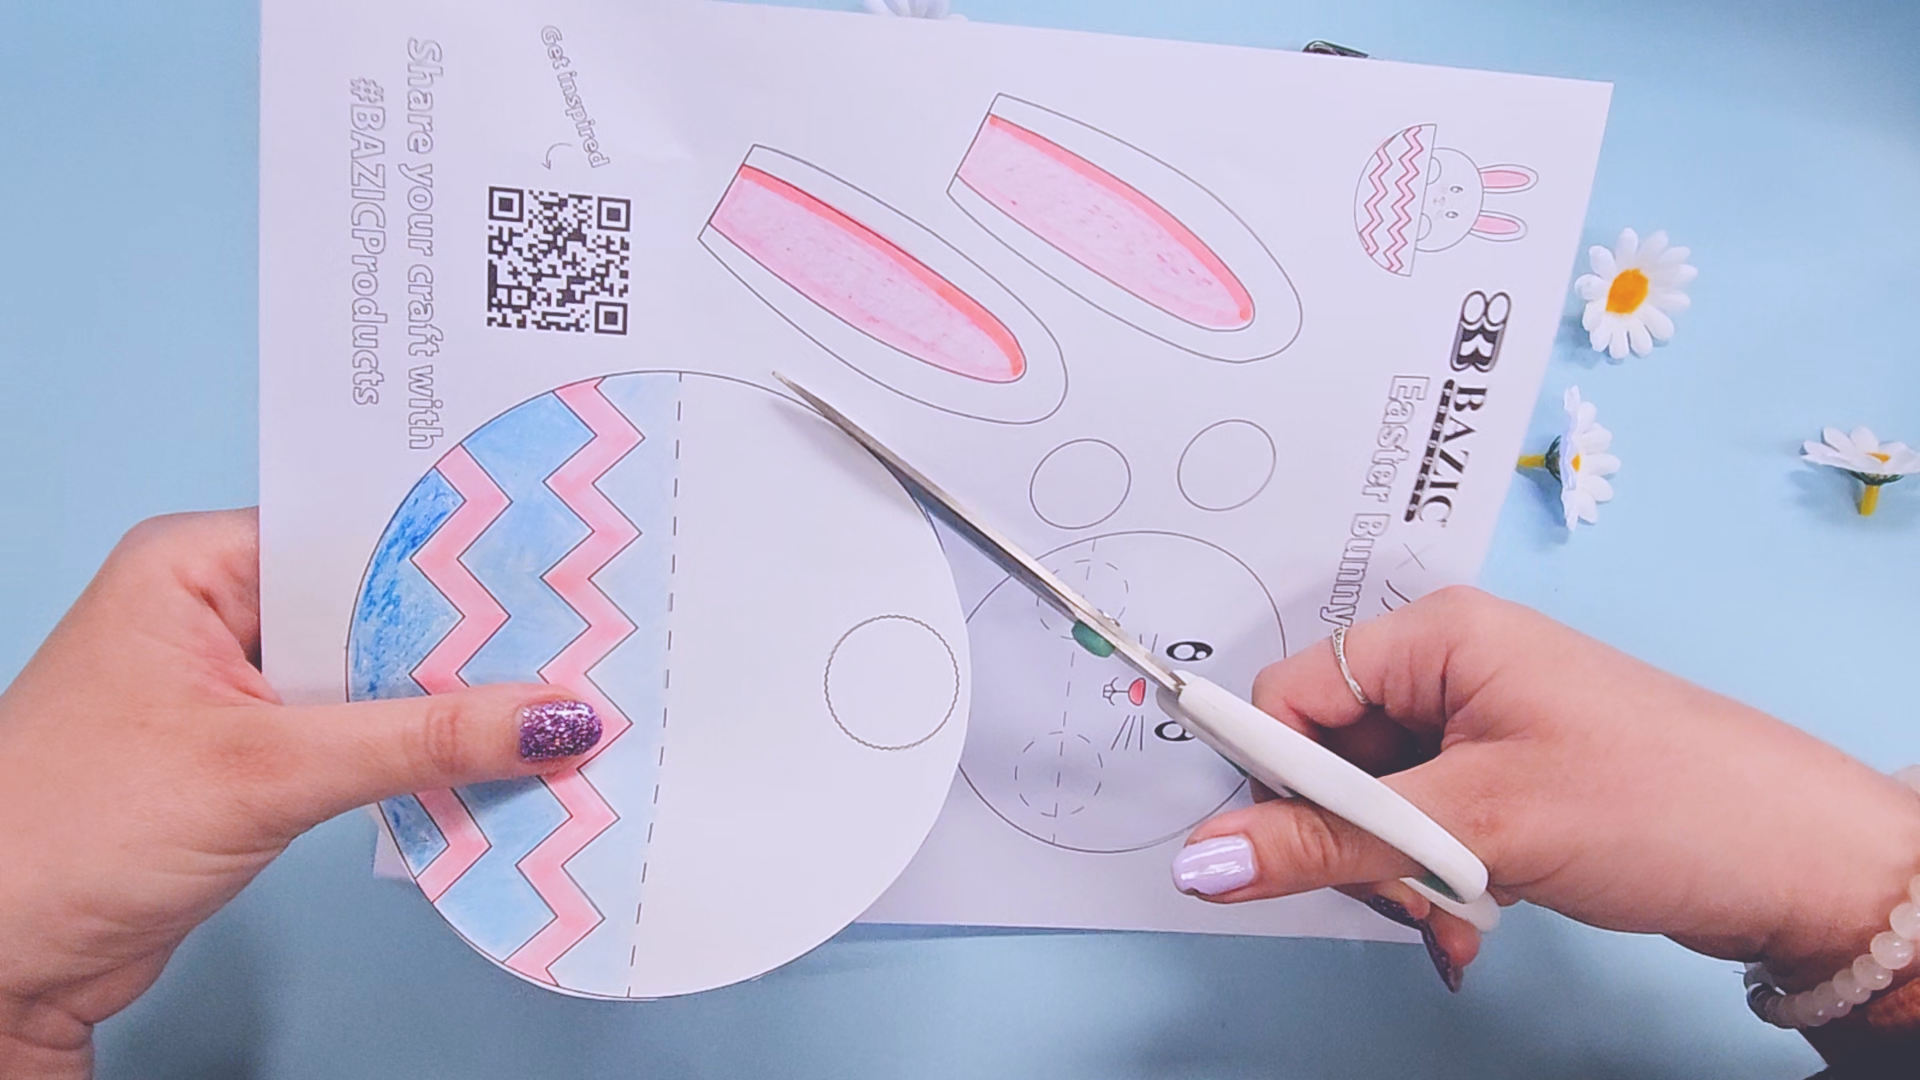
Step 2: Cut out the template!
Step 3: Fold the Large Circle in half along the dotted lines!
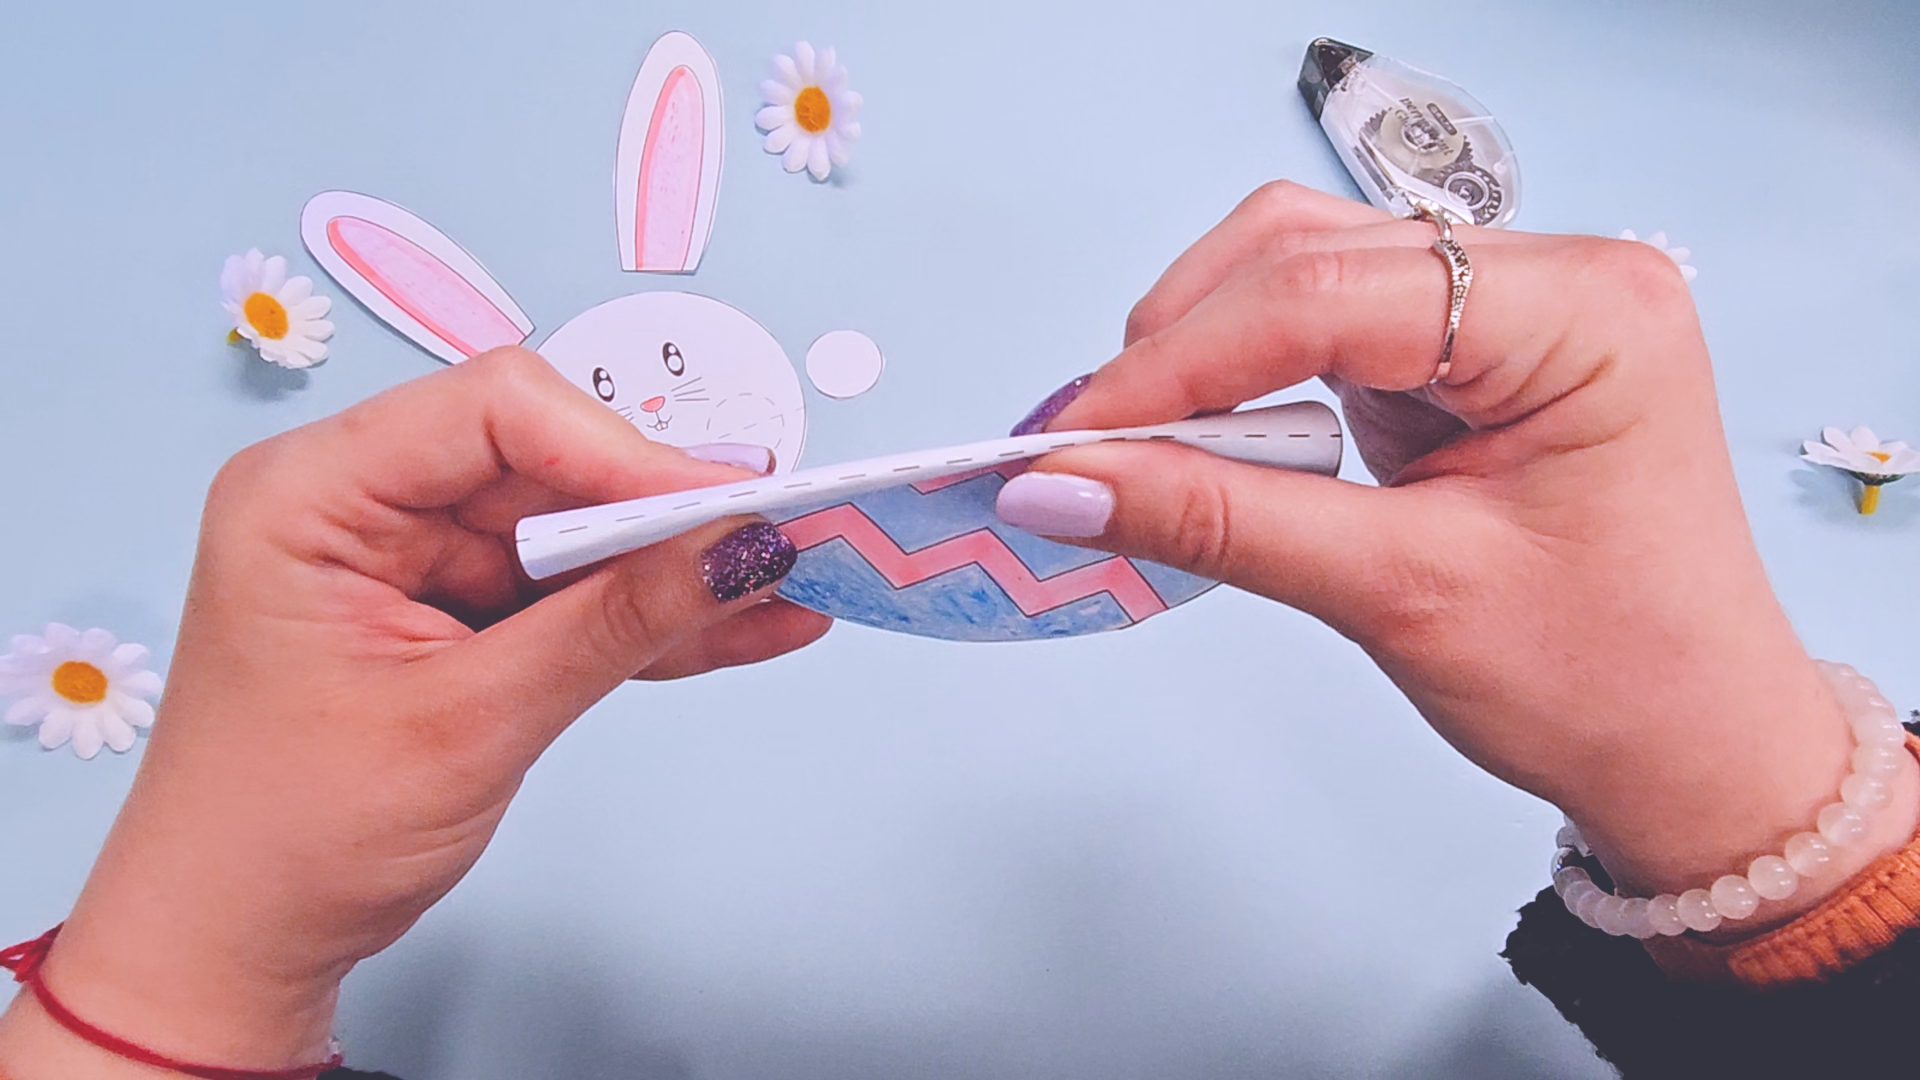
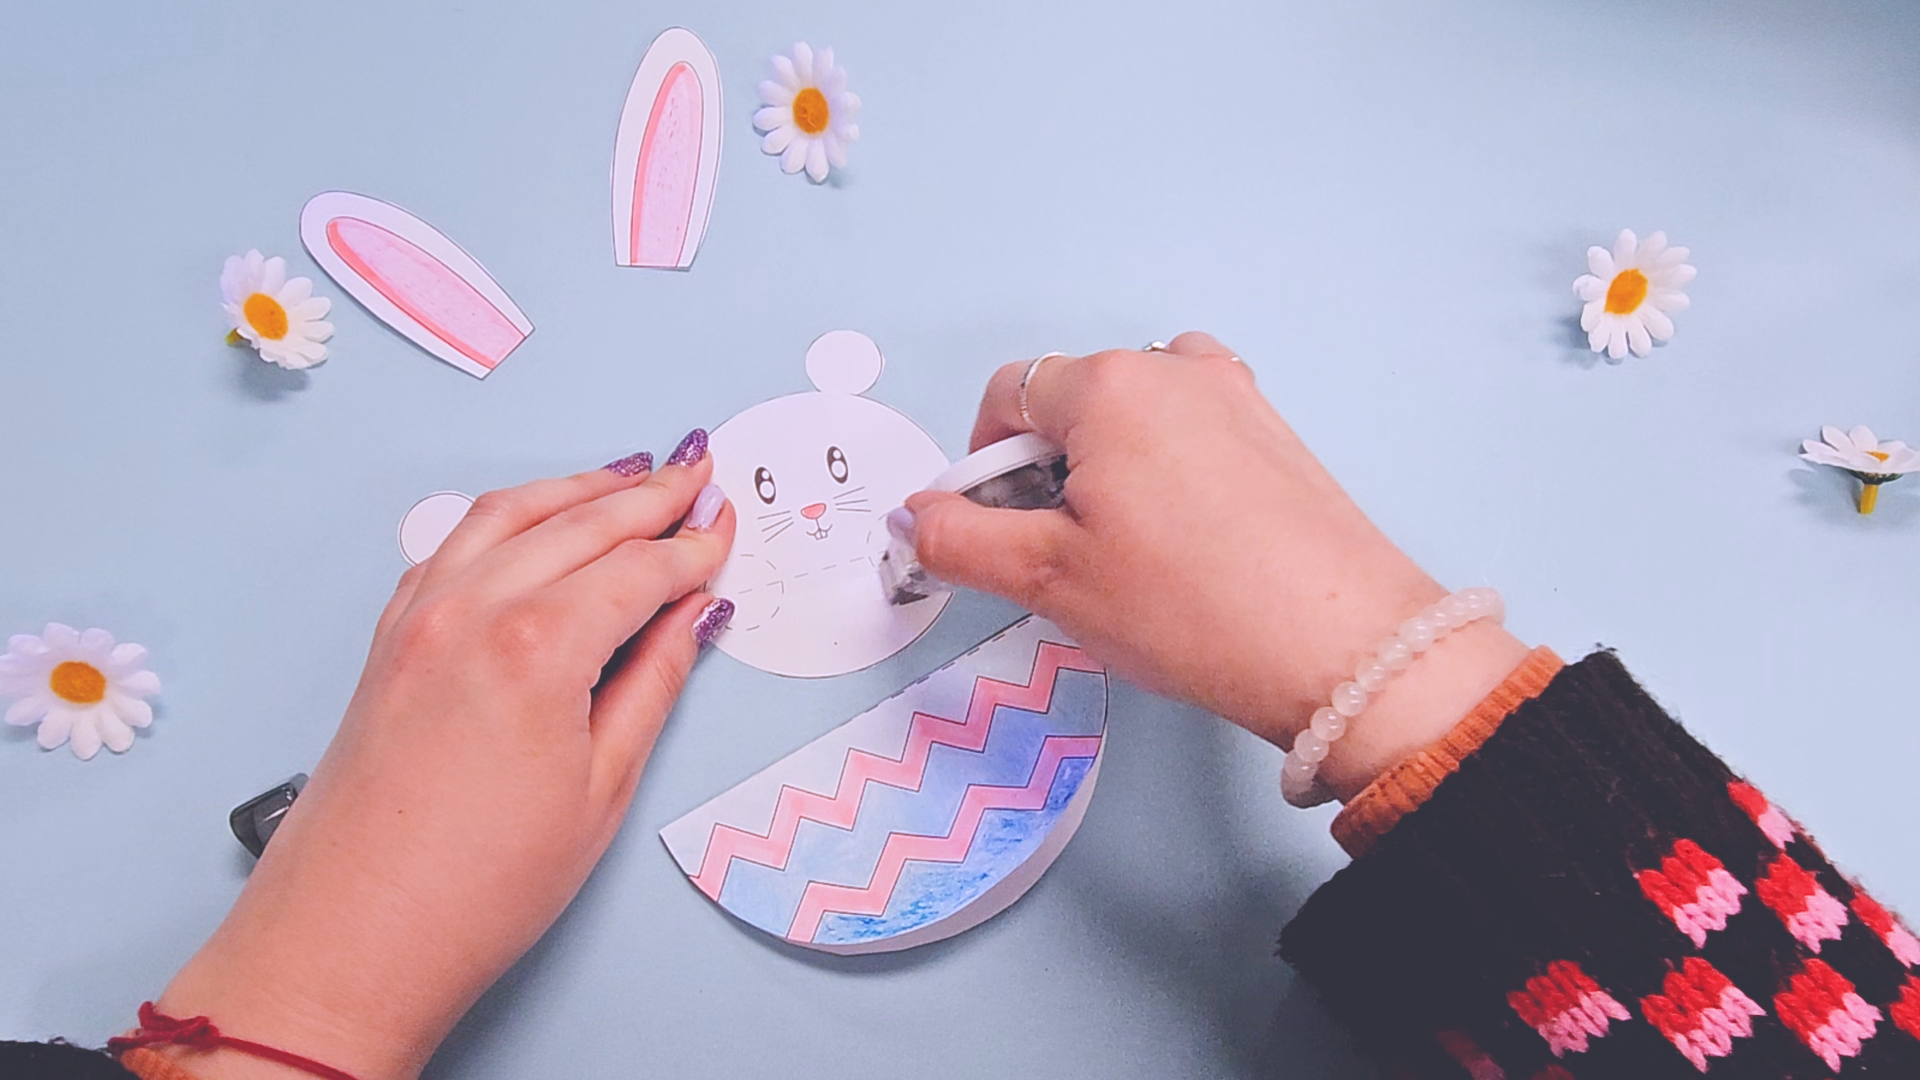
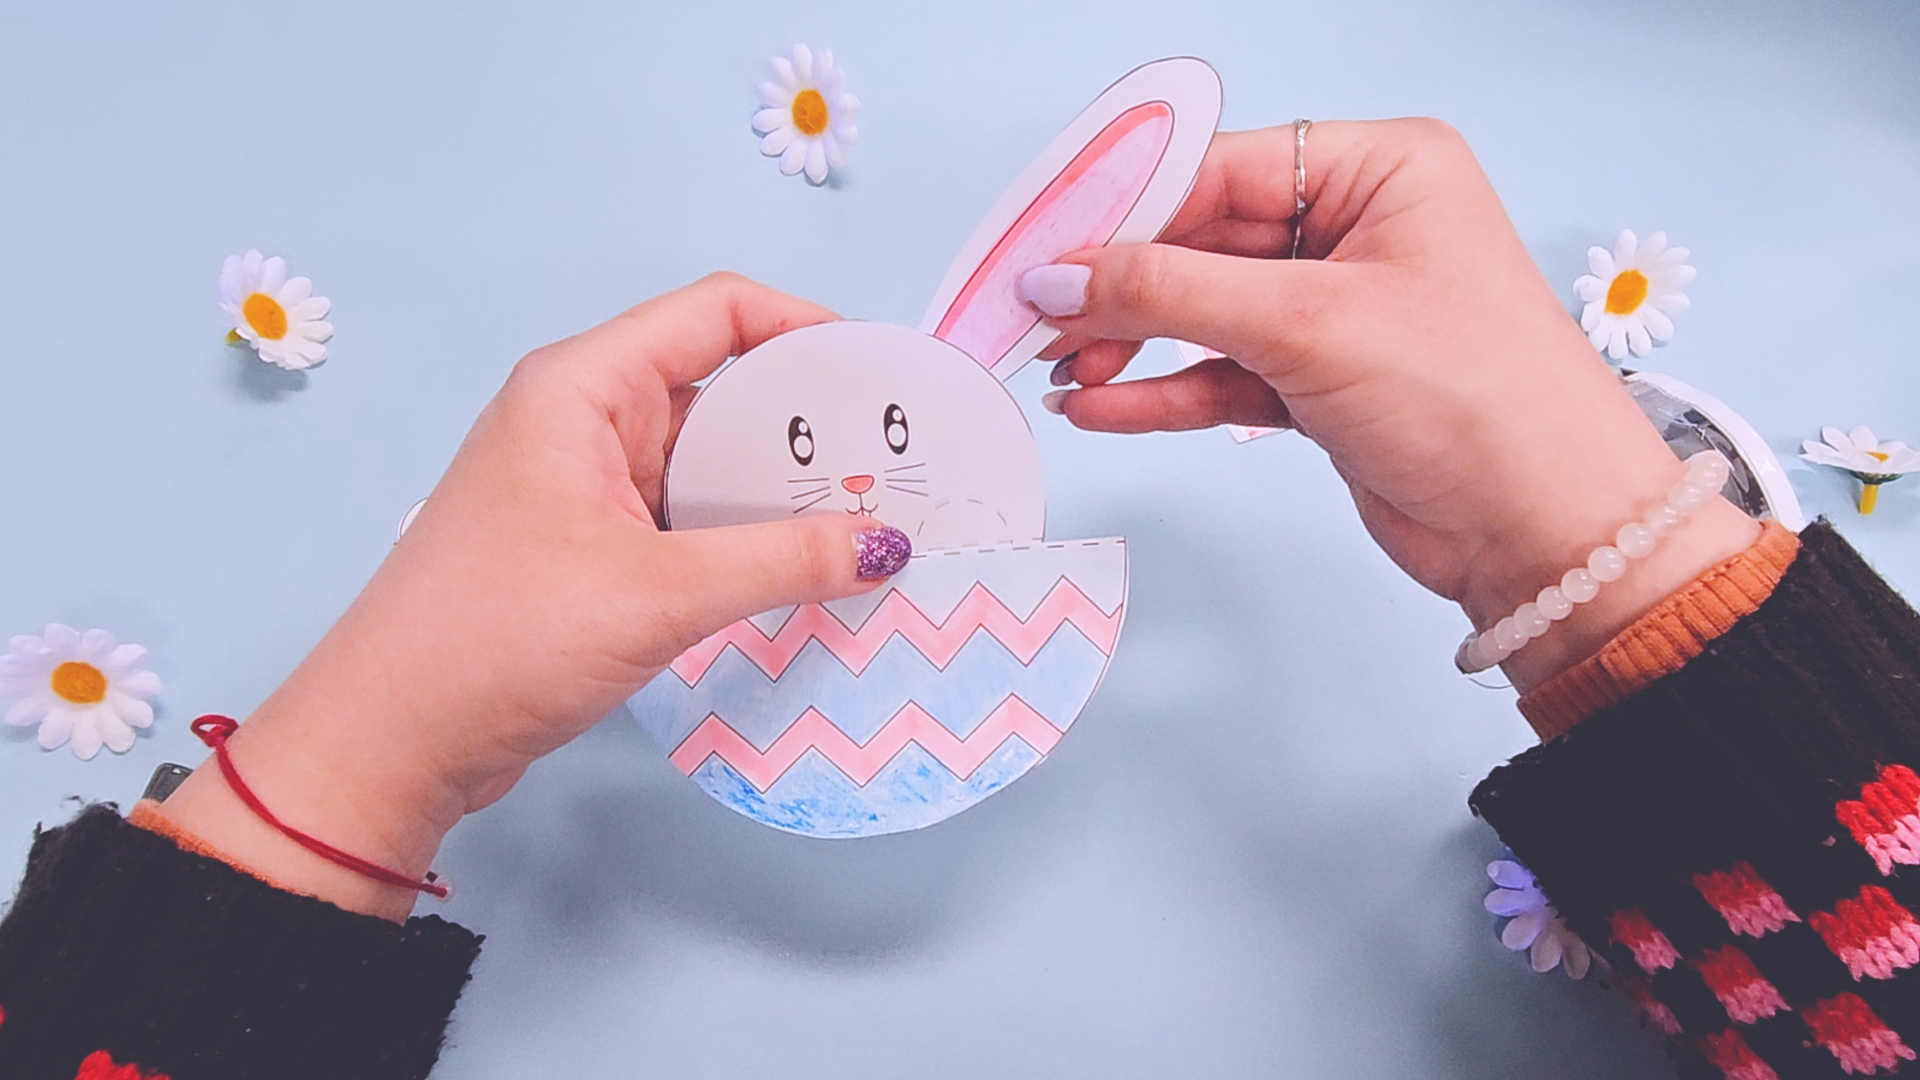
Step 4: Glue all of the parts of the bunny together!
Bunny Ears on top, attached from behind for a seamless look.
The large circle that you folded in half is glued to the front of the smaller circle under the dashed lines.
Glue the smallest circles, the bunny’s “paws”, on top of the dashed circle shapes, as if the bunny is holding on with its paws.
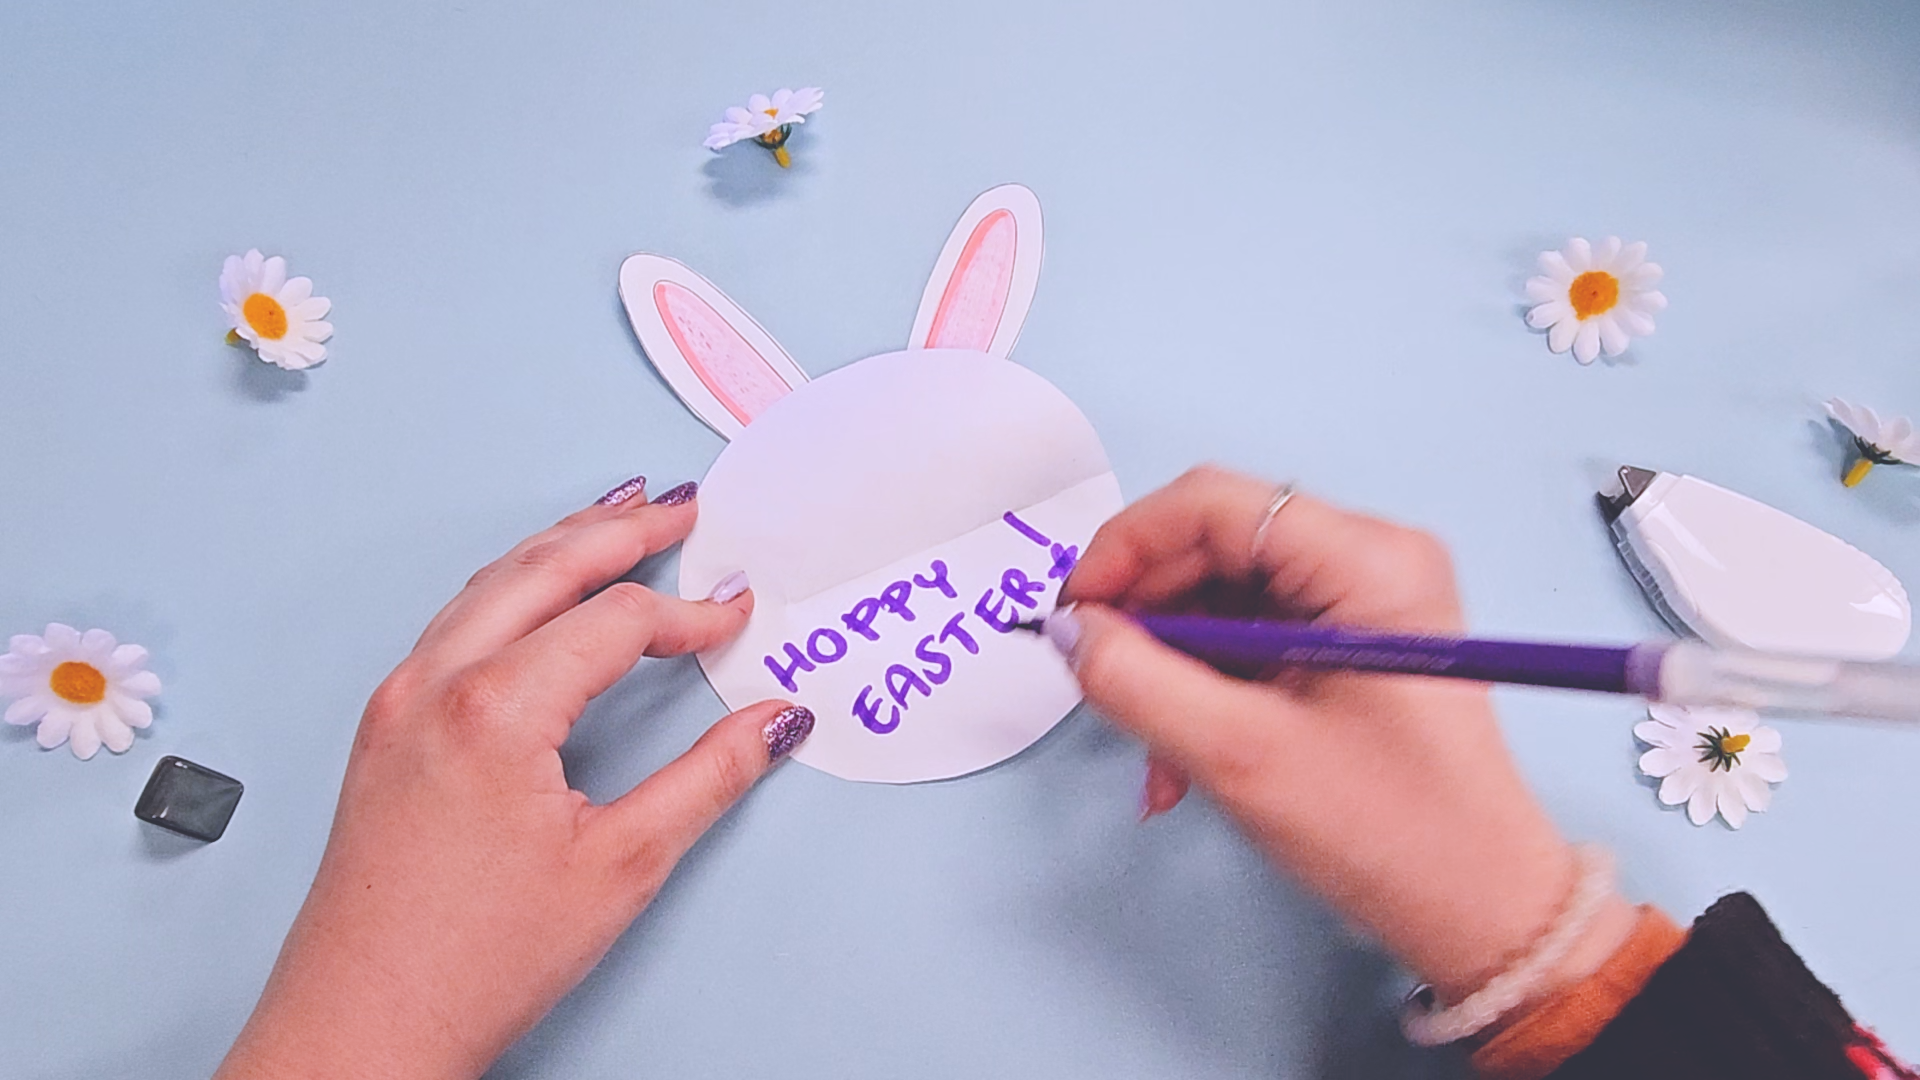
Step 5: Optional – Write a message inside the fold of the bunny!
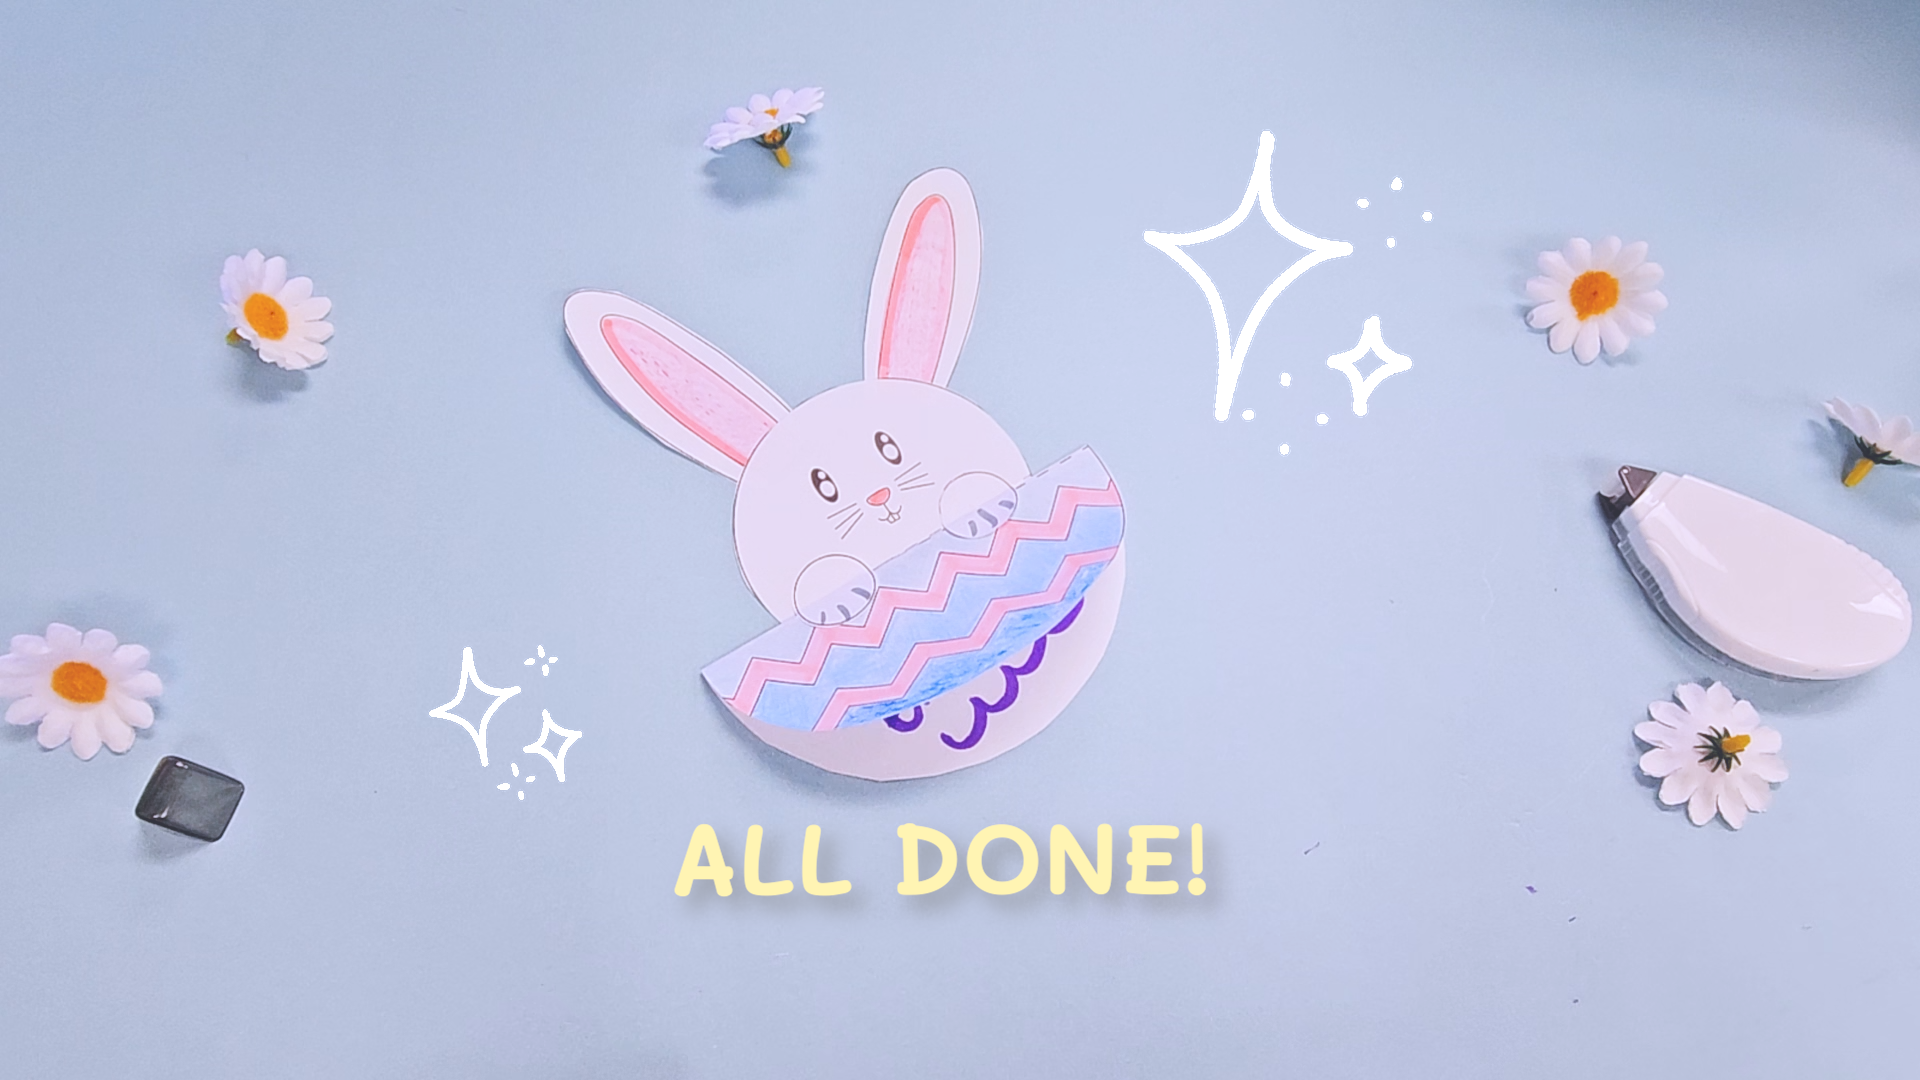
ALL DONE!
Check out our last DIY craft here.
Come join us in person! This DIY craft will be featured at the following events:
- The Shops at Santa Anita: Breakfast w/ Bunny – Click here for more information
- City of Monterey Park: Spring Egg Hunt – Click here for more information
- City of Arcadia: Spring Eggstravaganza – Click here for more information