St. Patrick’s Day Paper Hat DIY

Are you looking for a fun and easy way to get into the St. Patrick’s Day spirit? Why not make your own St. Patrick’s Day Paper Hat!
Not only is it a simple and affordable DIY project, but it’s also a great way to add a touch of green to your day. Whether you’re looking for a festive accessory for a St. Patrick’s Day party or just want to add a bit of fun to your outfit, this paper hat is the perfect solution.
We will show you how to make your own St. Patrick’s Day paper hat with just a few simple materials that you probably already have at home. So grab some green paper and get ready to create a St. Patrick’s Day accessory that you’ll love!
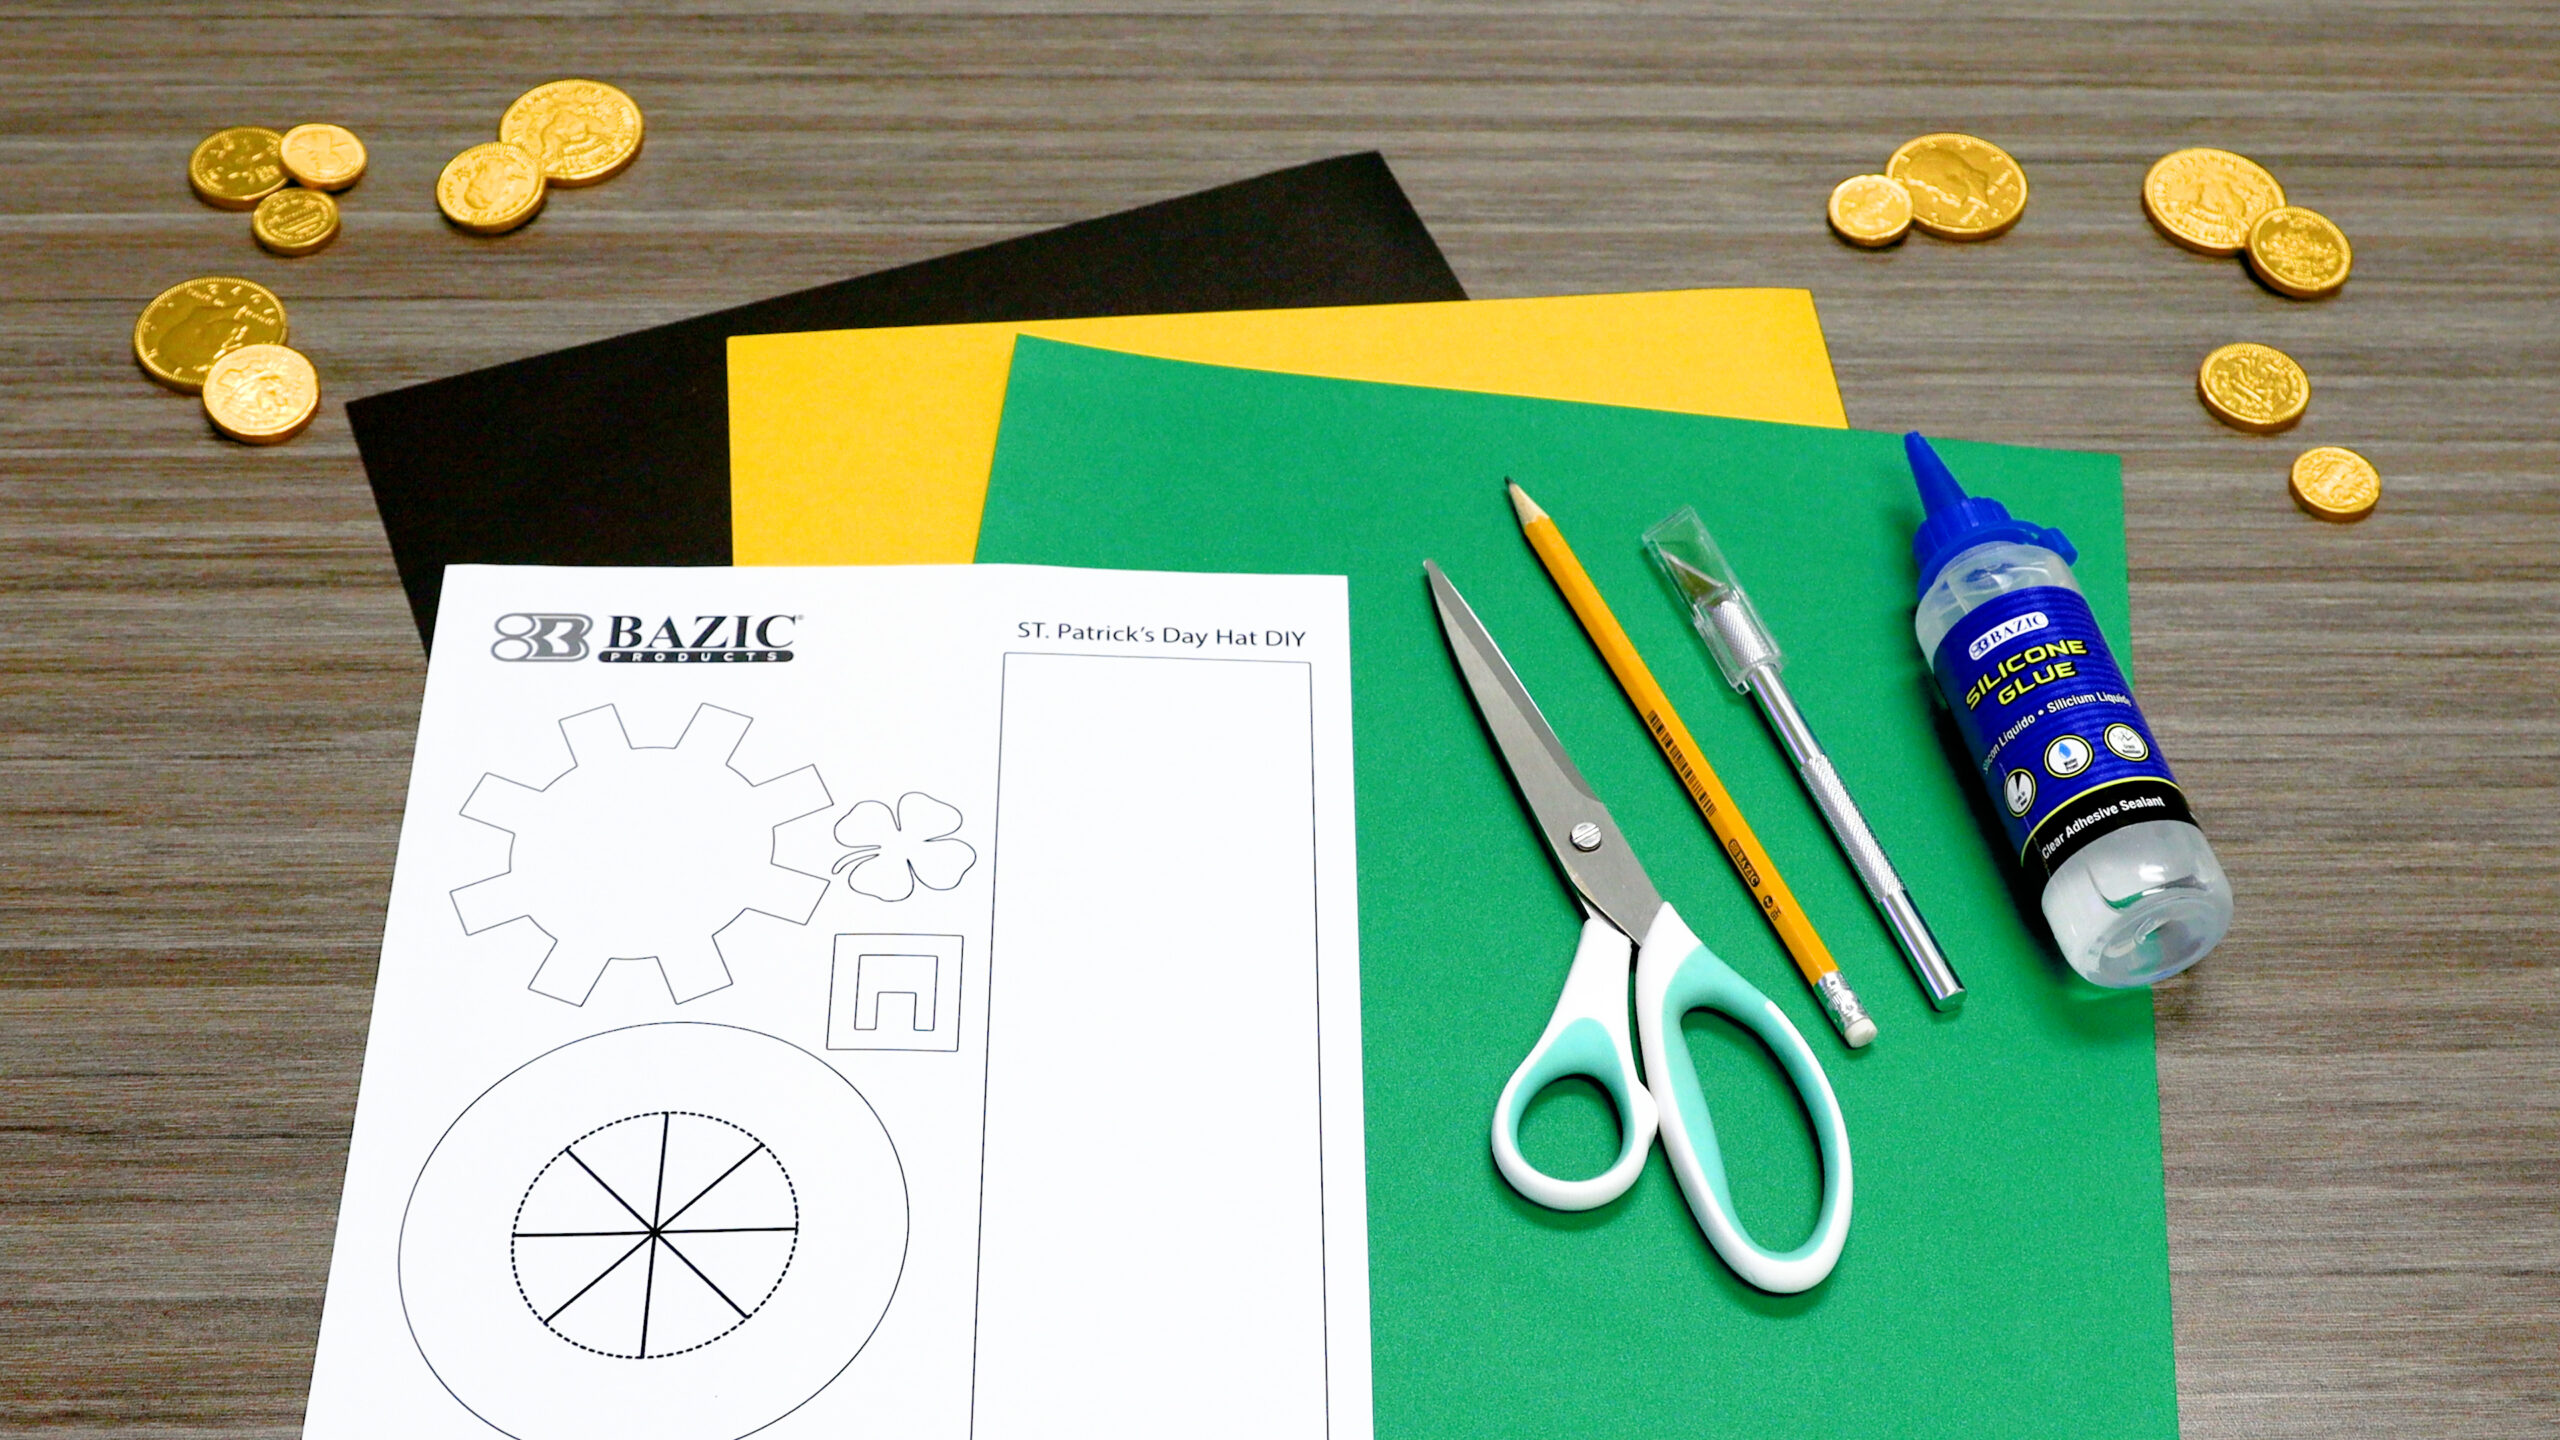
Materials you will need:
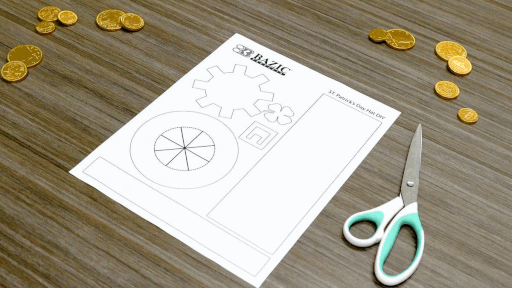
Step 1: Gather materials
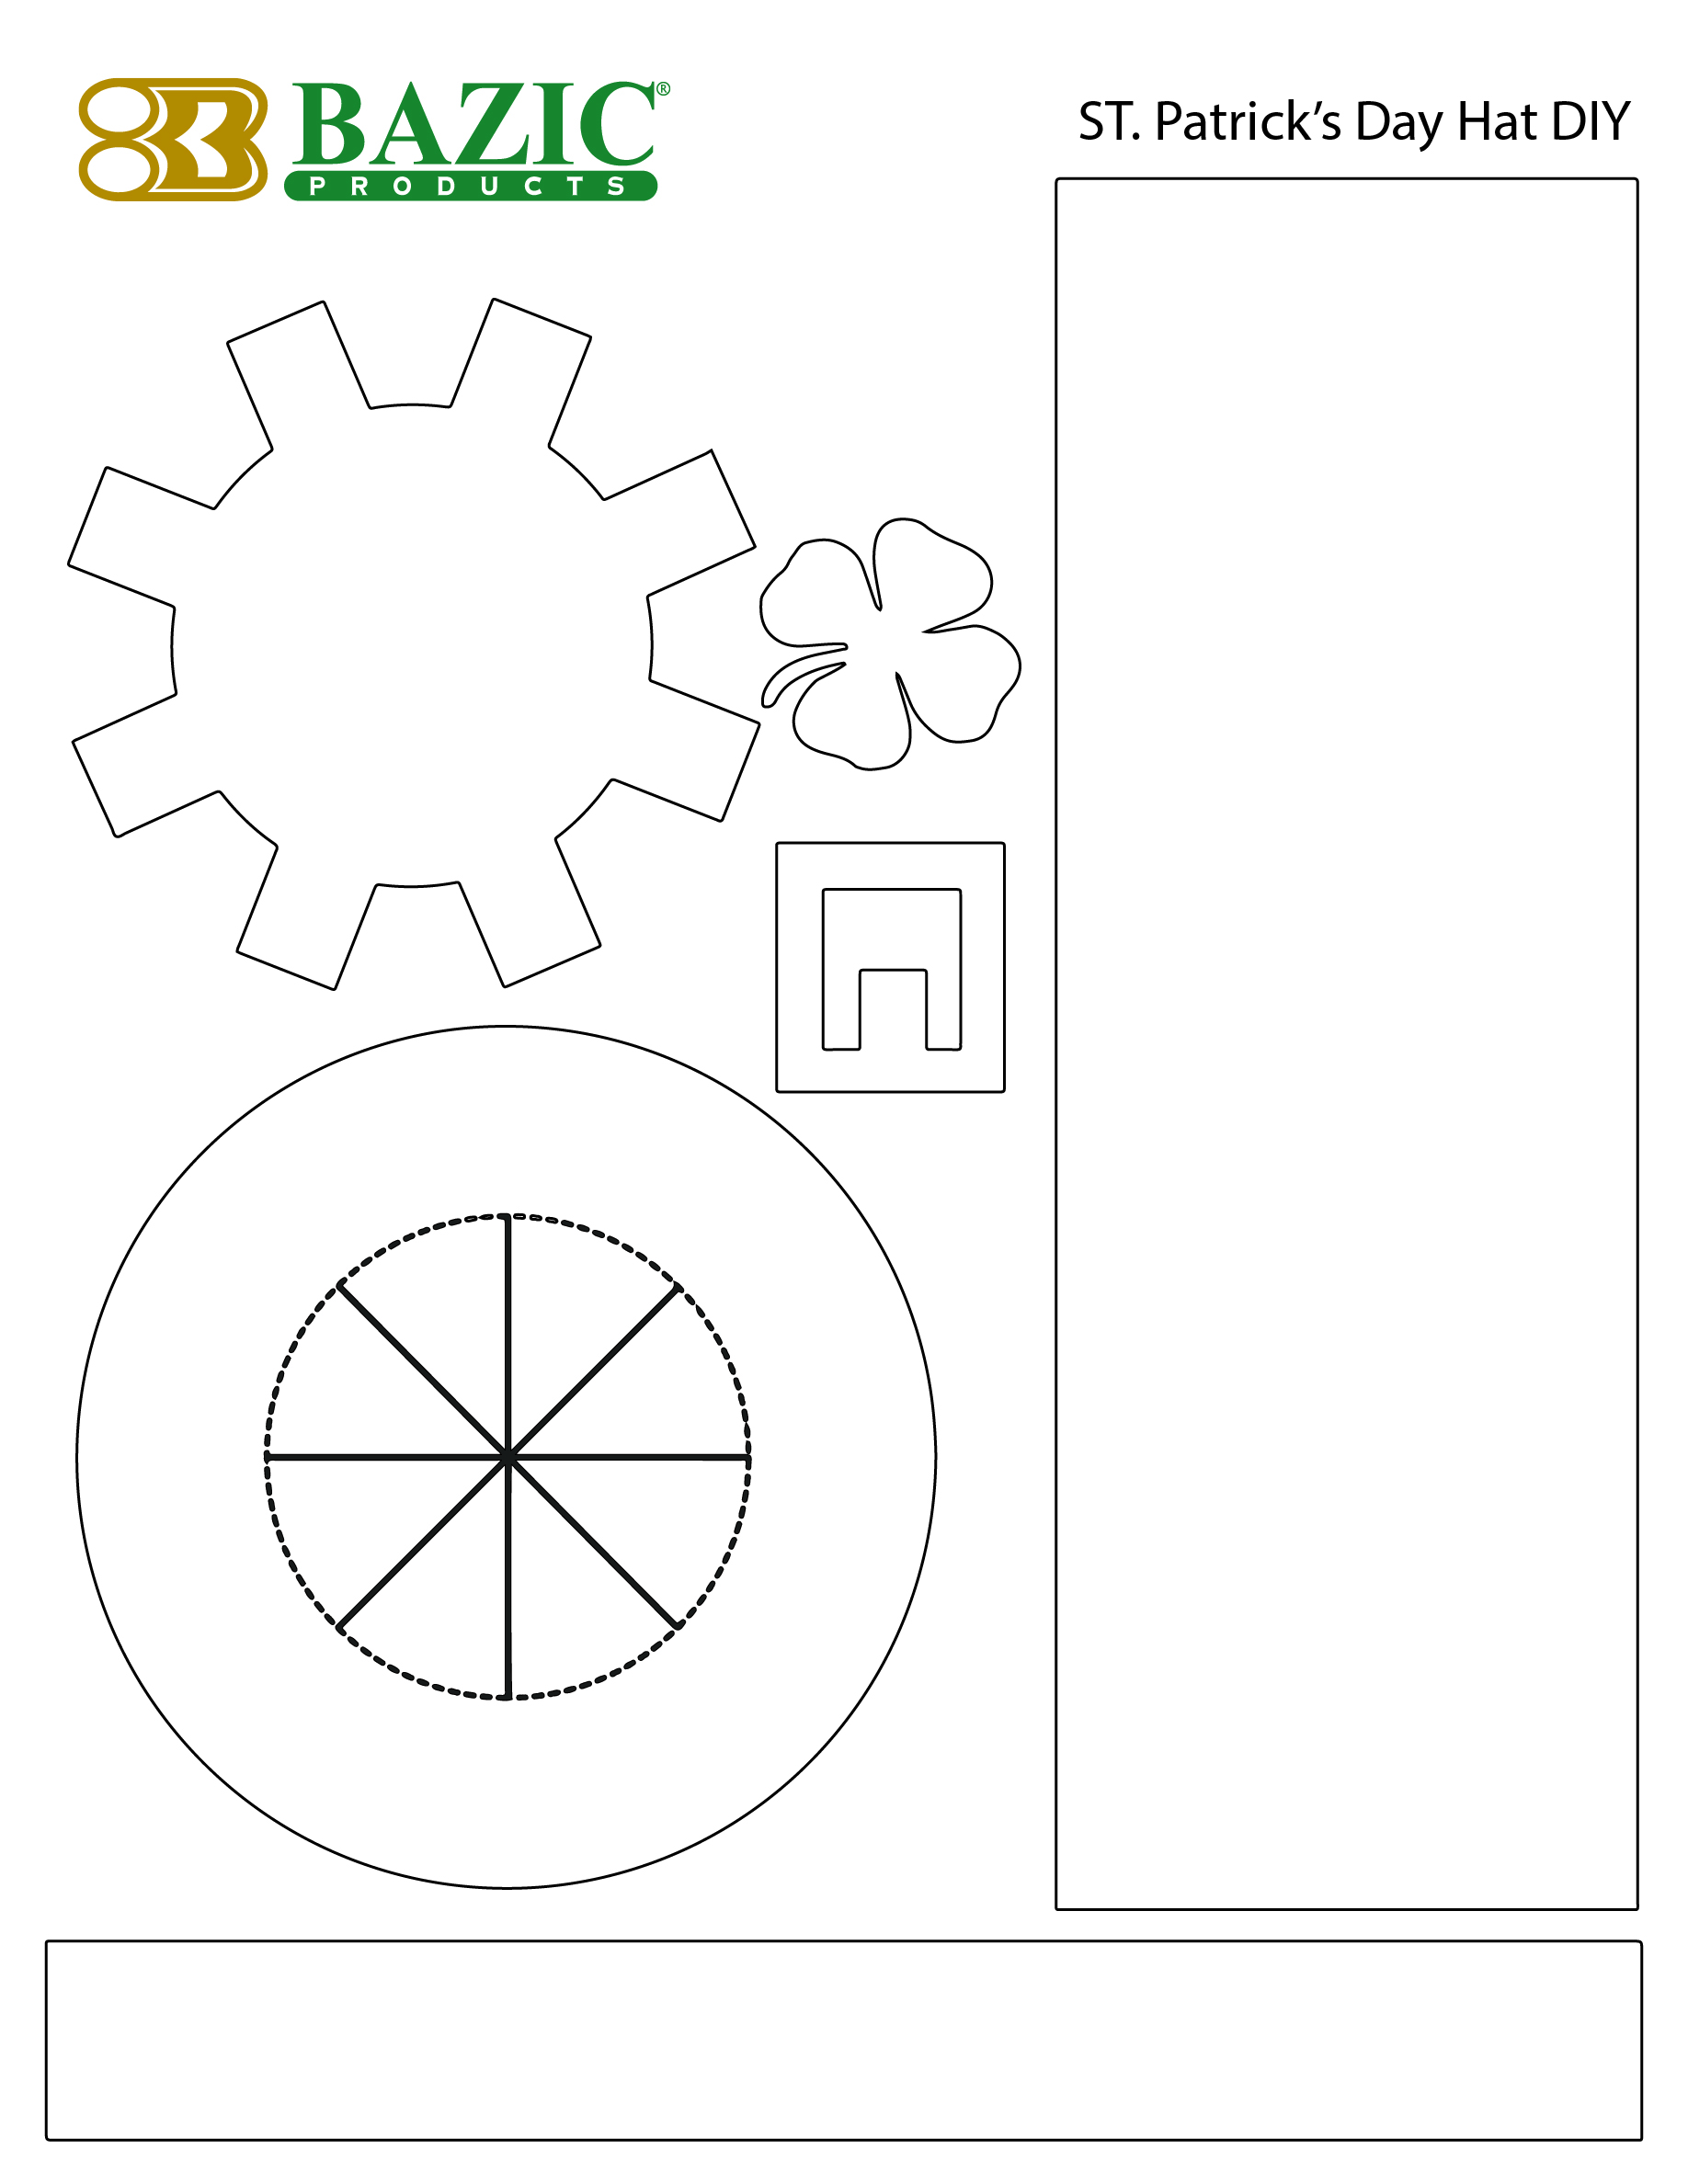
Step 2: Cut out Template
For the circle and buckle piece, use a cutter to cut the middle parts
Step 3: Trace these pieces to a green poster board and cut out
For the circle piece, use a cutter to cut the middle part
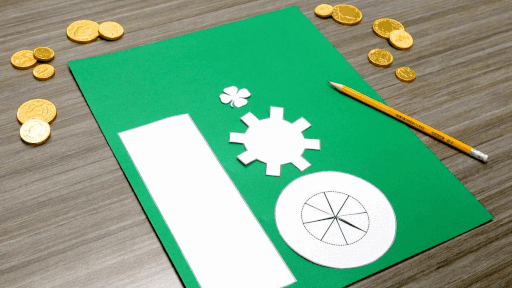
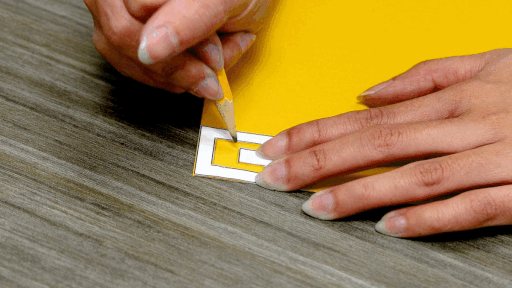
Step 4: Trace this piece to a yellow poster board and cut out
For the buckle piece, use a cutter to cut the middle part
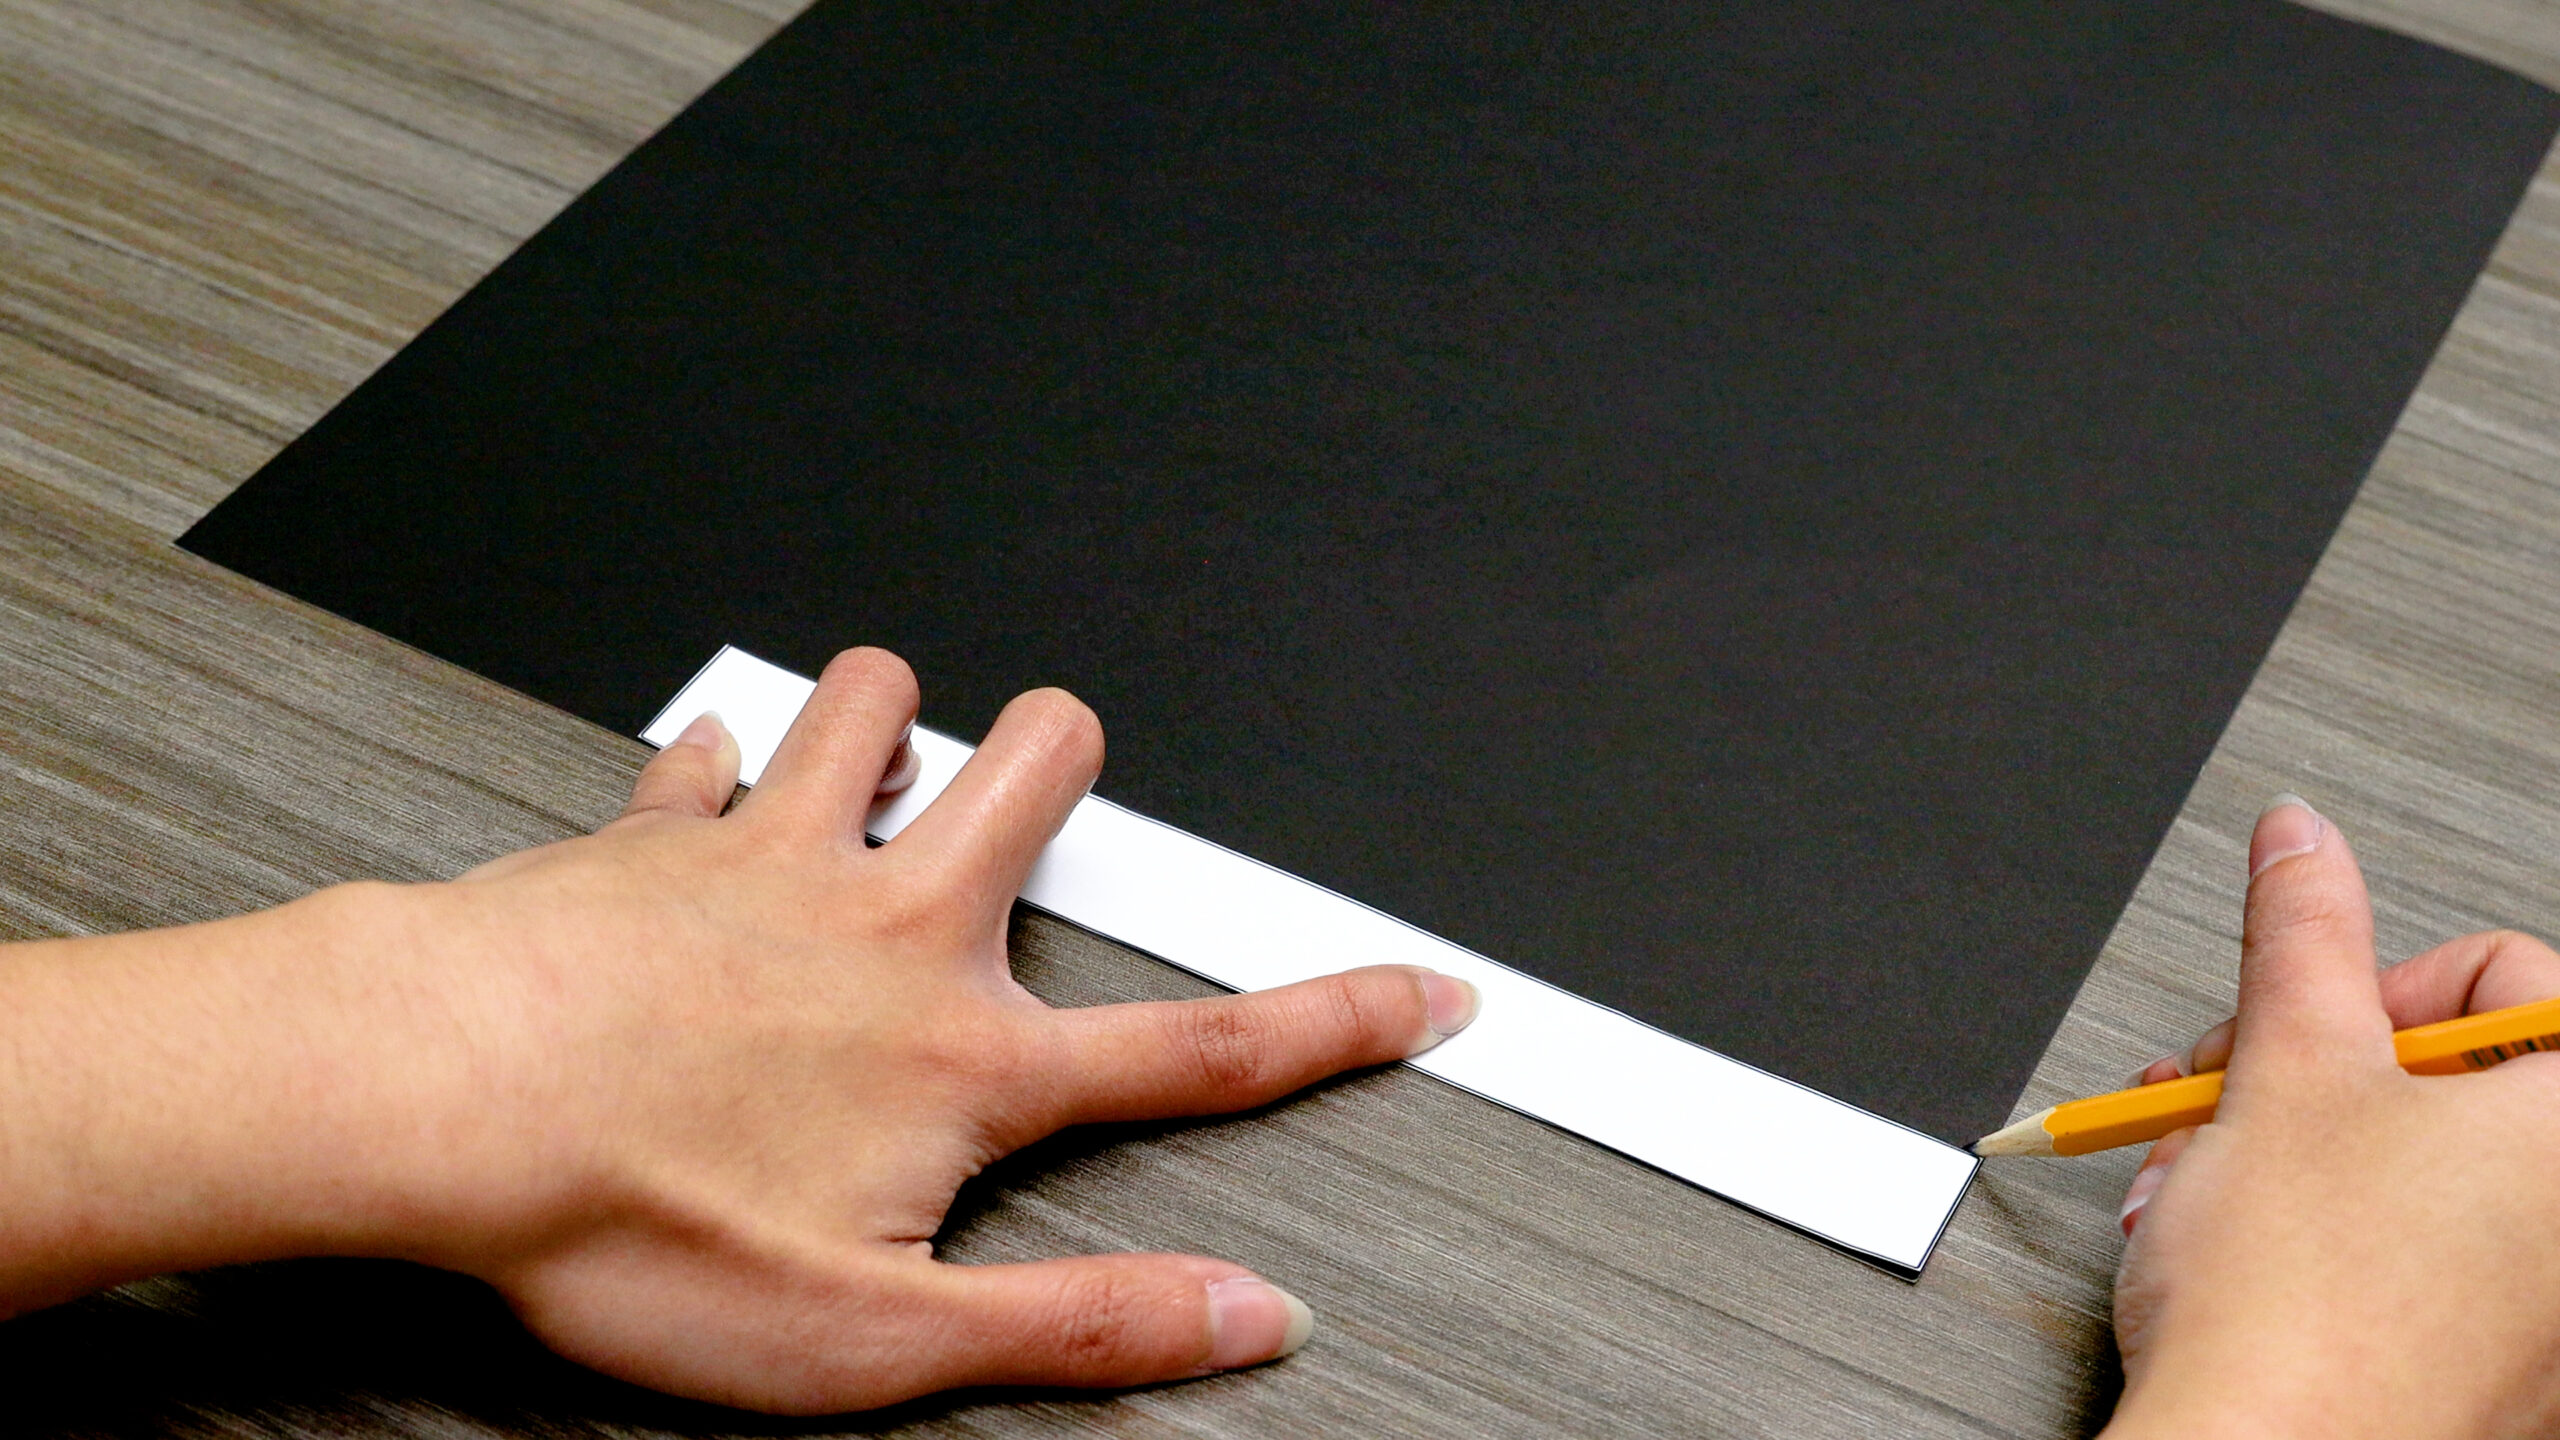
Step 5: Trace this piece to a black poster board and cut out
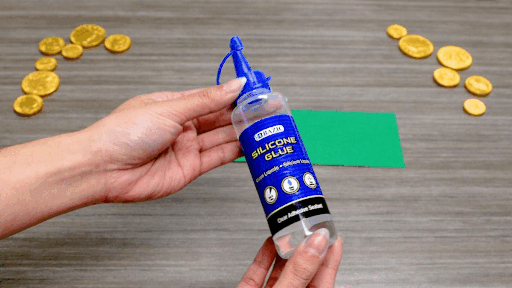
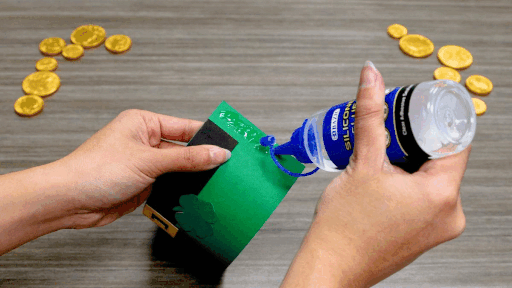
Step 6: Glue the black strip to the green rectangle piece.
Followed by the buckle and 4 leaf clover. Let glue set.
Step 7: Glue hat together. Let glue set.
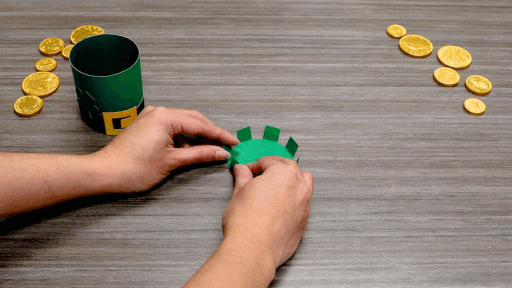
Step 8: Taking the top piece with the ridges, fold all and glue to the top part of the hat. Let glue set.
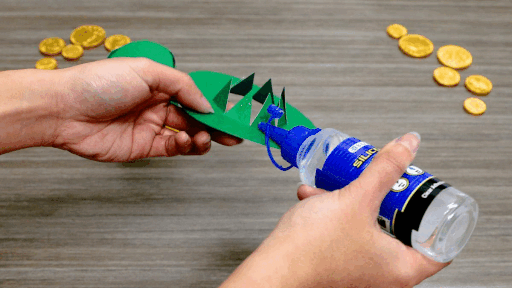
Step 9: Taking the bottom piece – circle with middle triangles – glue to the bottom of the hat. Let glue set.
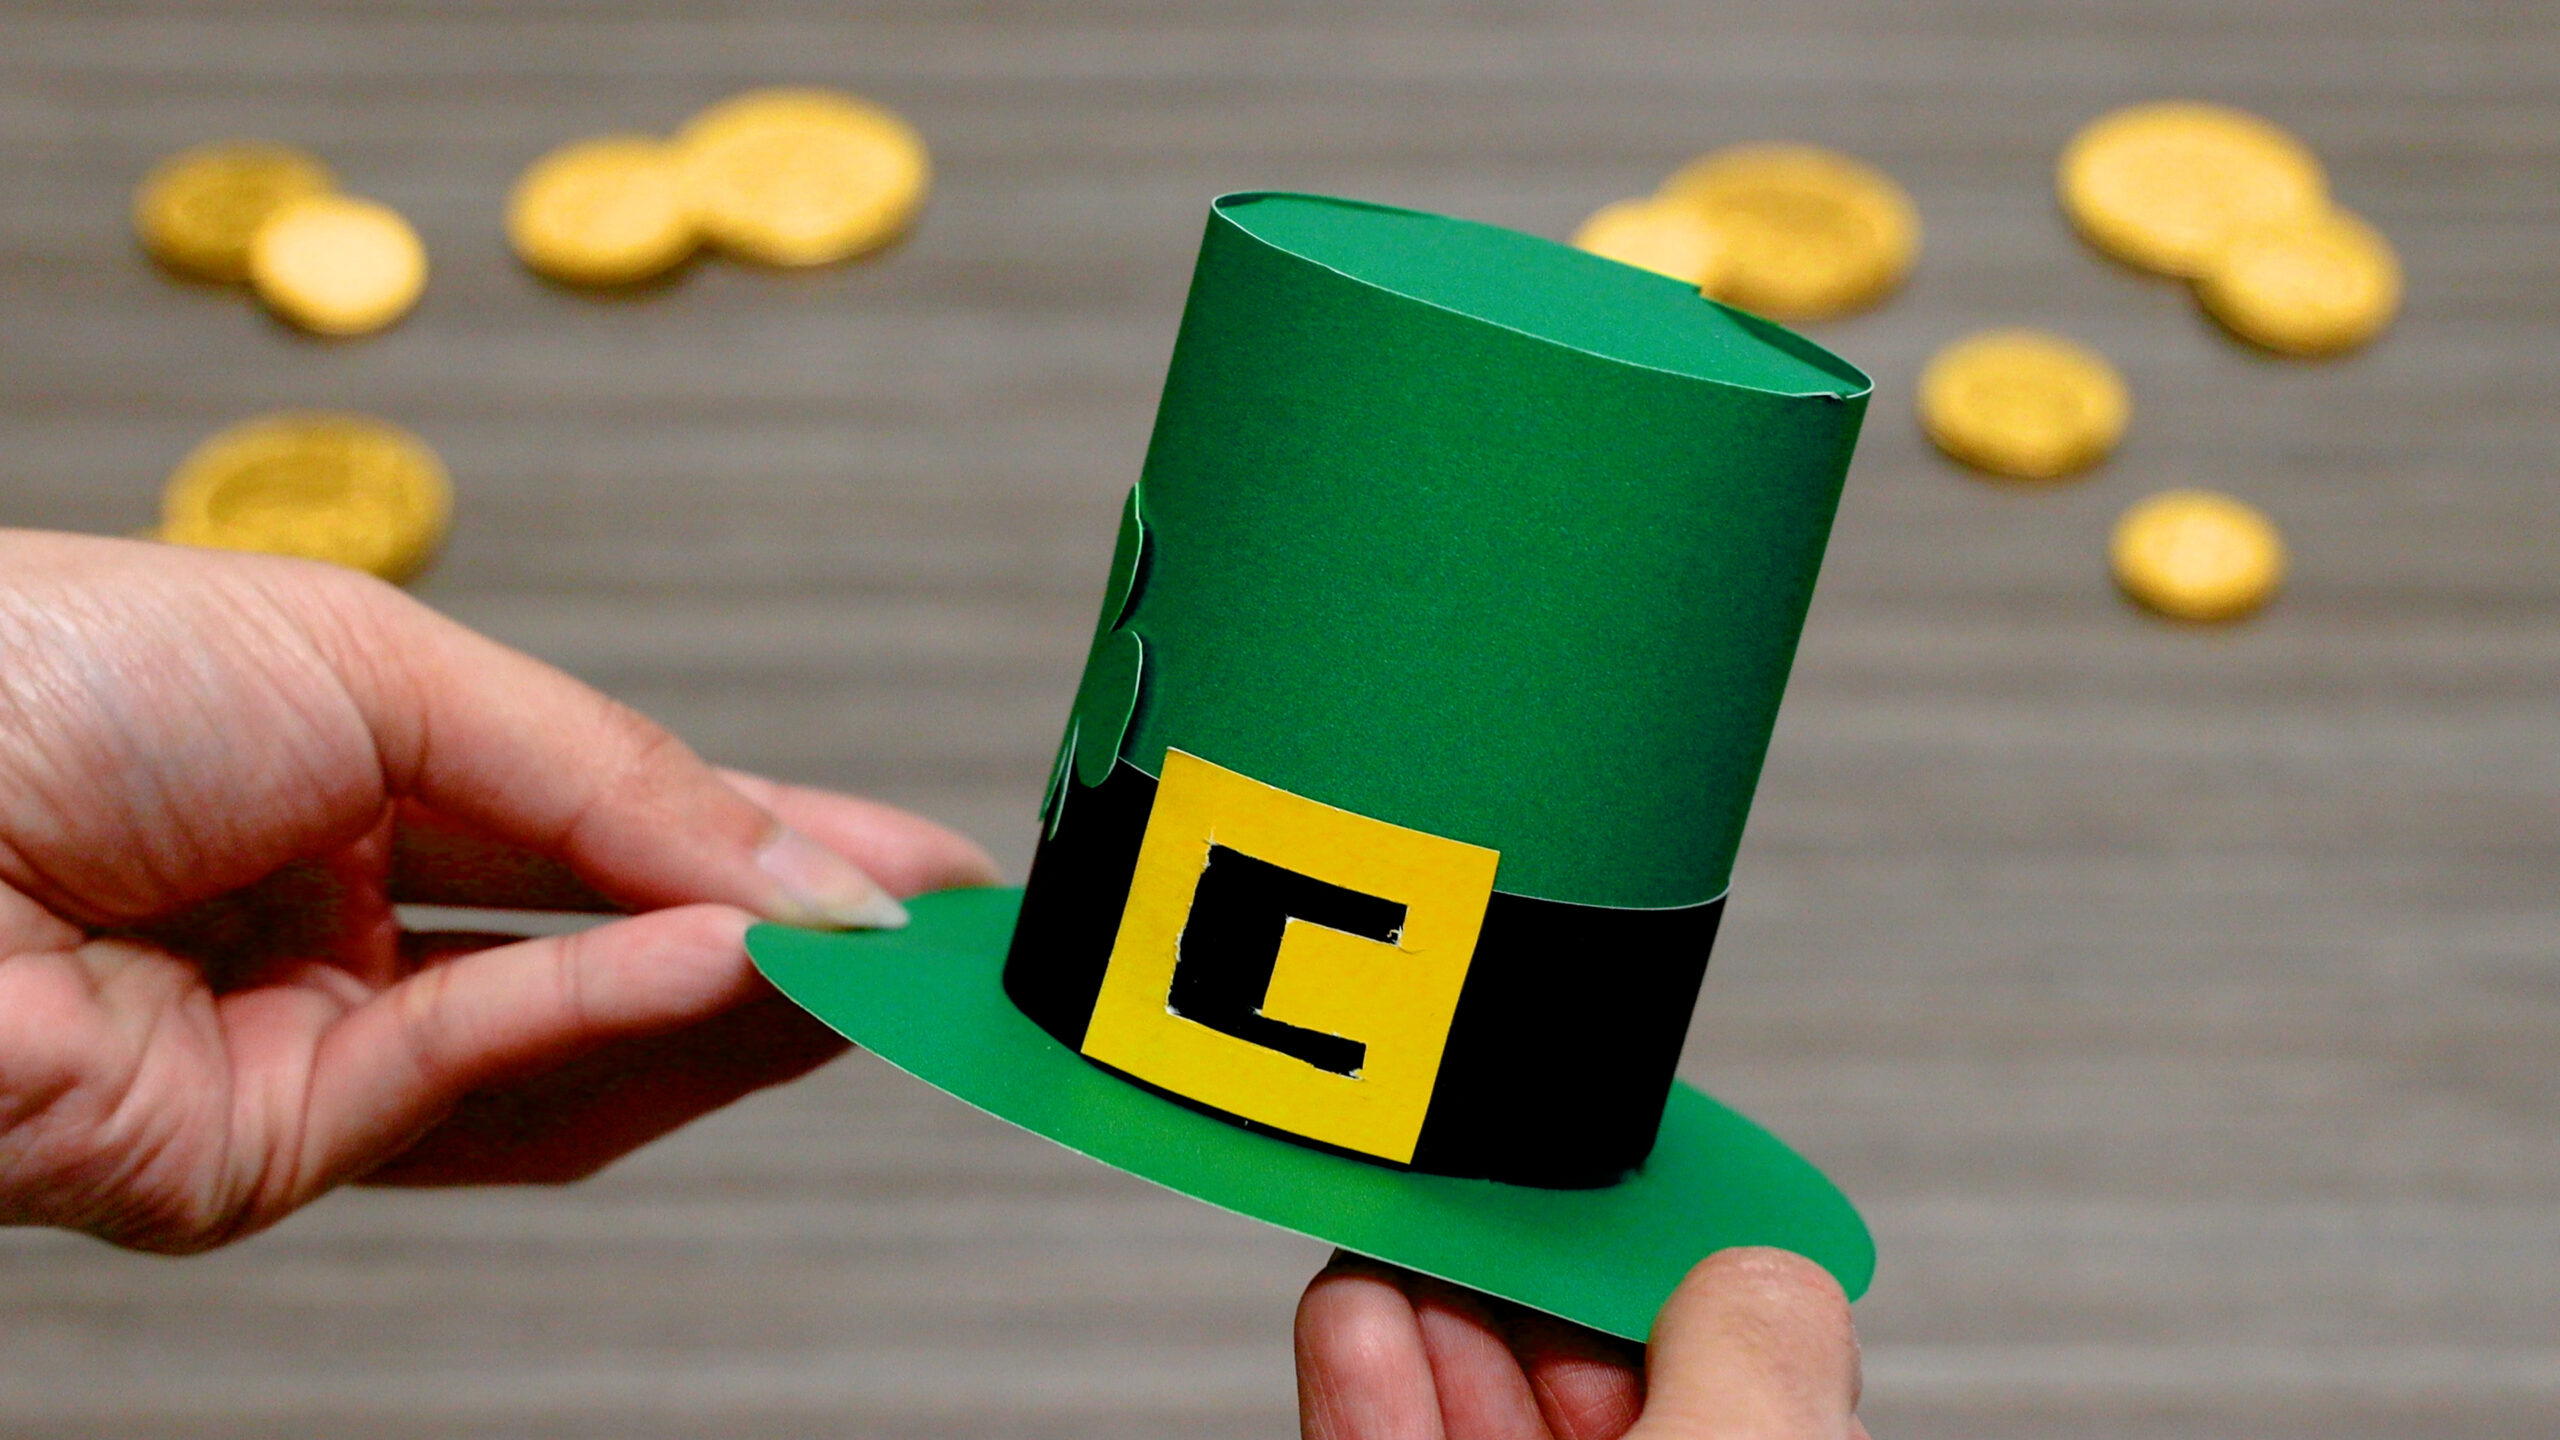
Step 10: Enjoy!
Watch our step-by-step tutorial to create your St. Patrick’s Day Paper Hat DIY:
Check out our last DIY craft here.