DIY Trick or Treat Halloween Bag

Trick or treat! Who’s Excited for Halloween? We know, we all are! ! Every week we will be bringing out a new craft you can do with your family and friends. This week, we have our DIY trick or treat bags your kids will have fun making. It definitely will keep them busy and will get the arts and craft side of yourself out.
For this project you will need:

Step 1: Gather up all your materials.

Step 2: Measure out your paper bag so that your paper lays perfectly on top it

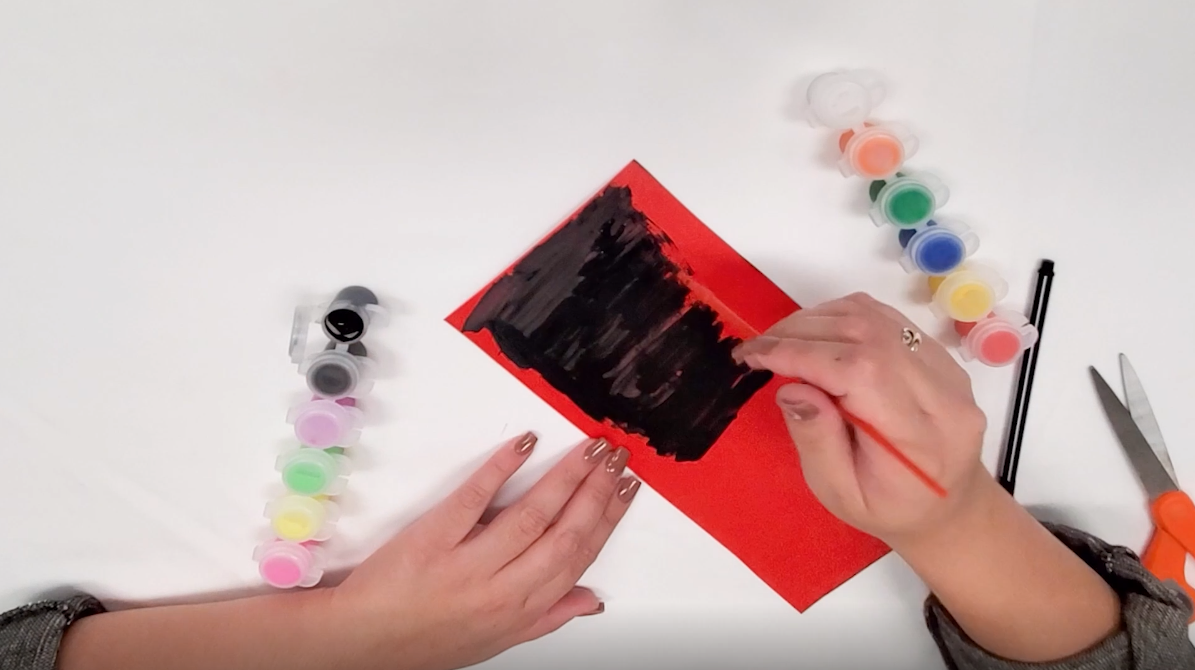
Step 3: Start painting your cut out paper and leave space on paper to paint your sun later after your first layer dries.
Step 4: Use the template provided and cut out your shapes.
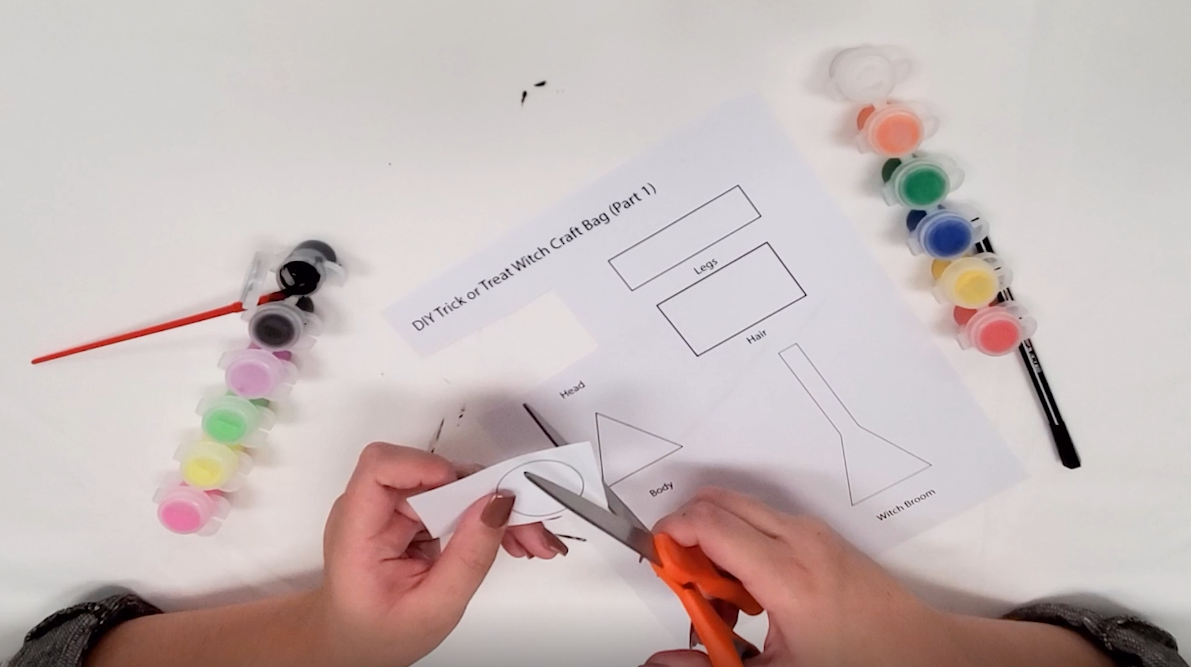
Step 5: Trace your shapes out on your paper and start cutting them out.
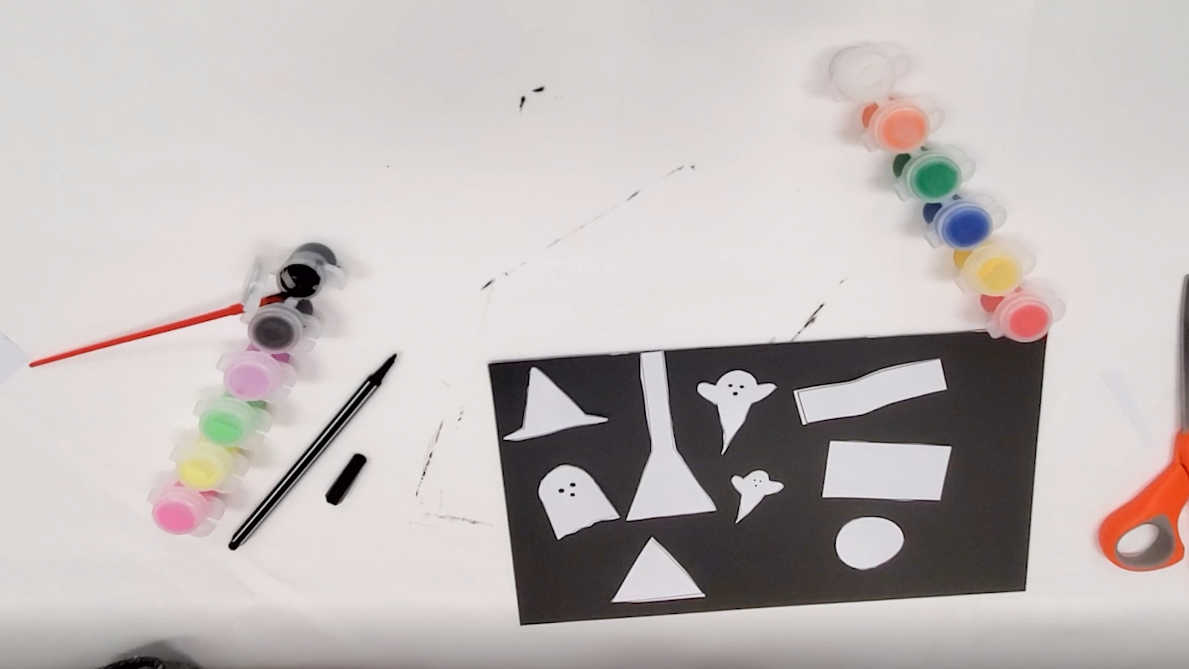
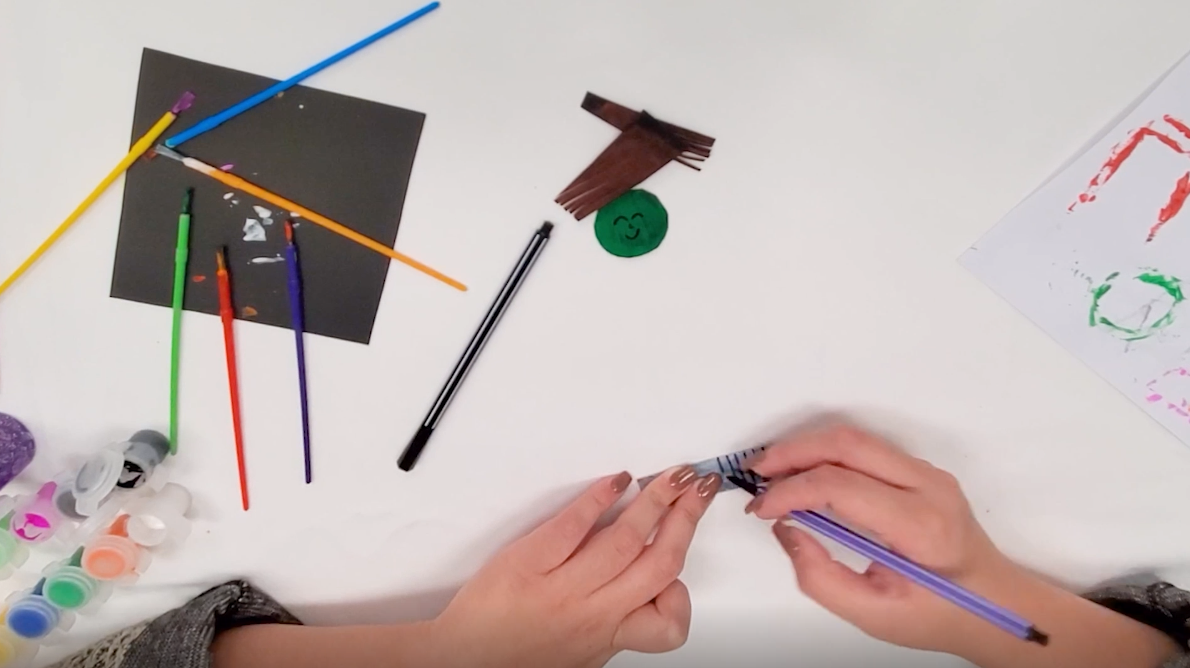
Step 6: After cutting all your shapes out, start painting them any color you see fit. (We used white, green, orange, red, pink, and purple.)
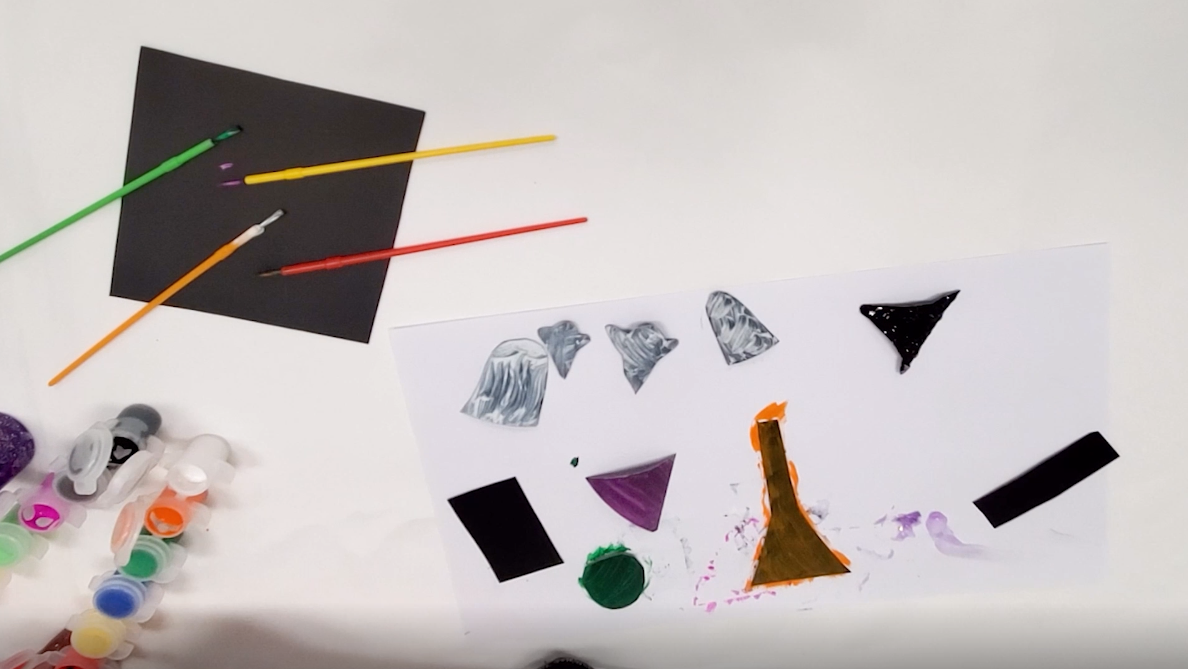
Step 7: Let all your pieces you just paint dry.
Step 8: After they are done drying put your final touches buy using your pen or marker to make the faces for the ghost and witch head
Step 9: start gluing all your pieces together
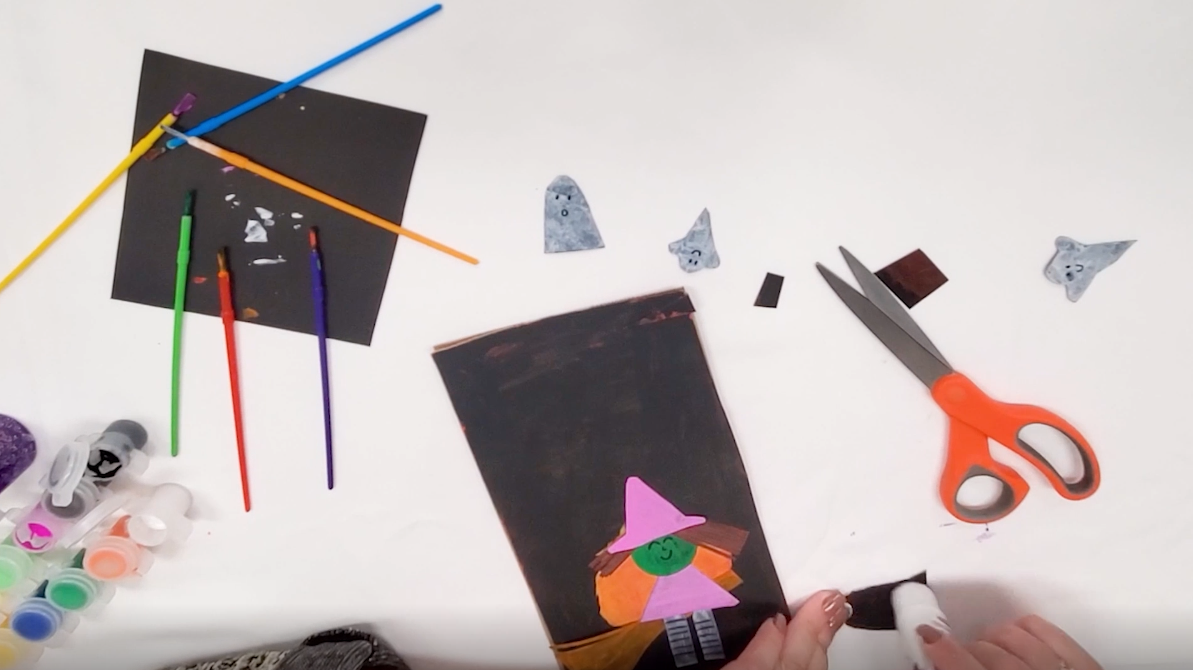
Step 10: you are all done. Now you are ready to trick or treat in style.

Watch our step by step video to make your Trick or Treat Bag: