Easter Bunny DIY

Easter is just around the corner, and what better way to get into the festive spirit than by making your own Easter Bunny?
Creating your own Easter Bunny DIY is a fun and creative activity that can be enjoyed by both children and adults alike. Not only is it a great way to add a personal touch to your Easter decorations, but it also provides an opportunity to spend quality time with family and friends.
In this blog post, we’ll provide you with a step-by-step guide on how to create your own Easter Bunny using some basic materials that can be found around the house. So let’s hop right in and get started on this exciting DIY project!
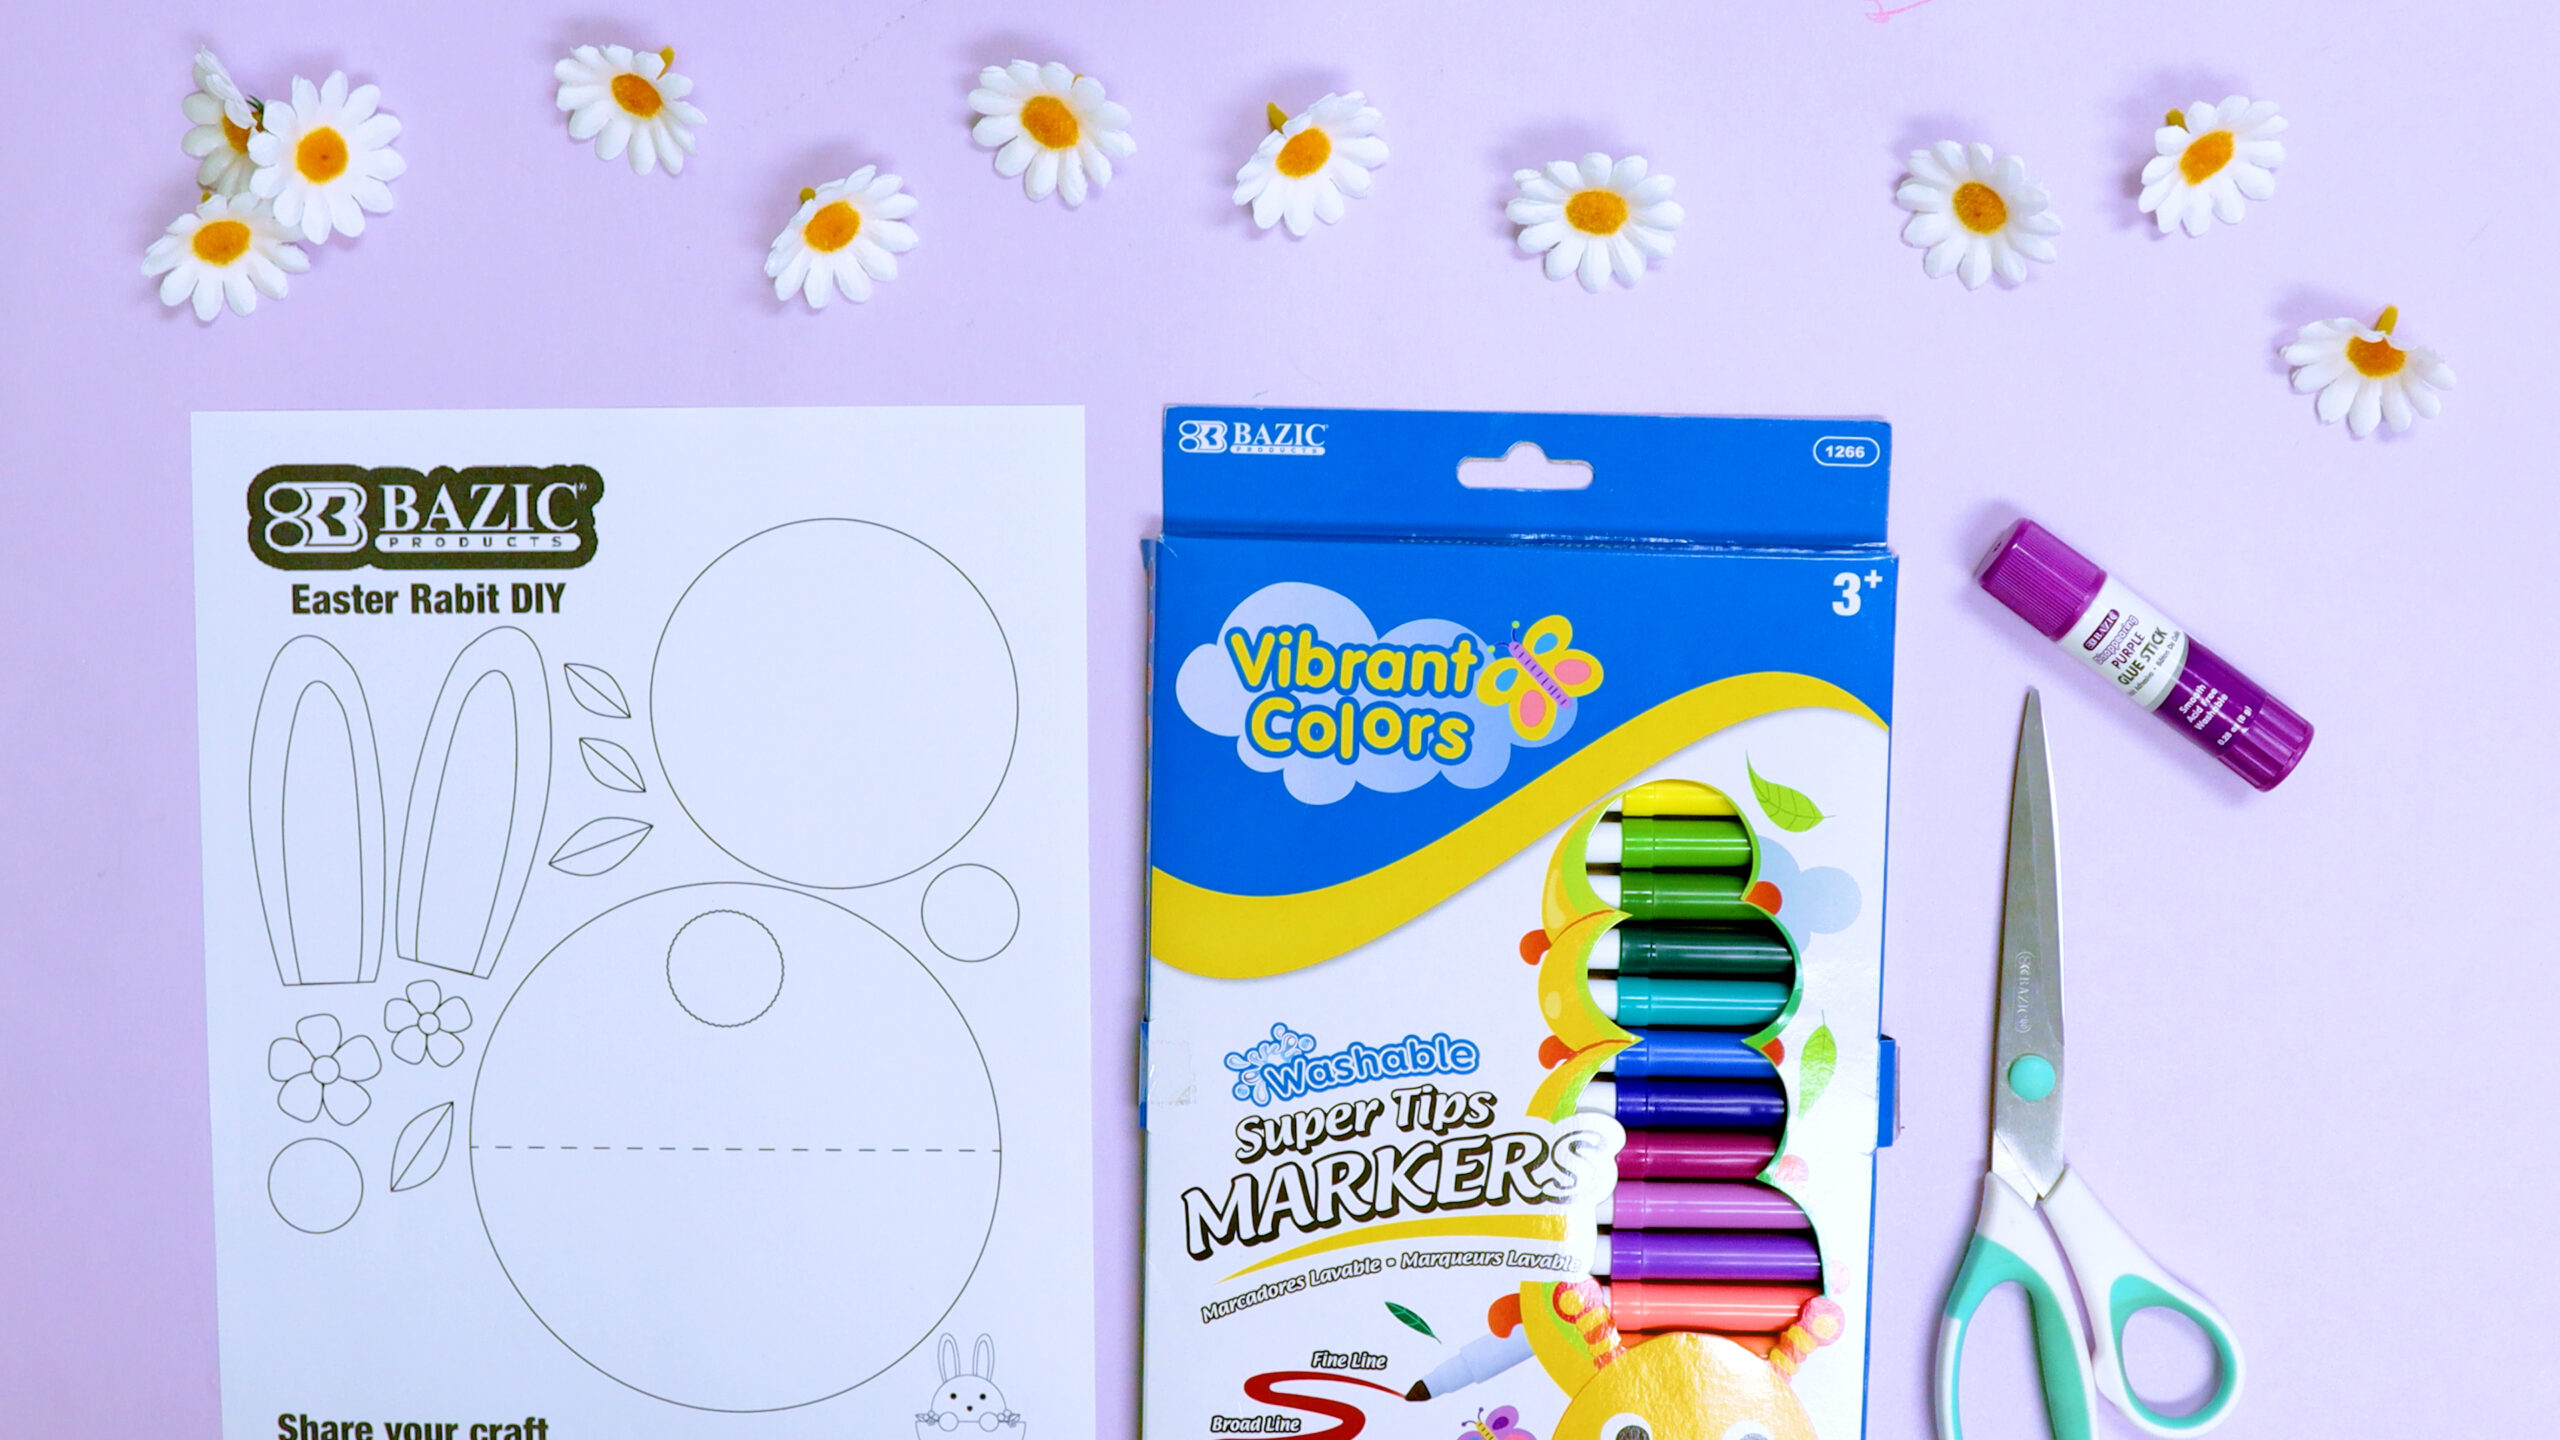
Materials you will need:
- Markers / Coloring materials
- Construction / Color Paper
- Scissors
- Adhesive
Watch our step-by-step tutorial to create your Easter Bunny DIY:
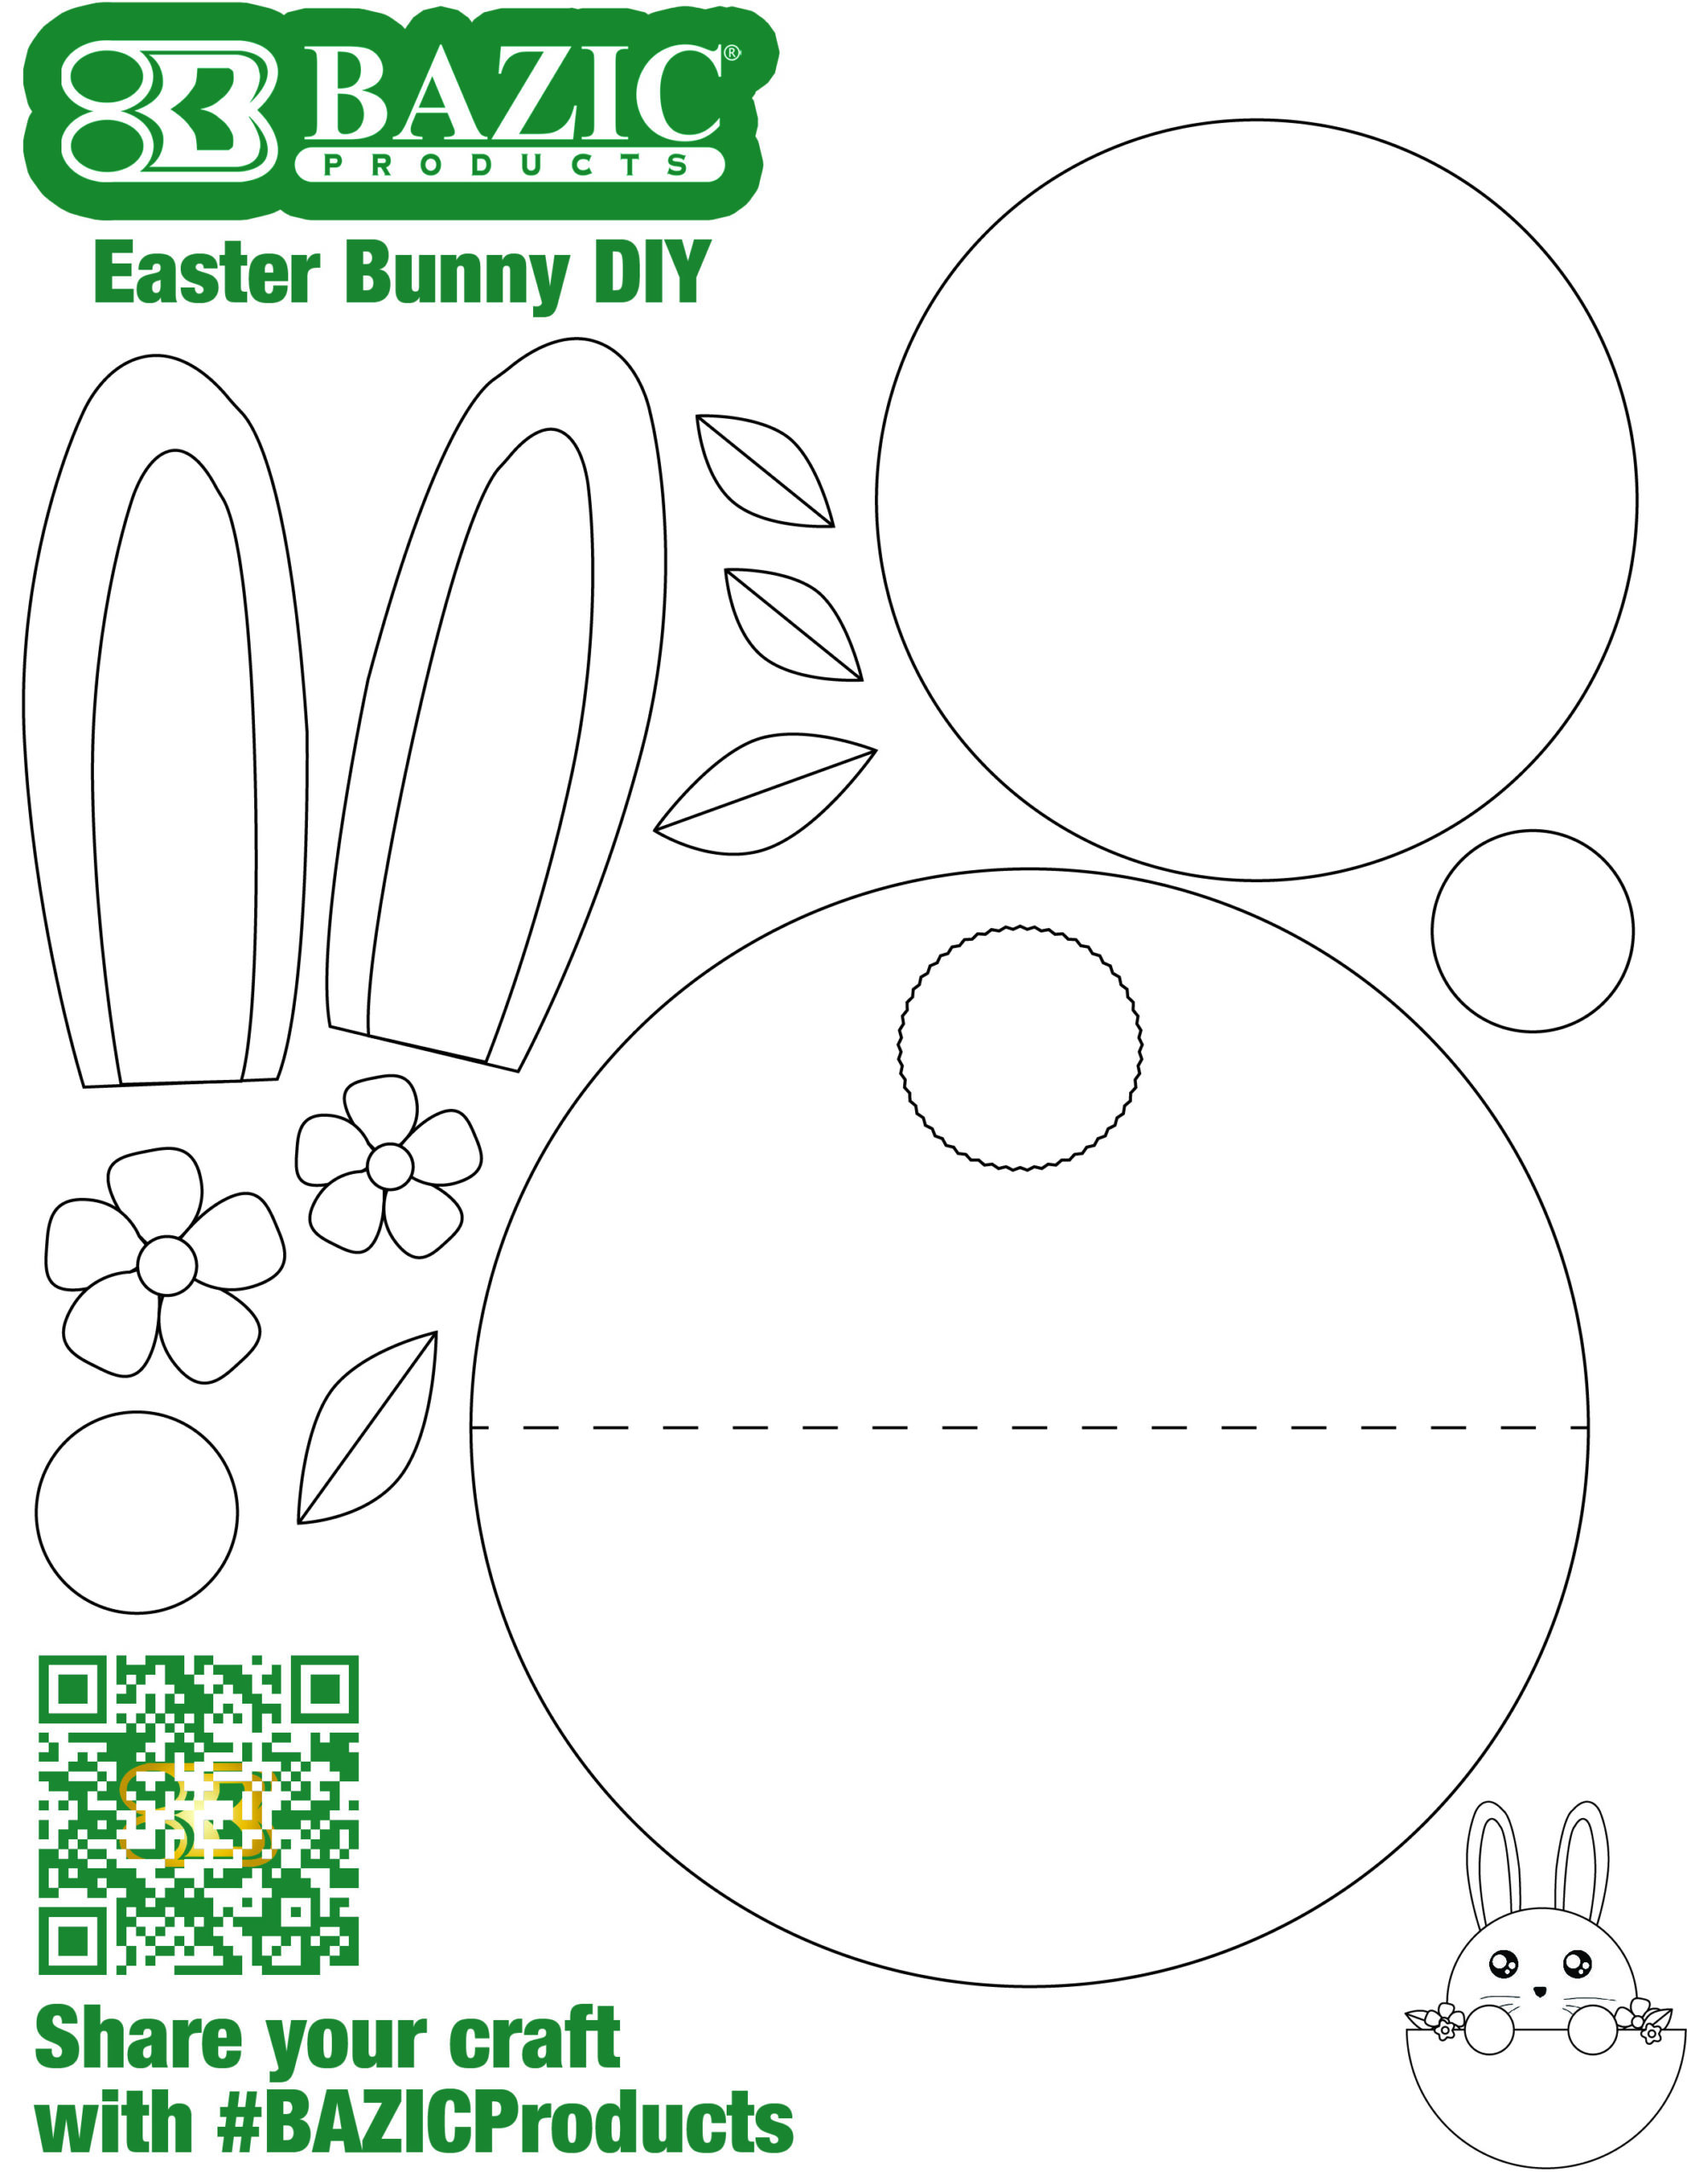
Step 1: Gather materials
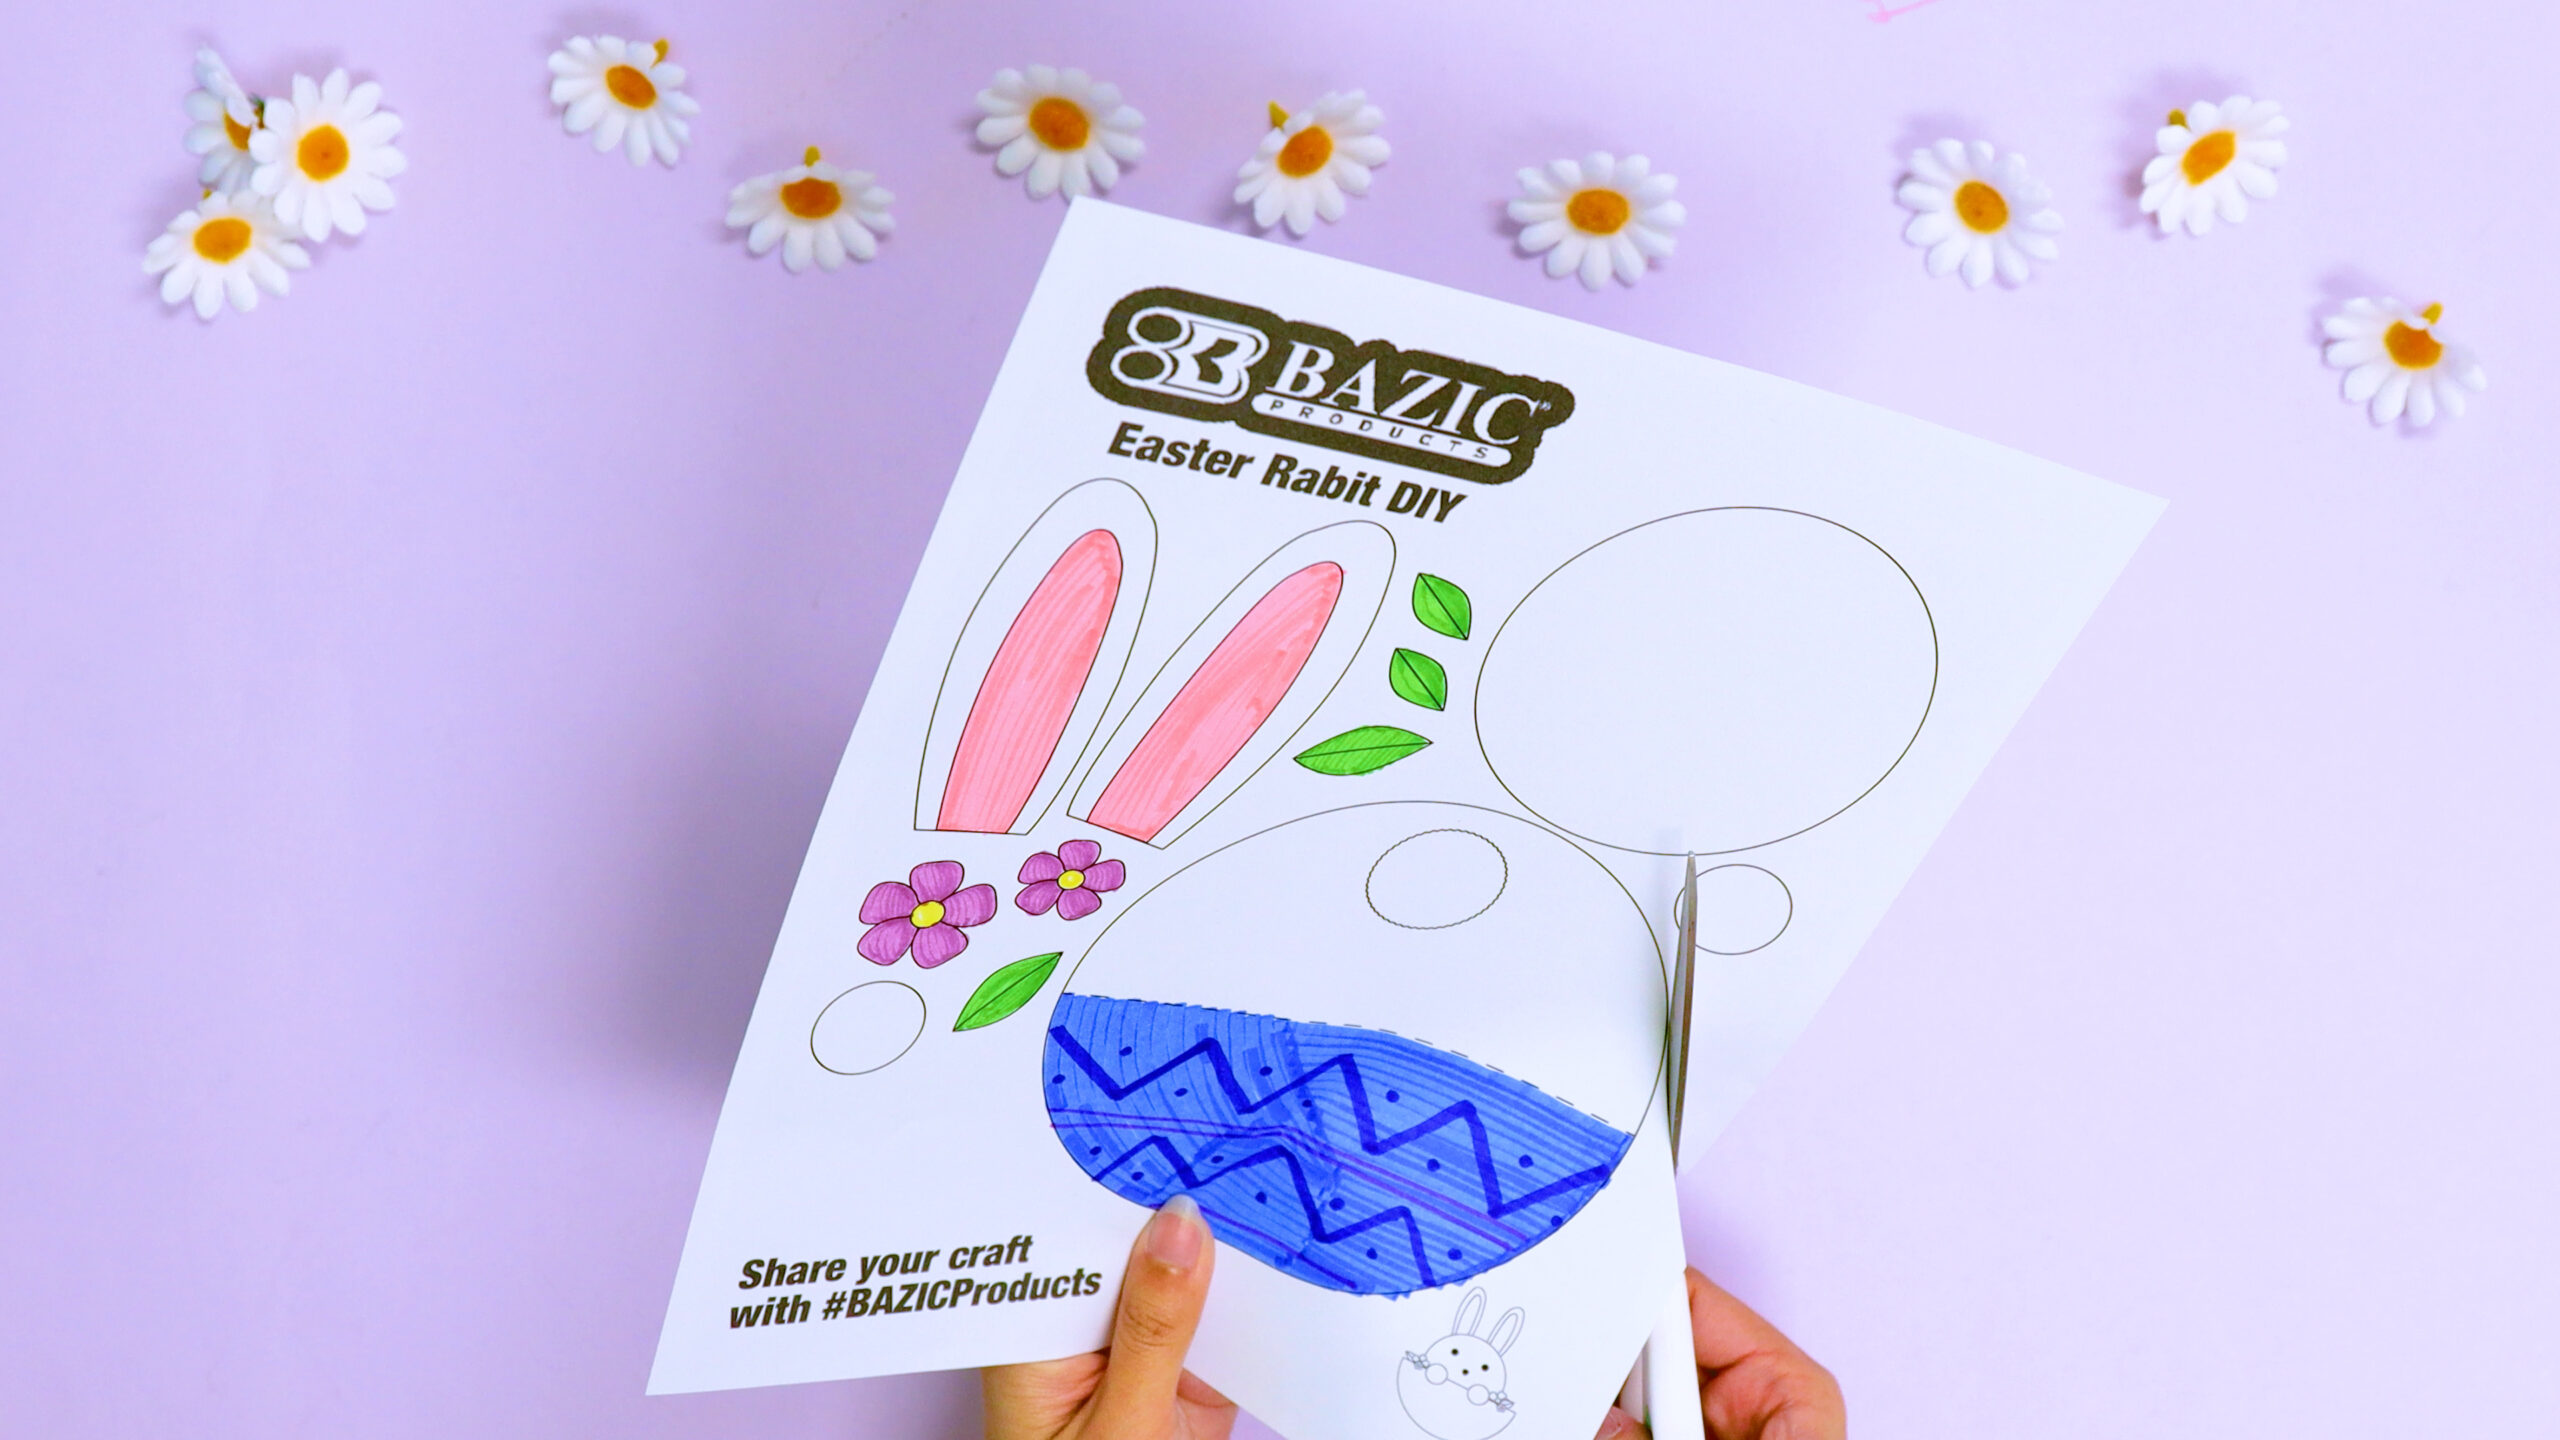
Note: You can also create this Easter Bunny by printing it on any color printer paper or tracing the template to any construction paper. In these steps, we are coloring straight on the template. But have fun and be creative with your Easter Bunny!
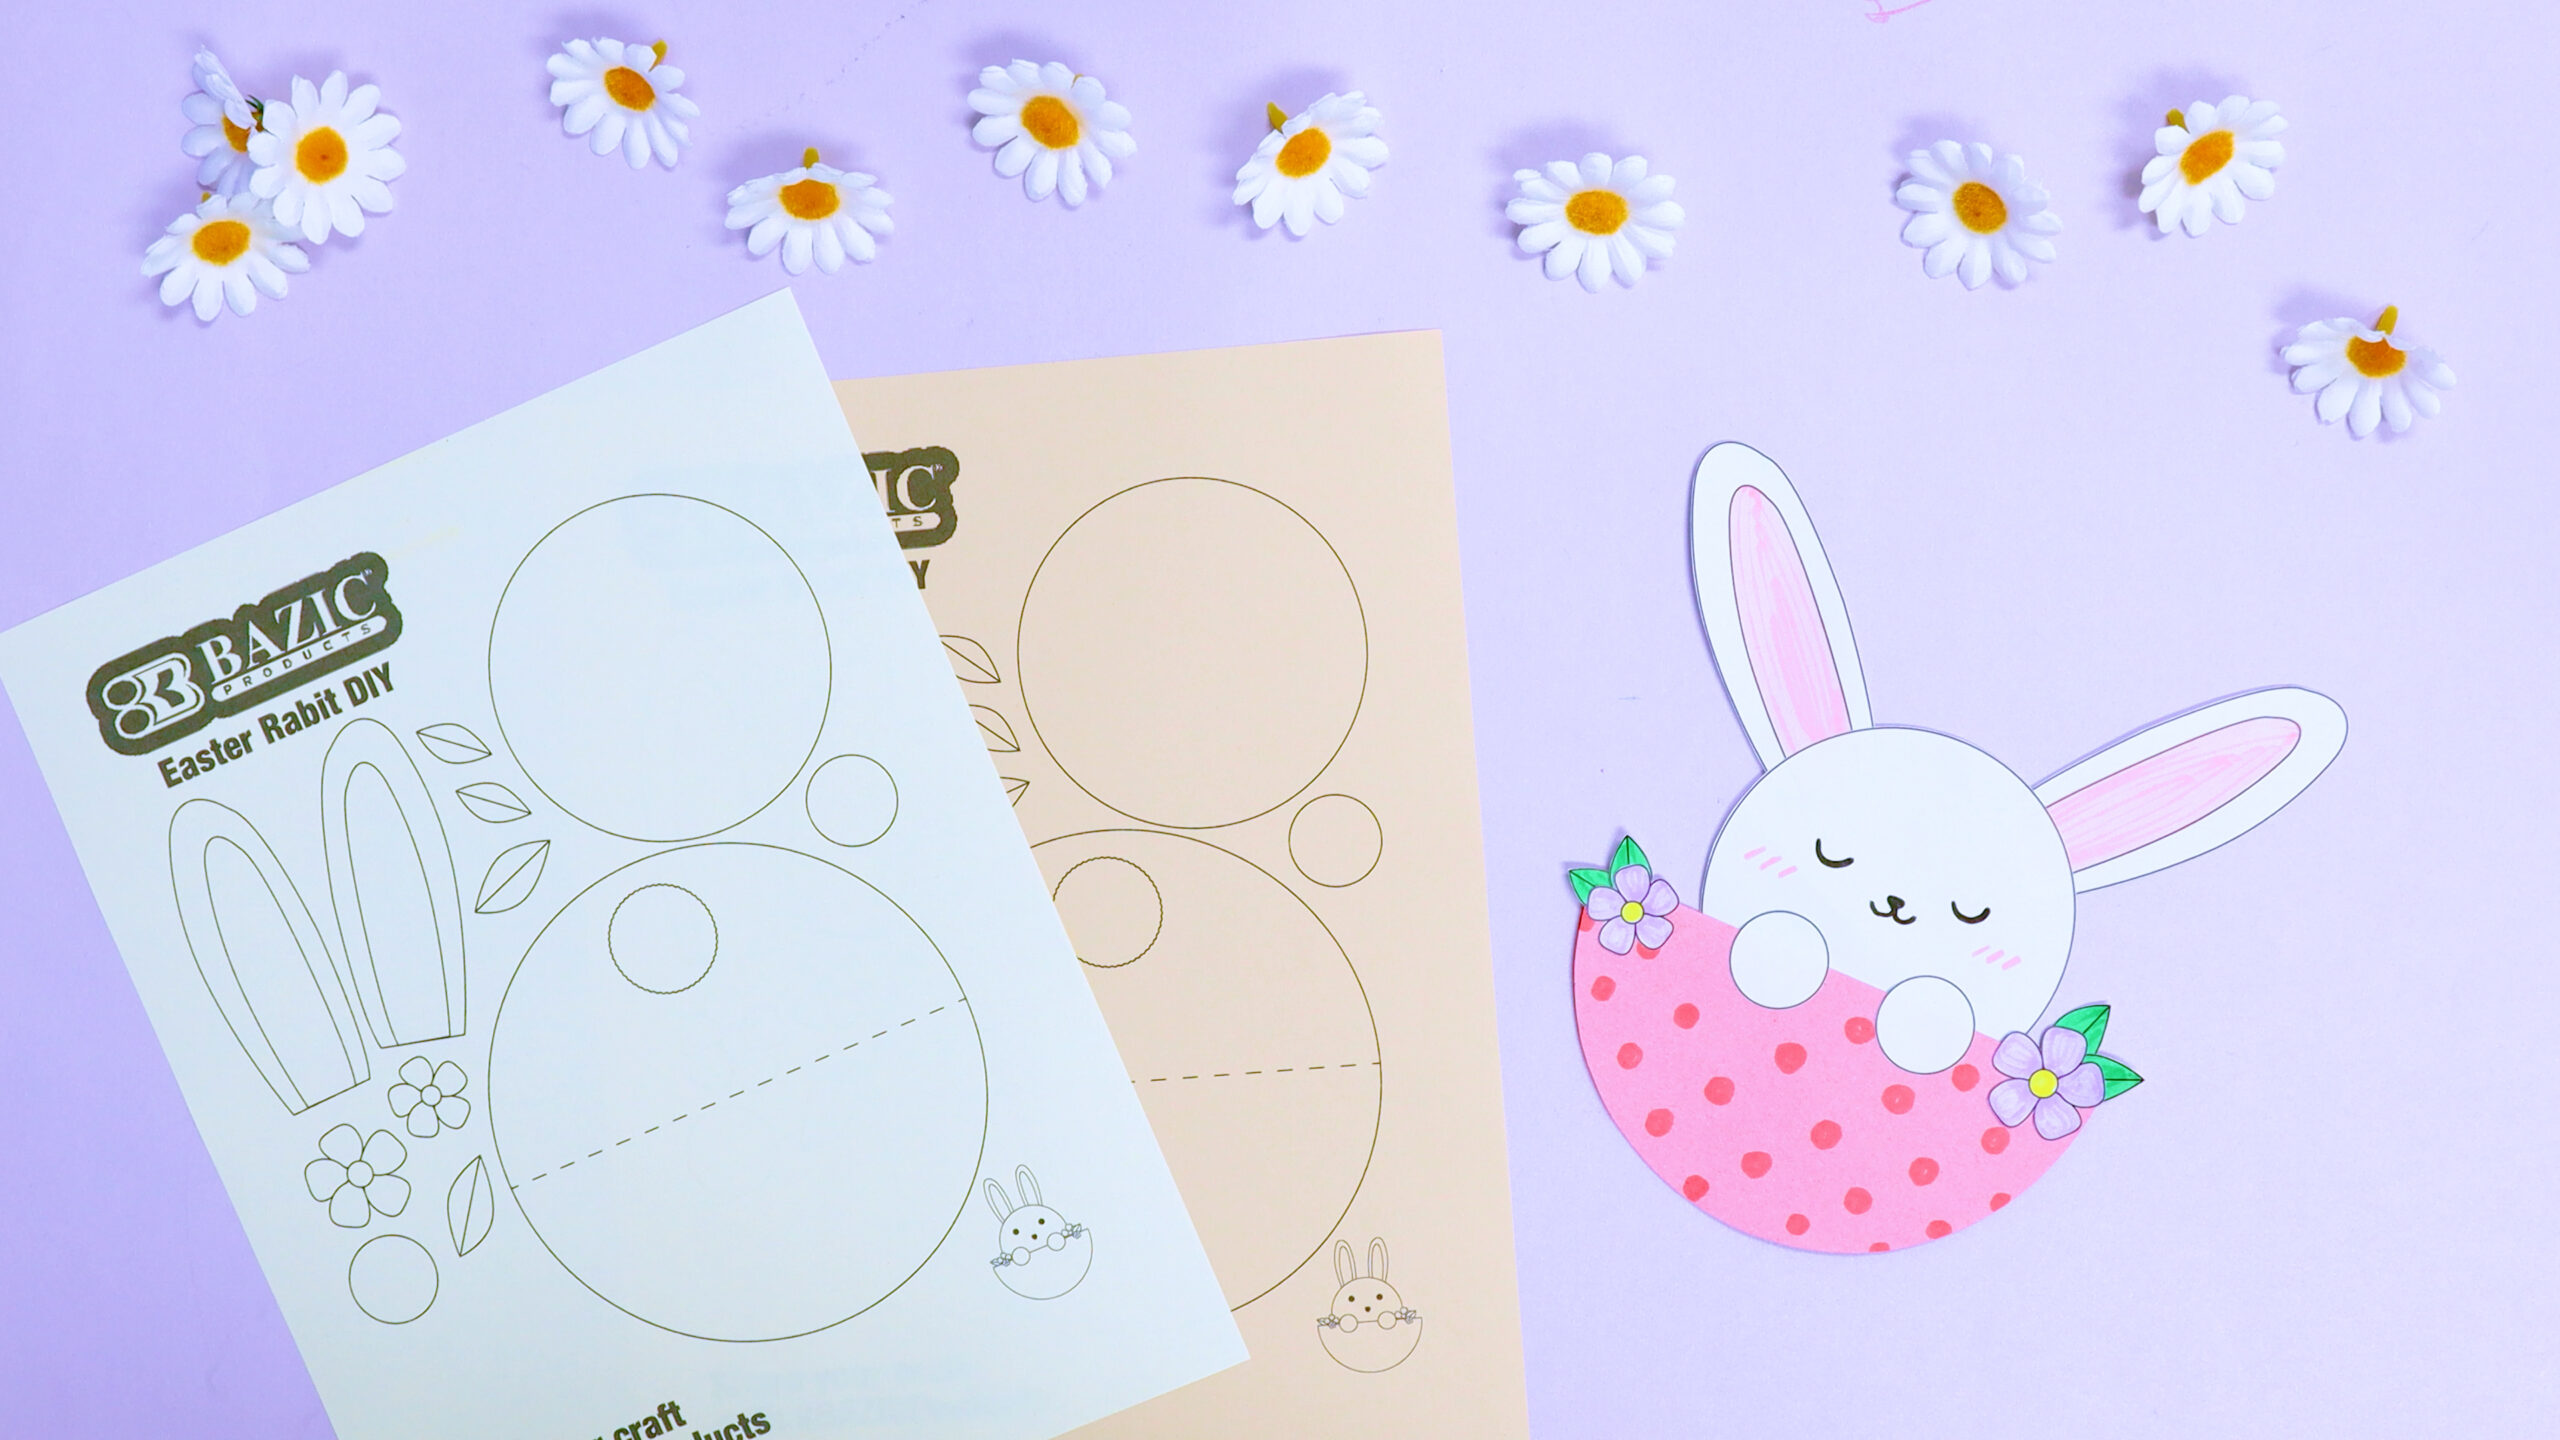
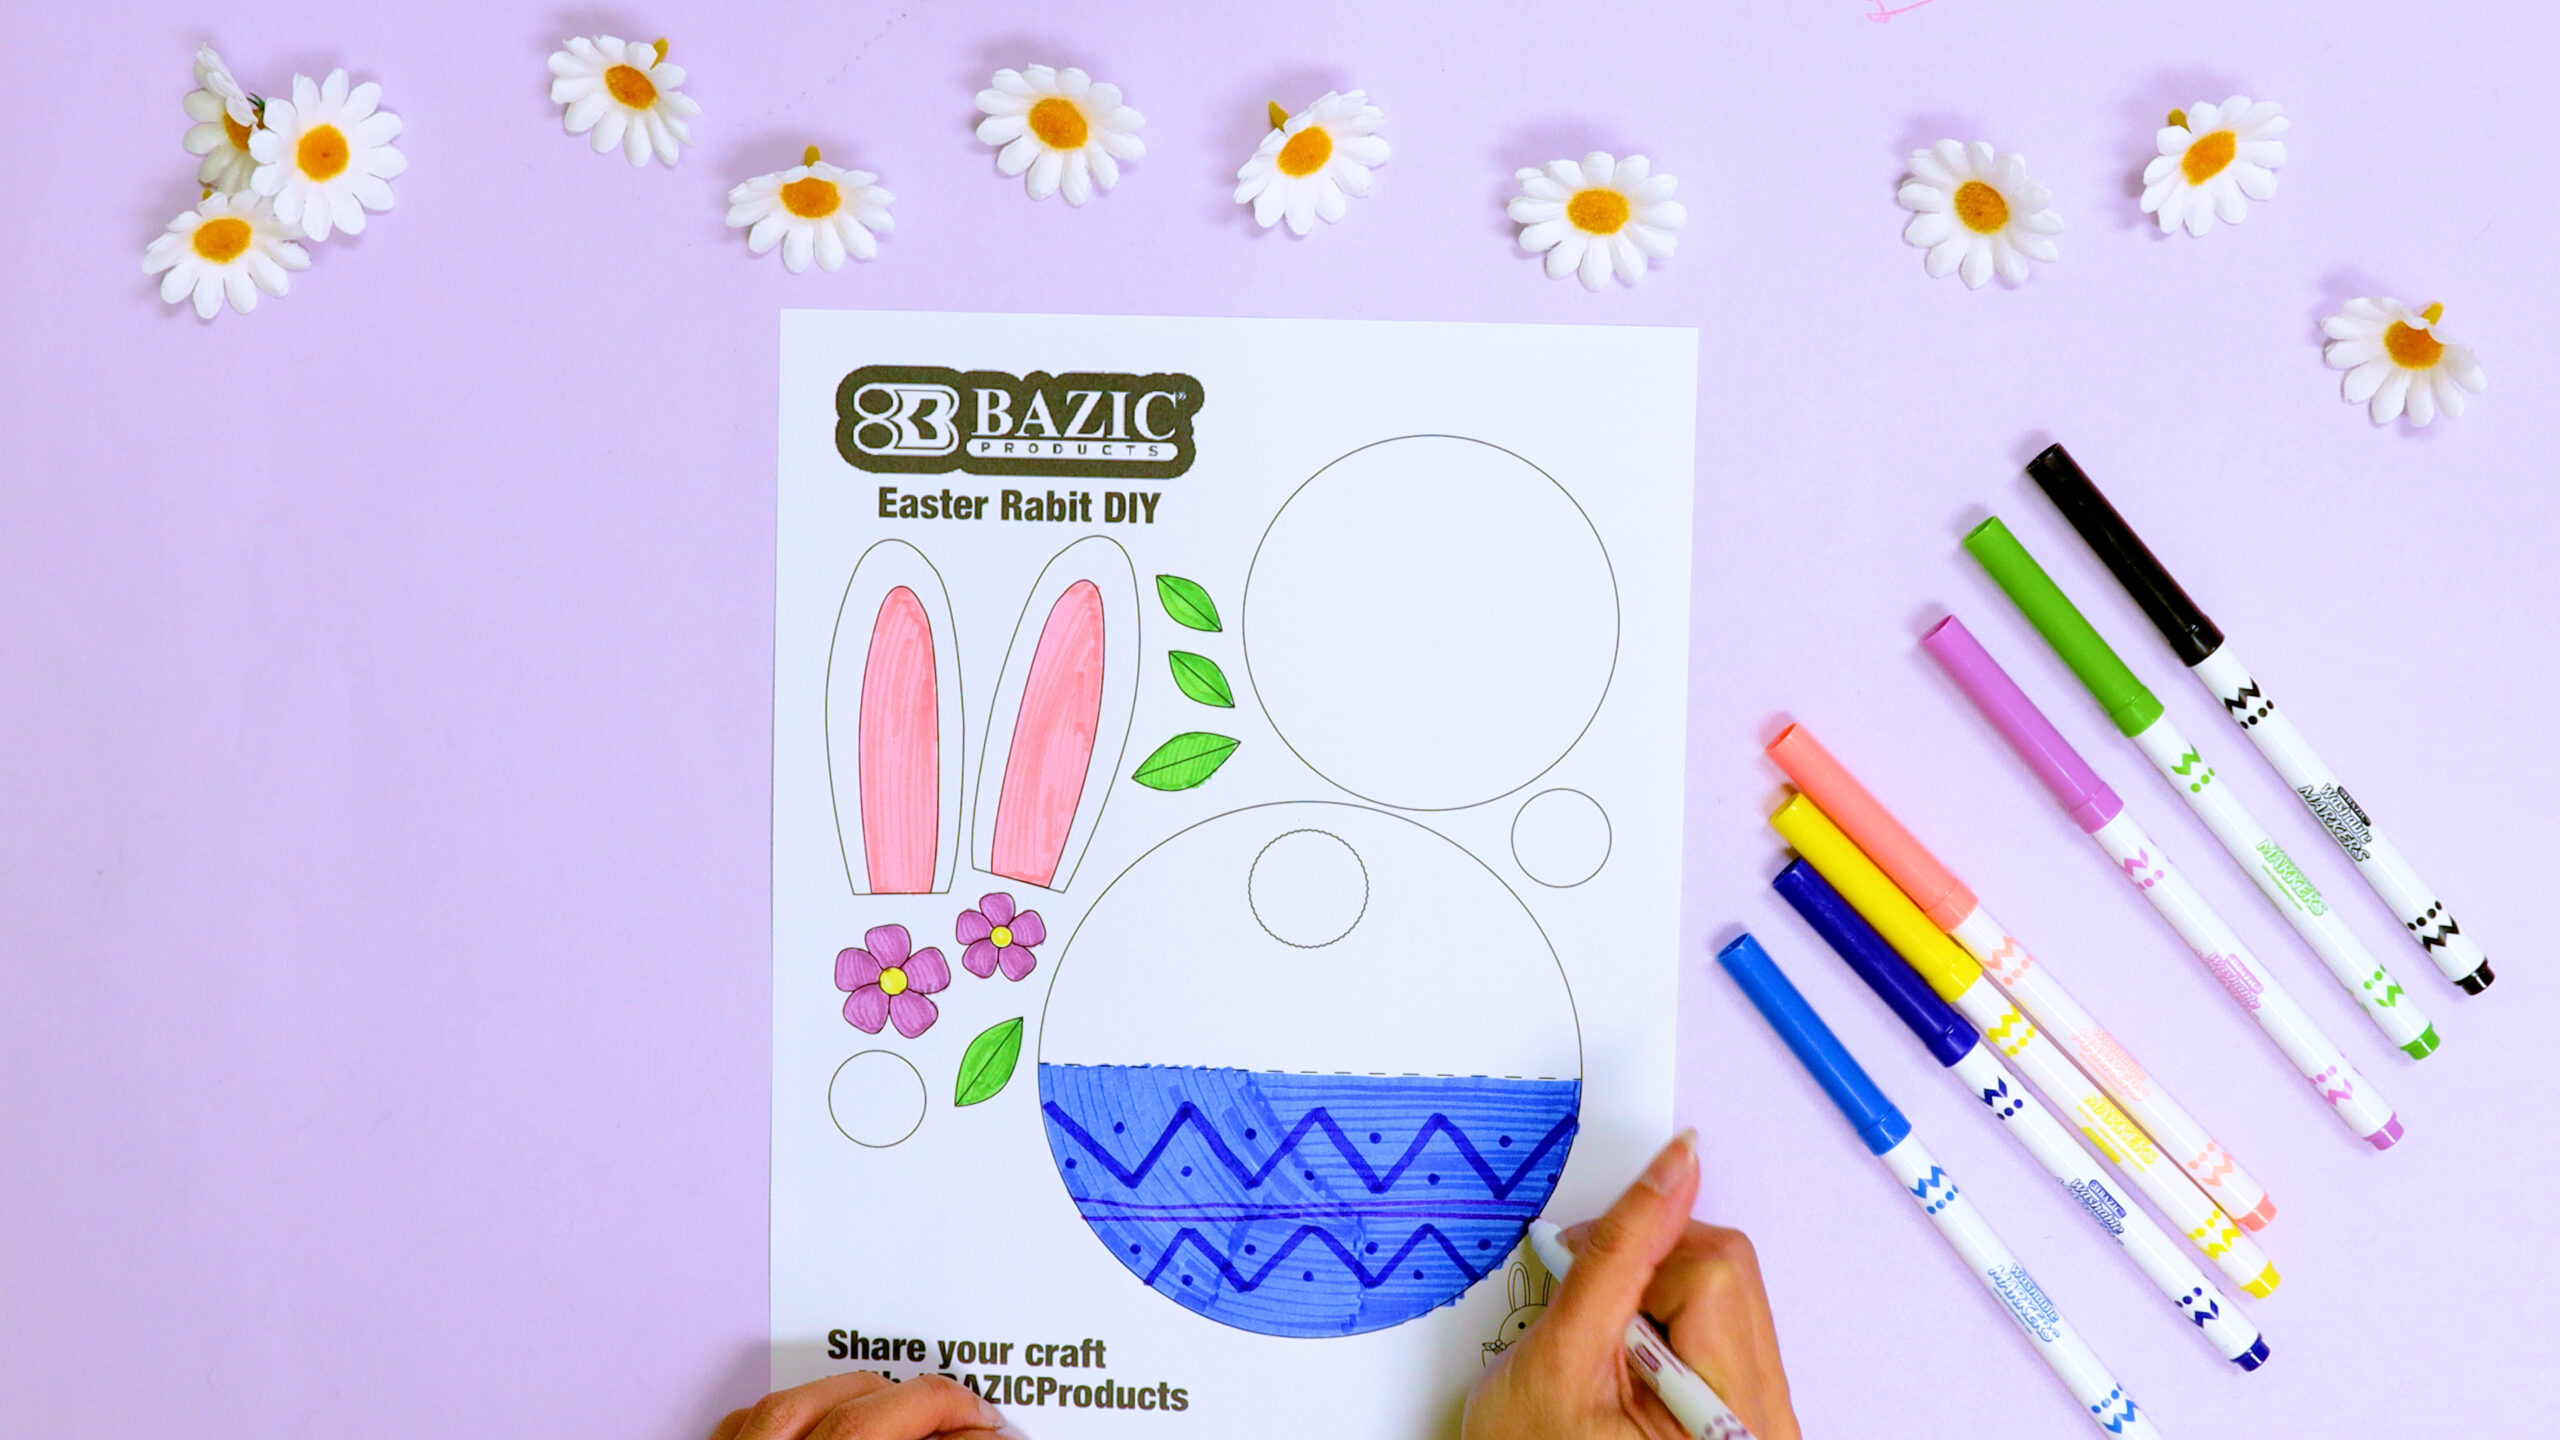
Step 2: Color template
Step 3: Cut out template
Step 4: Fold the large circle in half

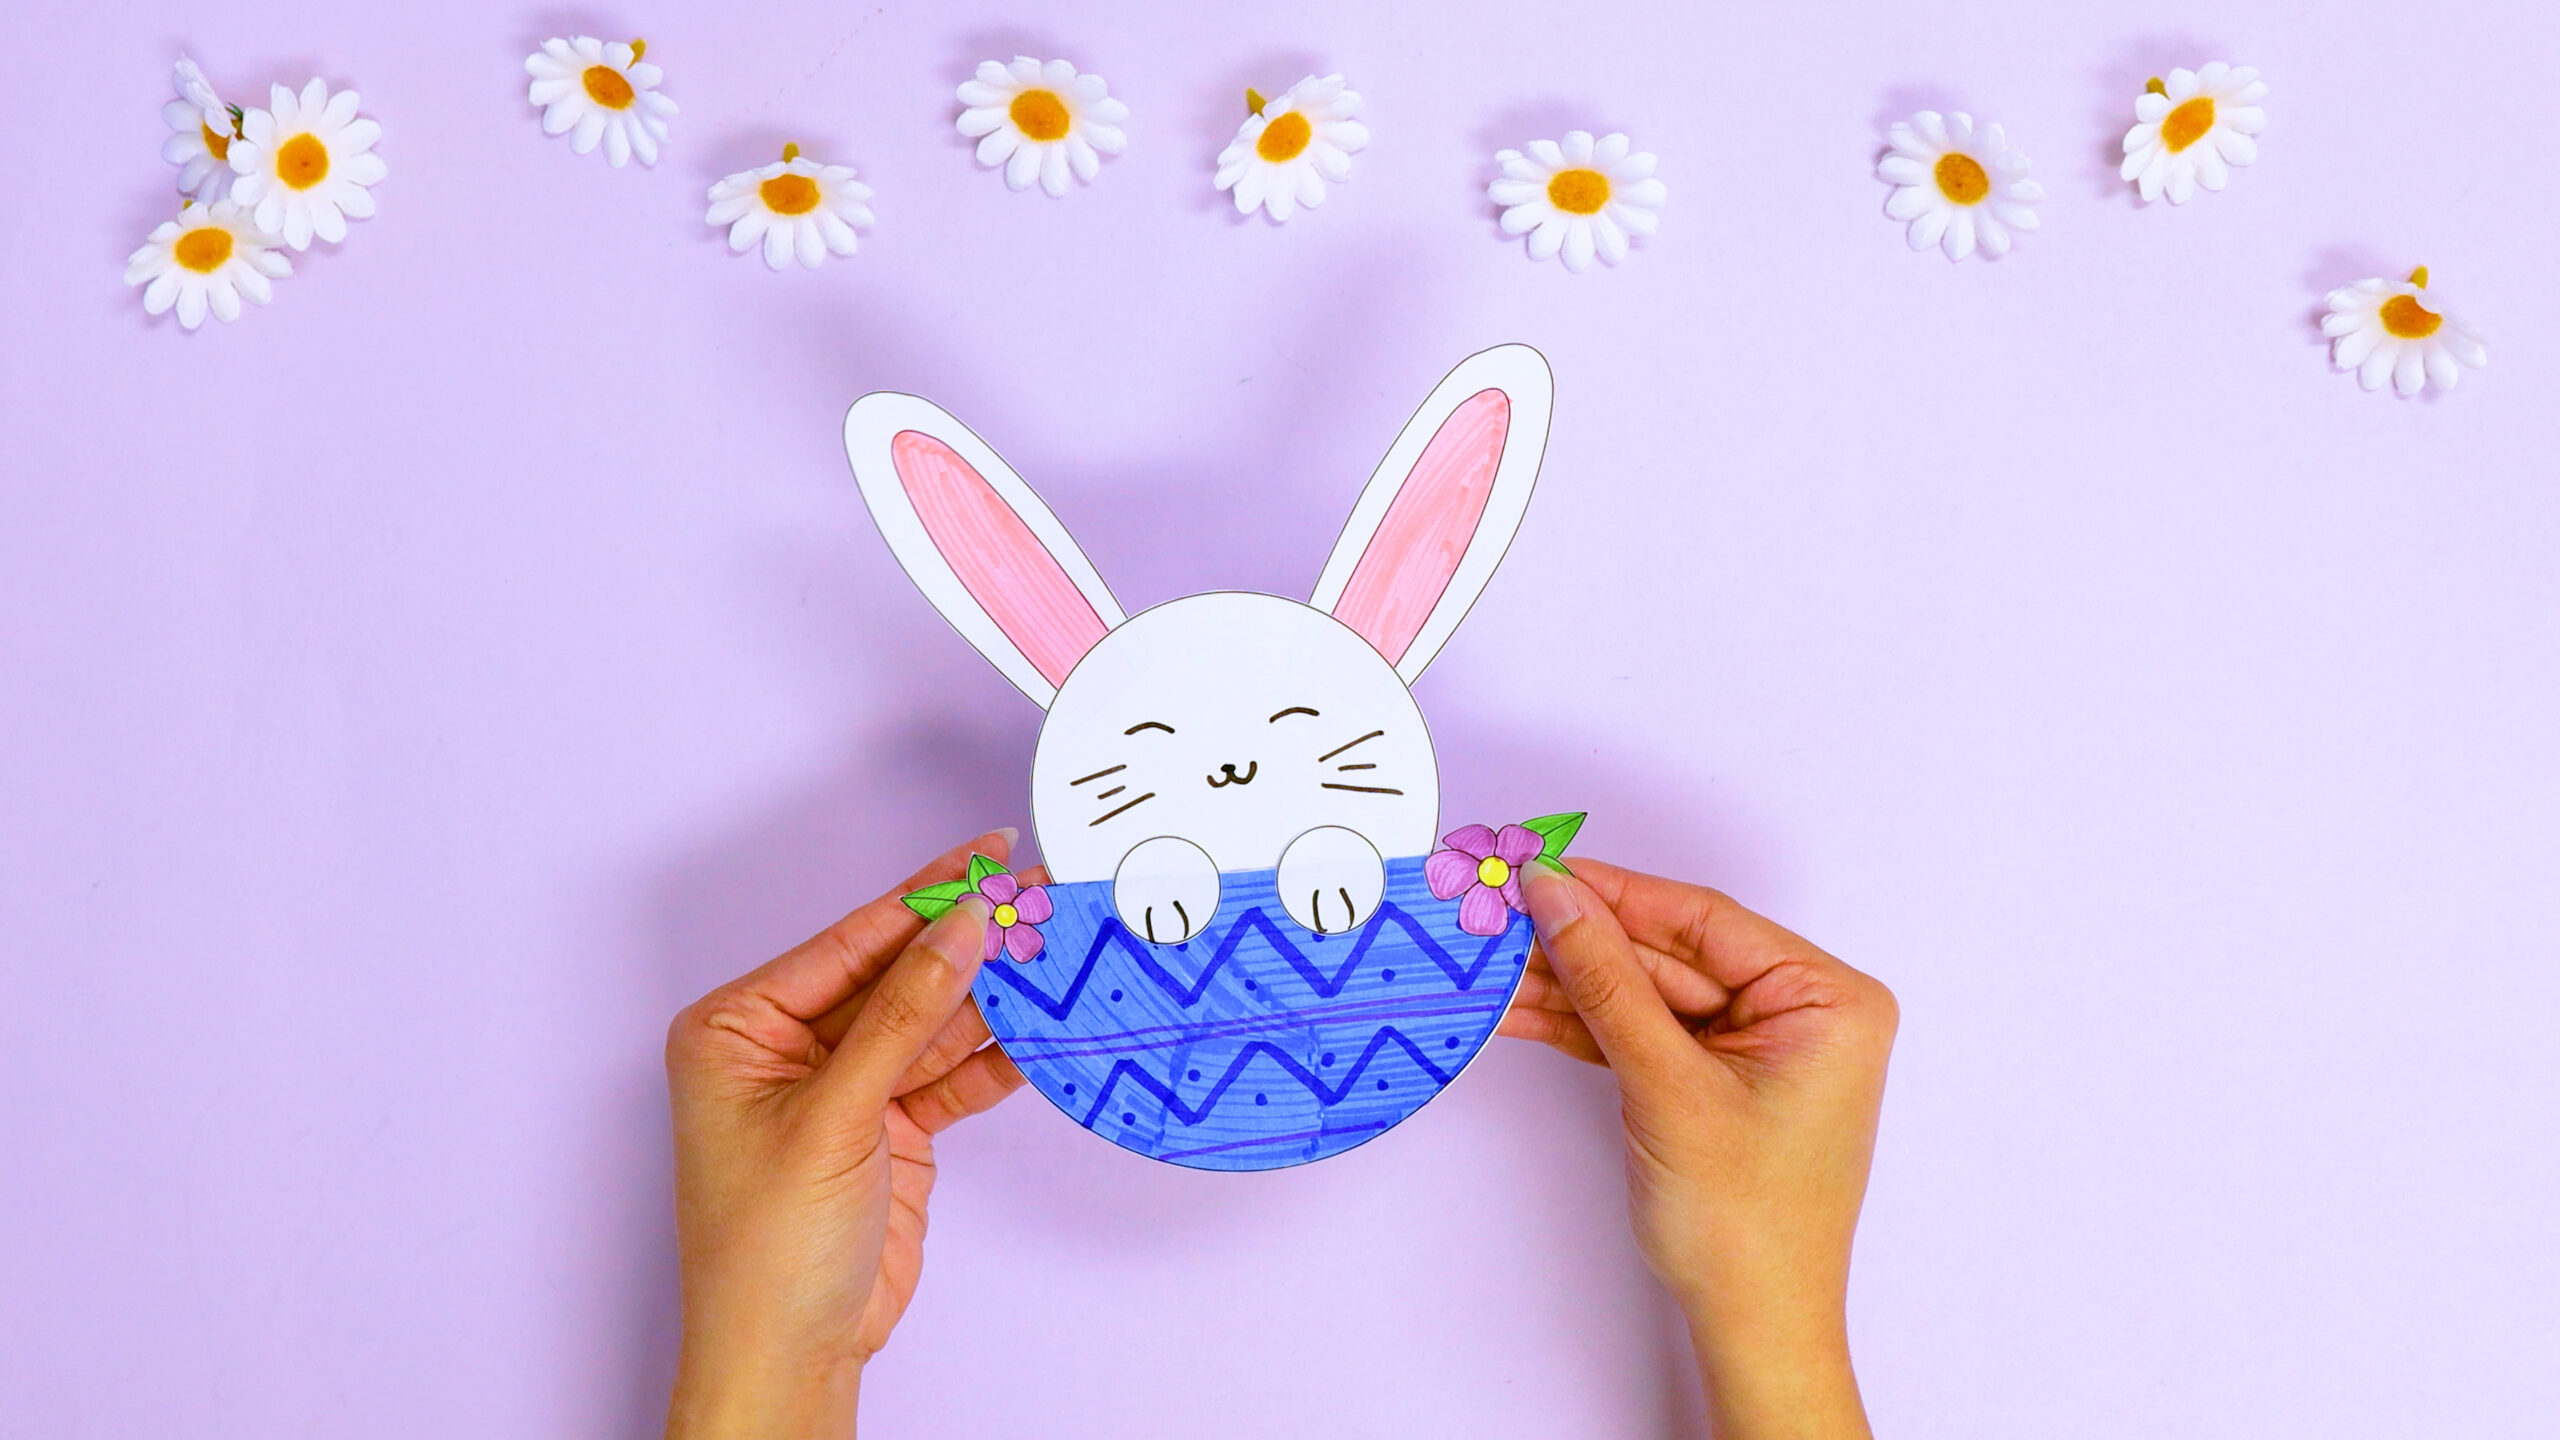
Step 5: Glue all the pieces together

Step 6: Draw your bunny face

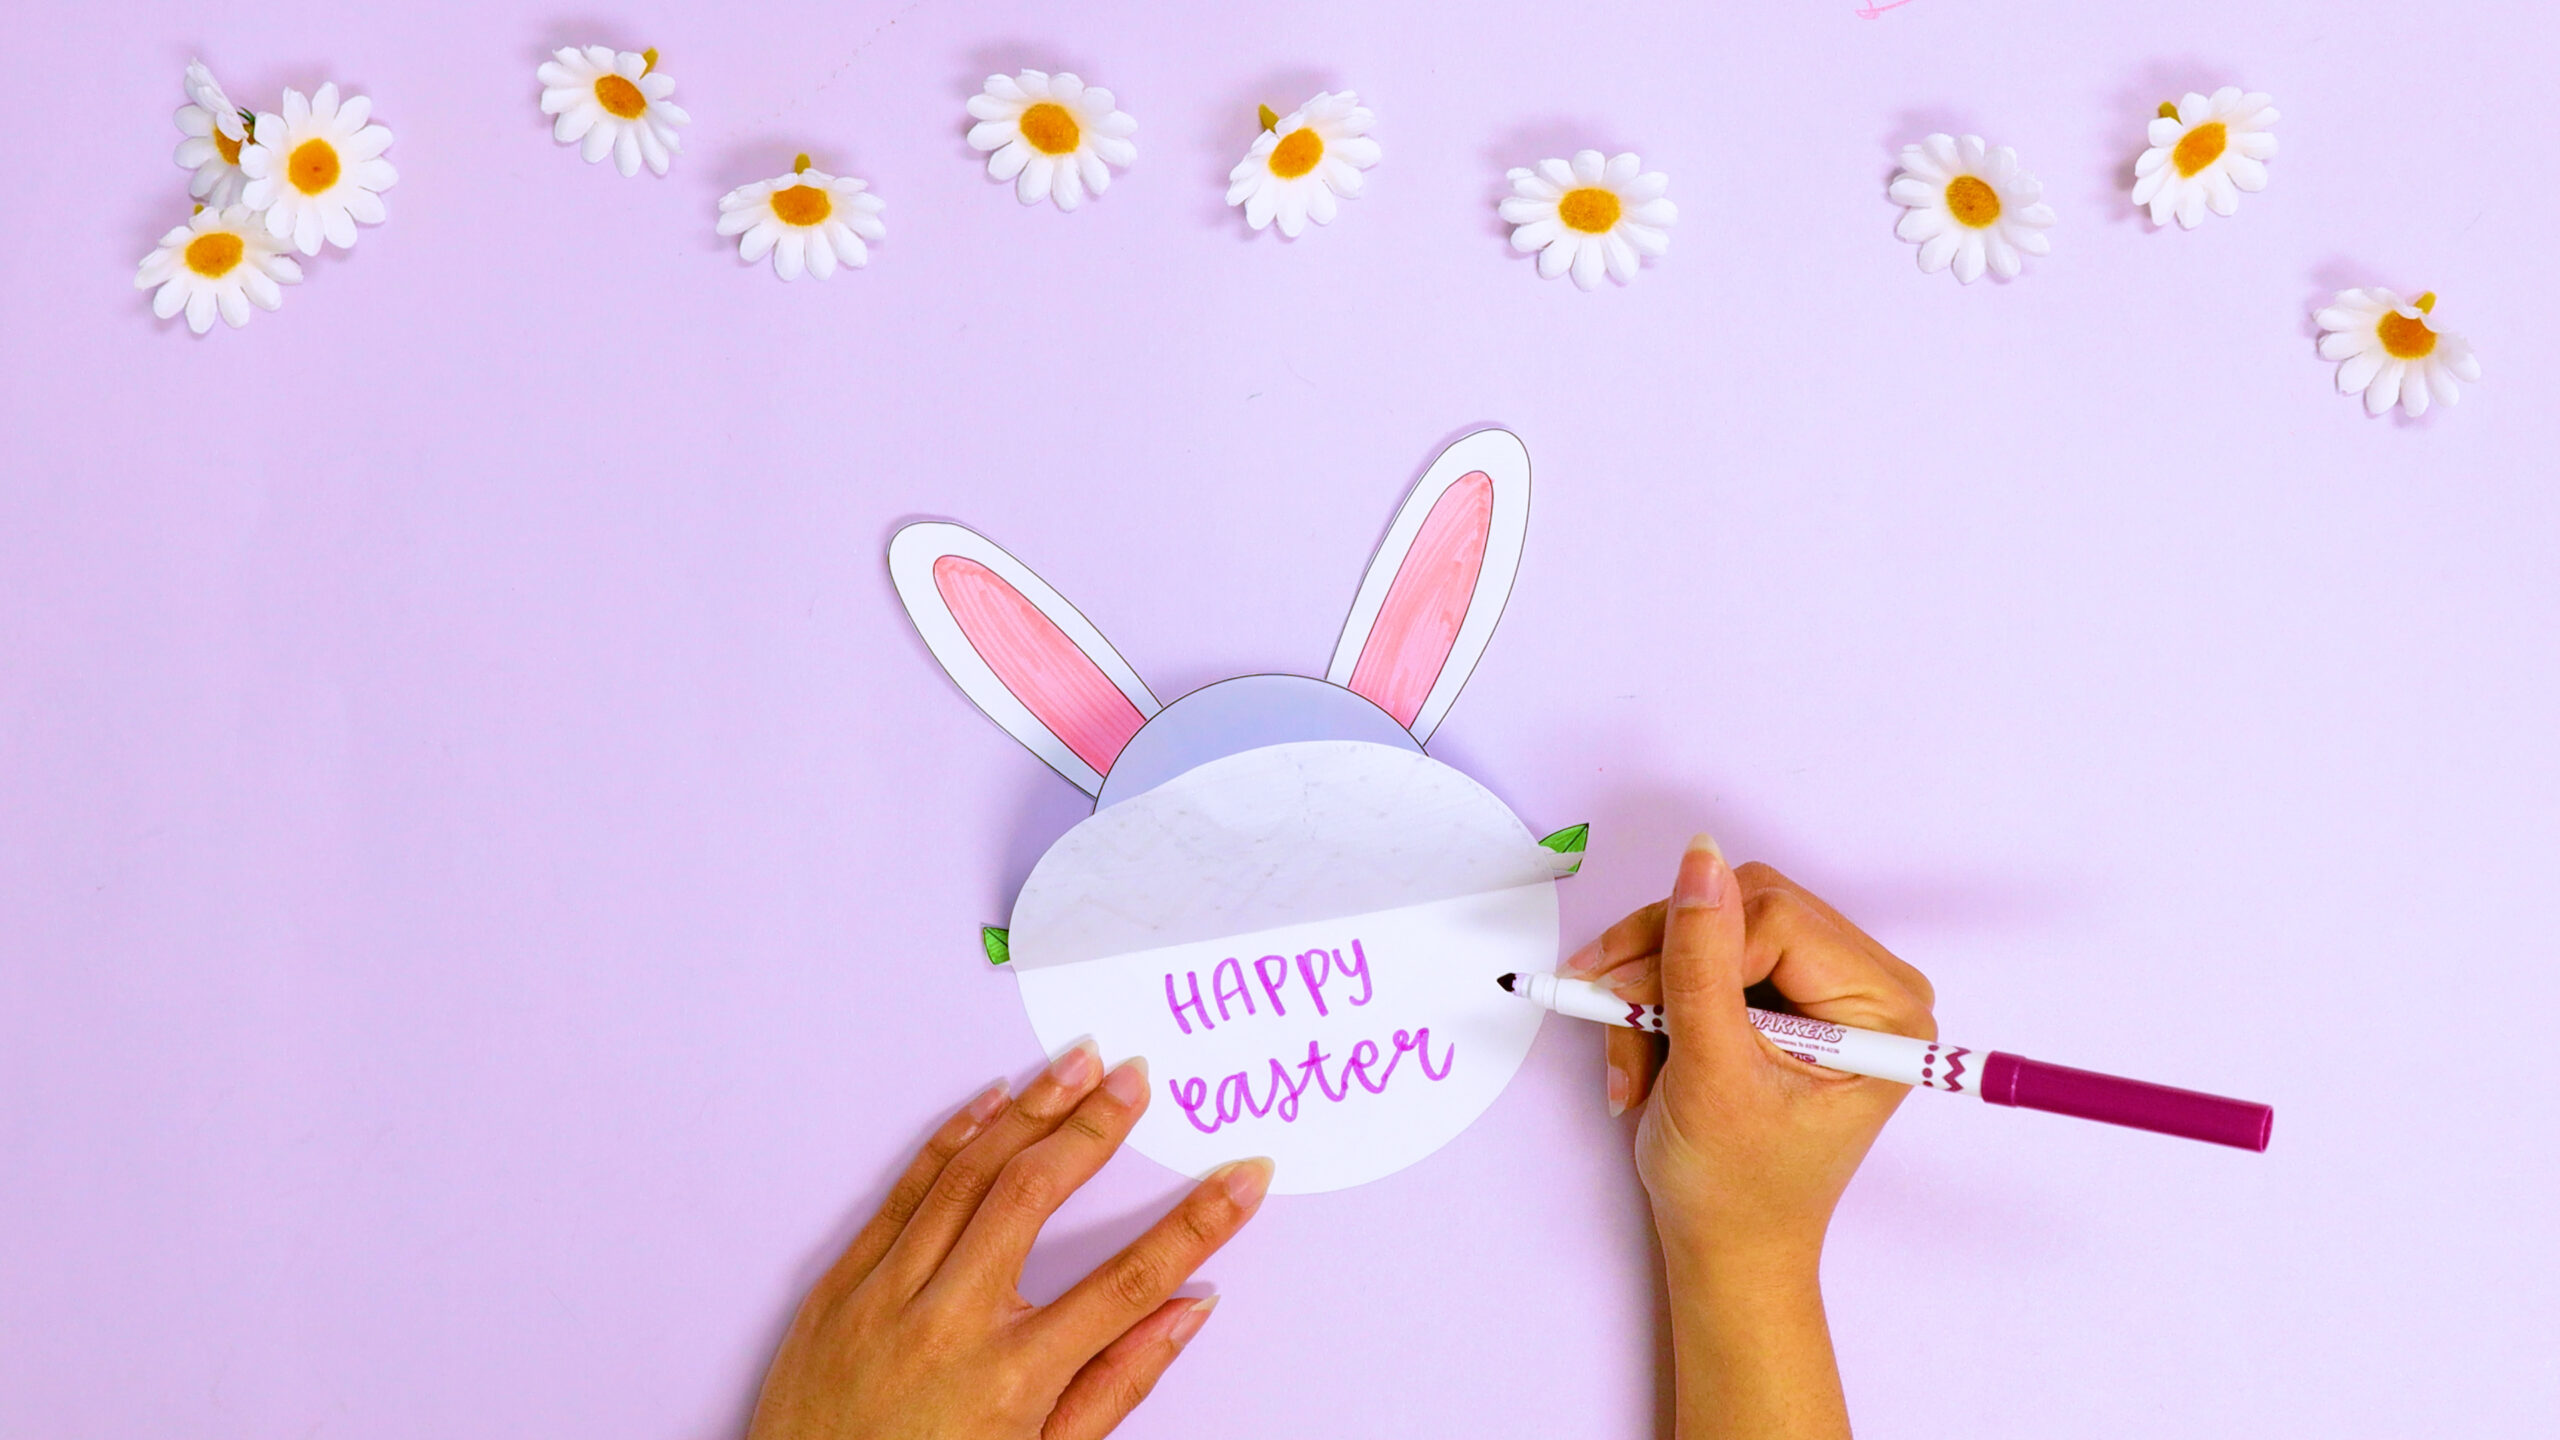
Optional: Write messages inside to create a Easter Bunny Card
Step 8: Enjoy!
If you’re local to Los Angeles County, gather the kids and RSVP to The Shops at Santa Anita‘s Bunny Breakfast at California Pizza Kitchen! Here, your children will get to make this easy and fun craft in-person with all our materials listed above, while also enjoying a meet and greet with the Easter Bunny and face painting on Saturday, April 1st from 8:30AM – 10:30AM!
For more information, click the RSVP link above. See you there! 😄
Check out our last DIY craft here.